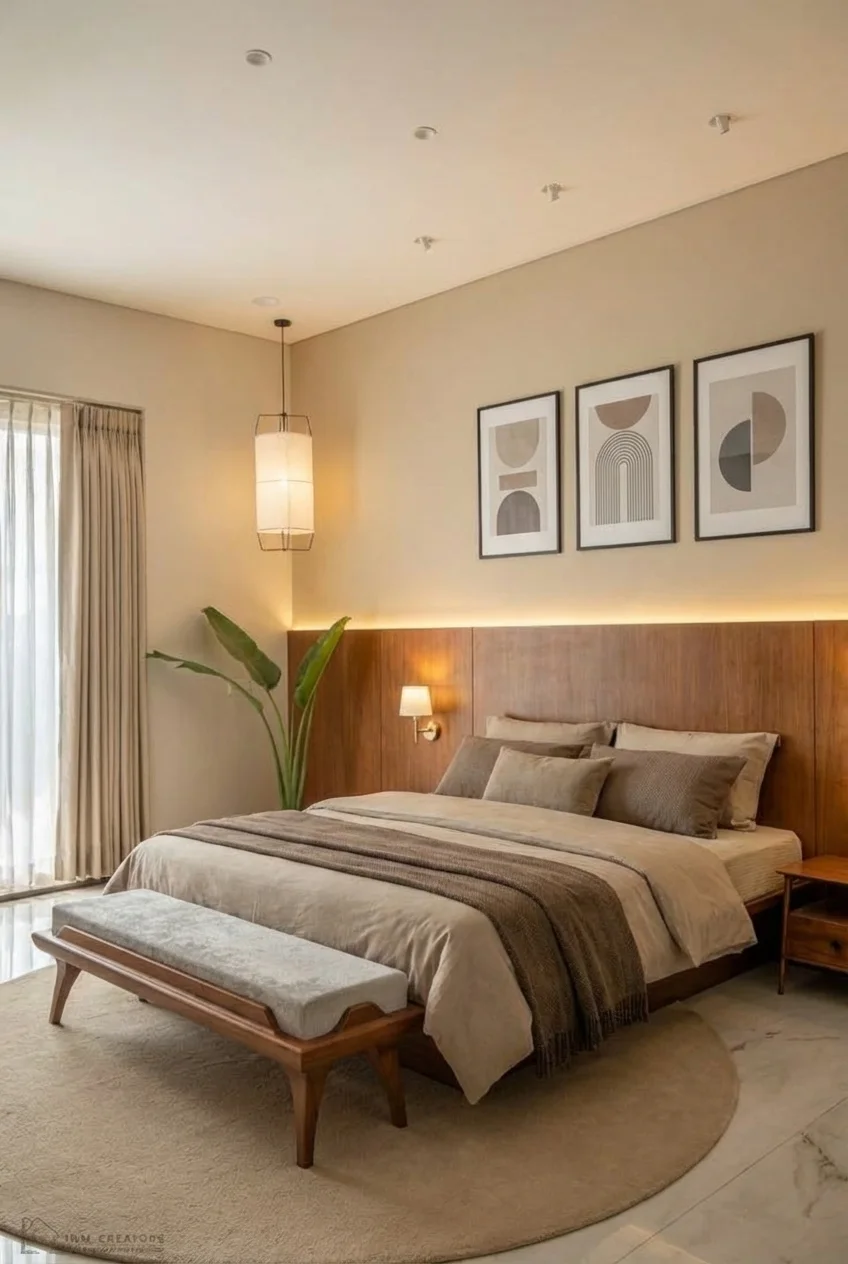
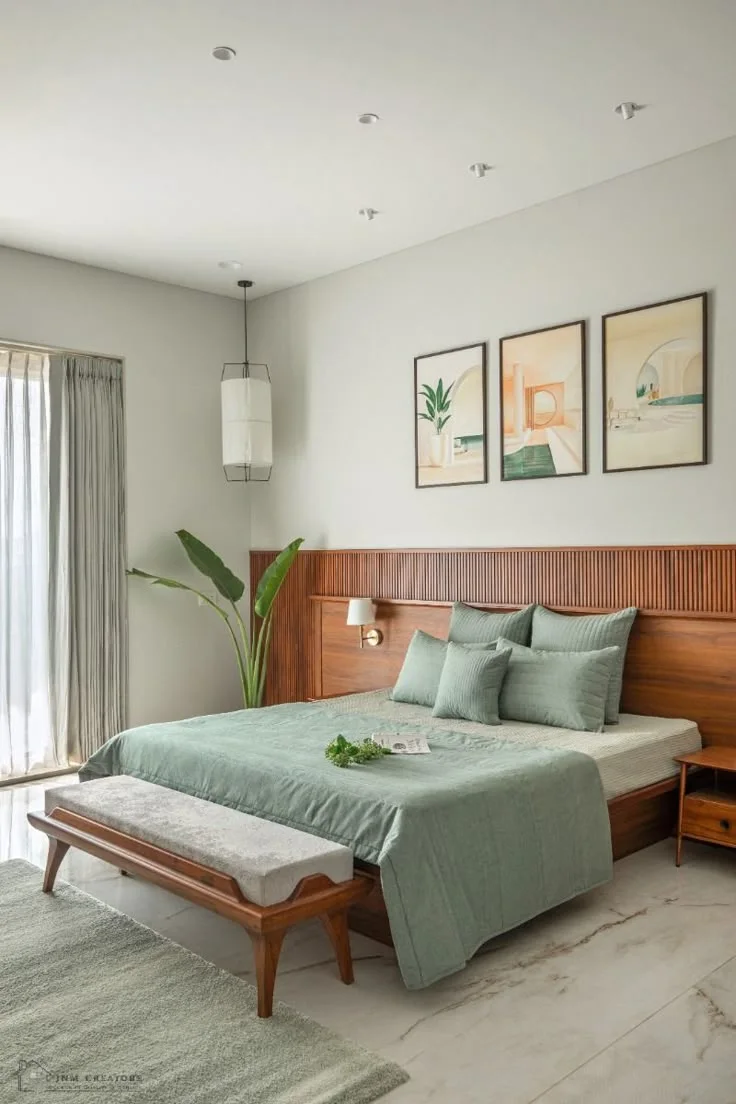
 BeforeAfter
Drag to compare. Use arrow keys when focused.
Transform your room using any design reference. This tool redesigns the entire room by applying the selected style while keeping your original layout and structure unchanged.
40 AI-powered workflows across 5 categories for architects, designers, and creative professionals. Explore the examples, compare the results, and find the tools that fit your process.
Showing 40 workflows
BeforeAfterDrag to compare. Use arrow keys when focused.
Transform your room using any design reference. This tool redesigns the entire room by applying the selected style while keeping your original layout and structure unchanged.
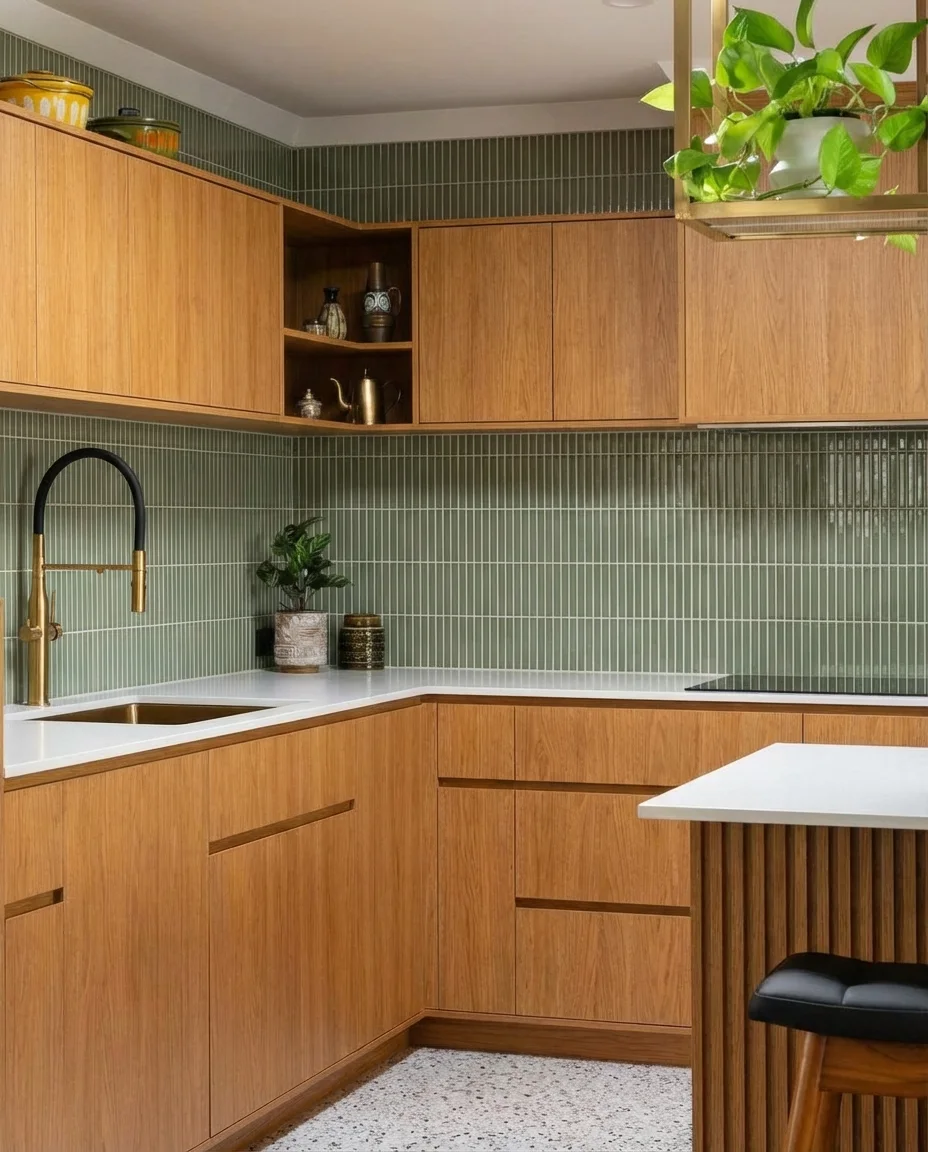
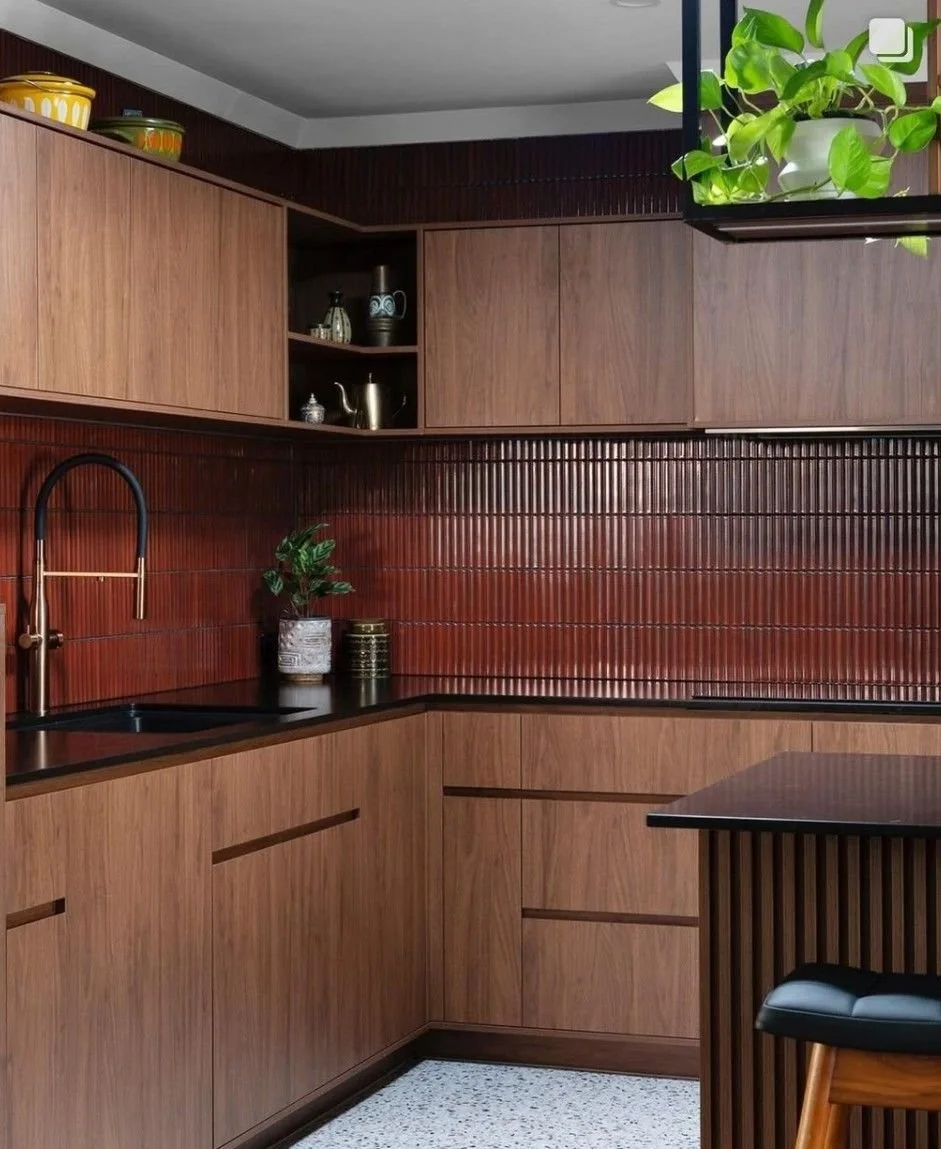 BeforeAfter
Drag to compare. Use arrow keys when focused.
Apply colours and finishes from a reference room. This tool updates walls, surfaces, and accents to match the reference while maintaining material realism and balanced contrast.
 BeforeAfter
Drag to compare. Use arrow keys when focused.
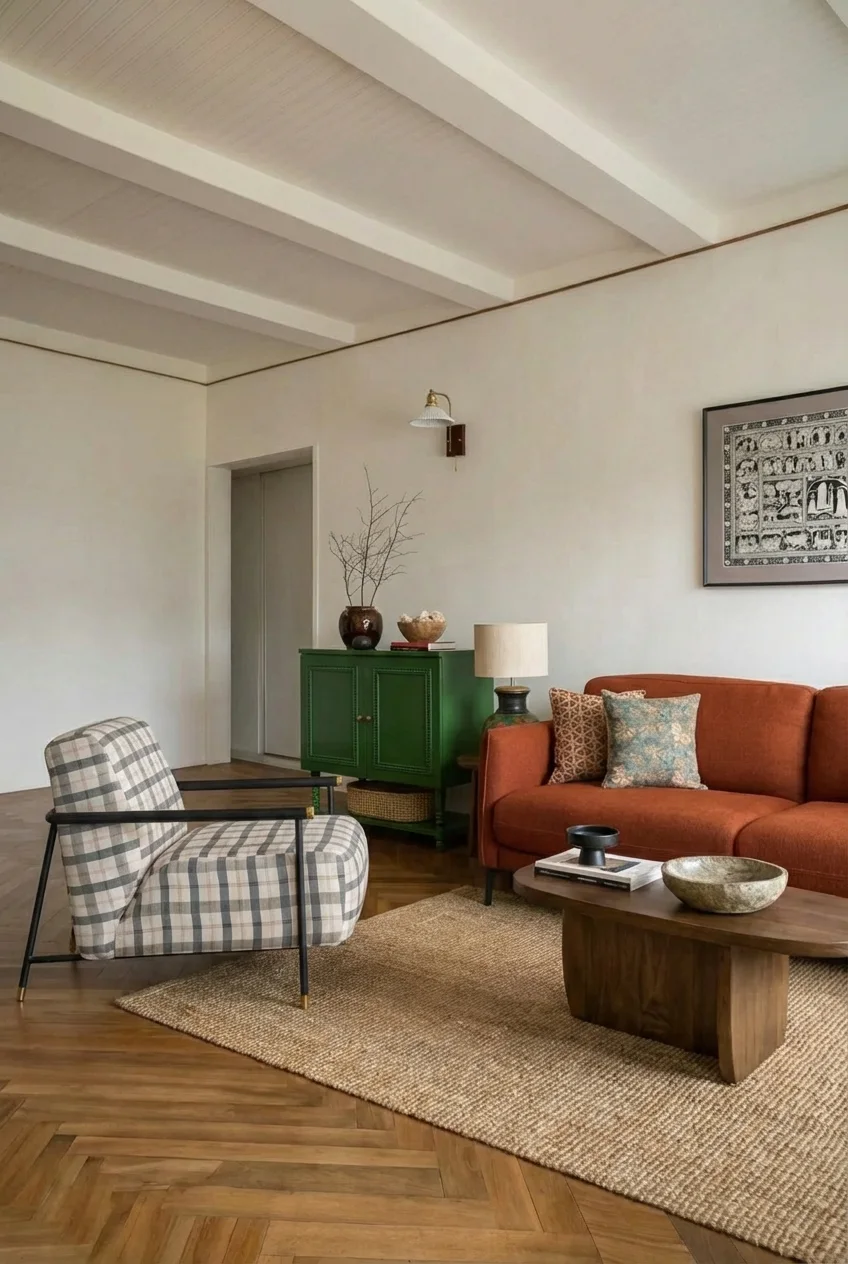
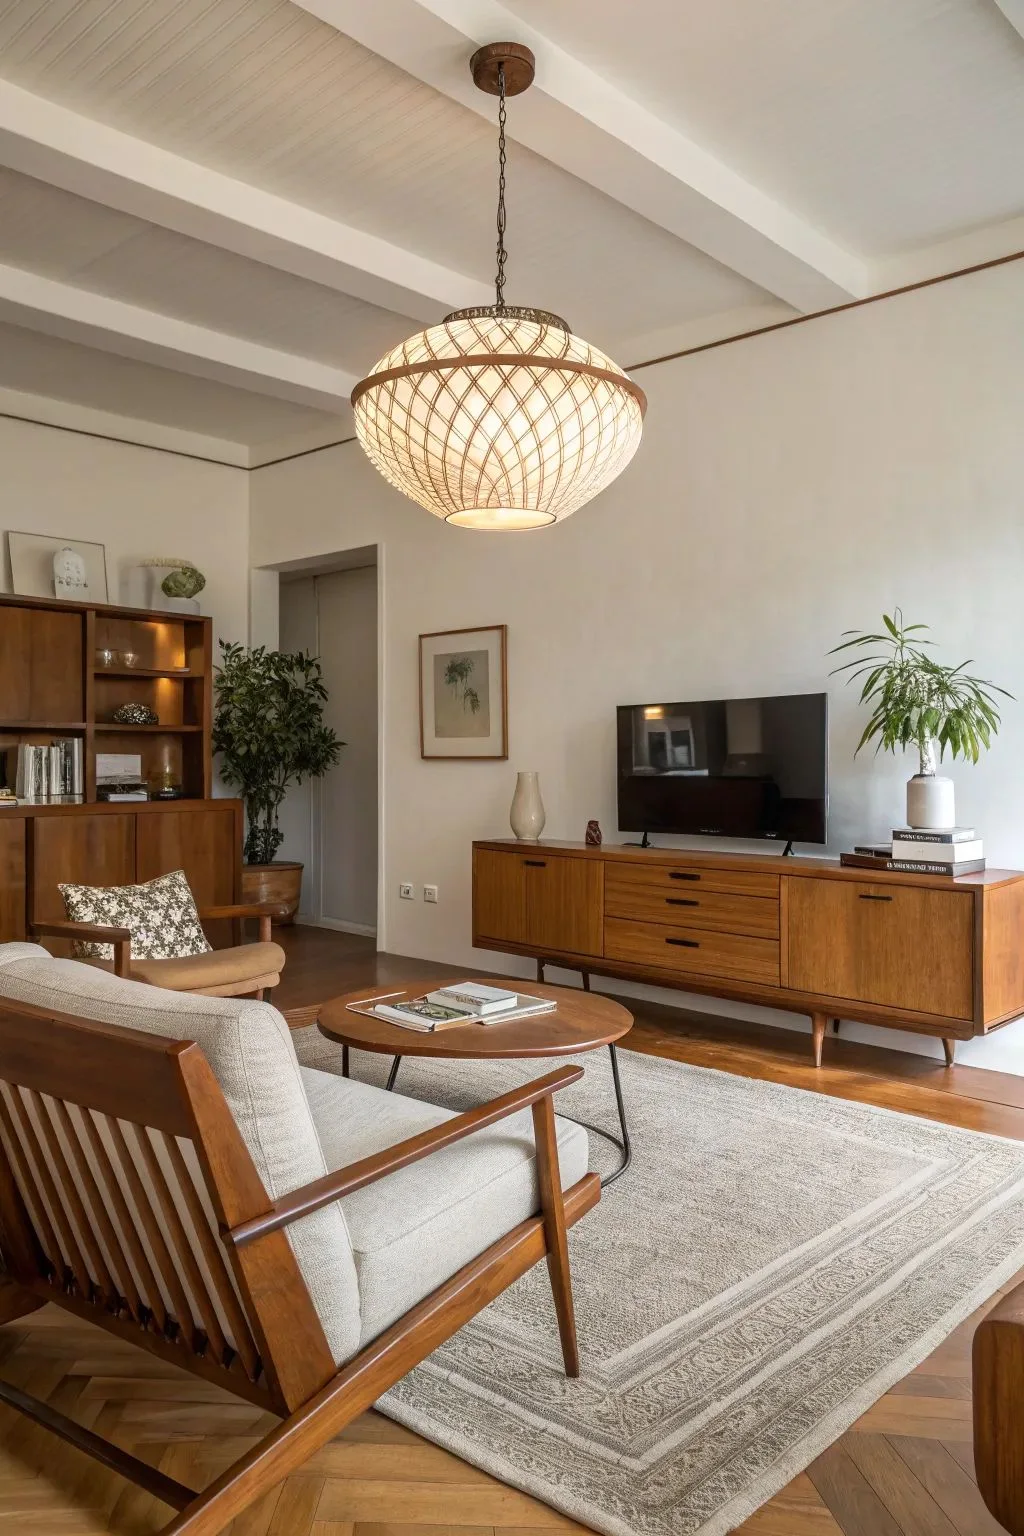
Replace furniture and decor in your room by uploading a reference image. This tool swaps out furniture and decorative elements while ensuring consistency in materials, fabrics, and overall styling.
 BeforeAfter
Drag to compare. Use arrow keys when focused.
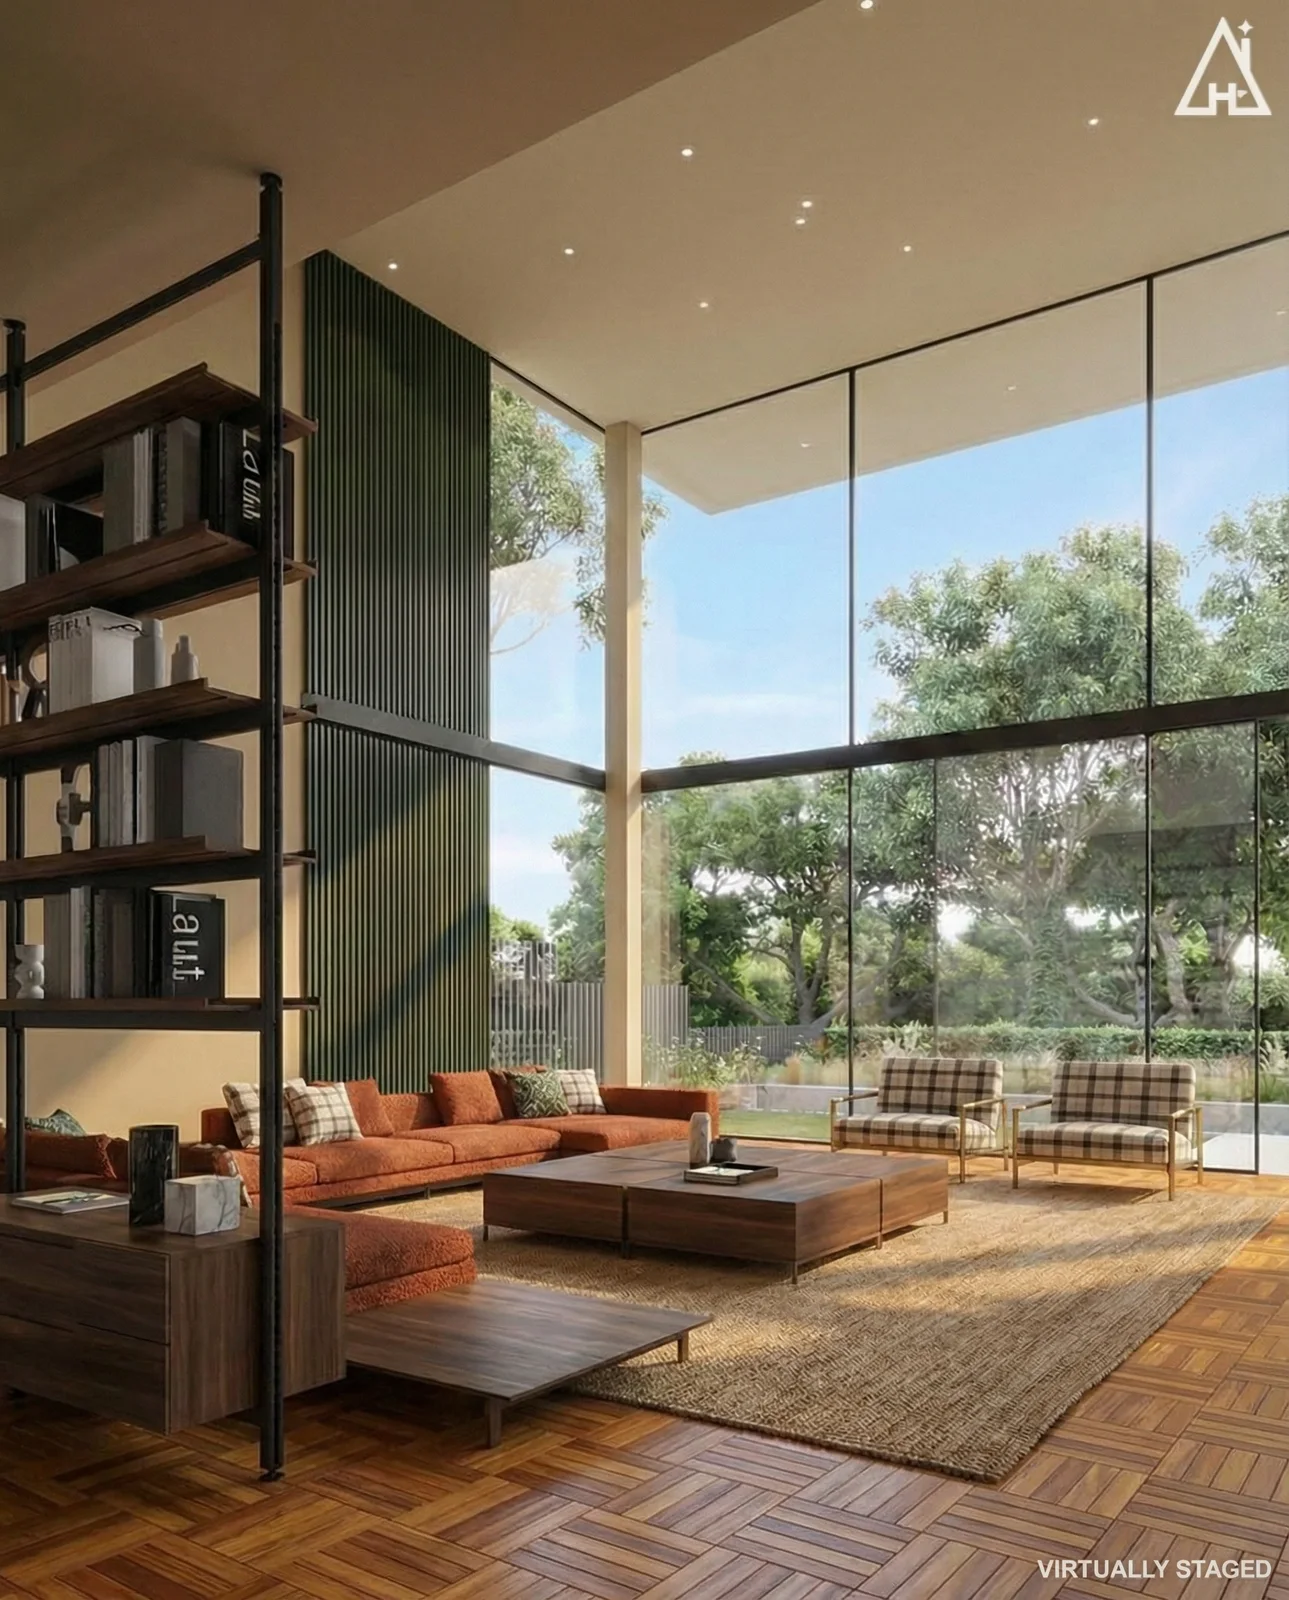
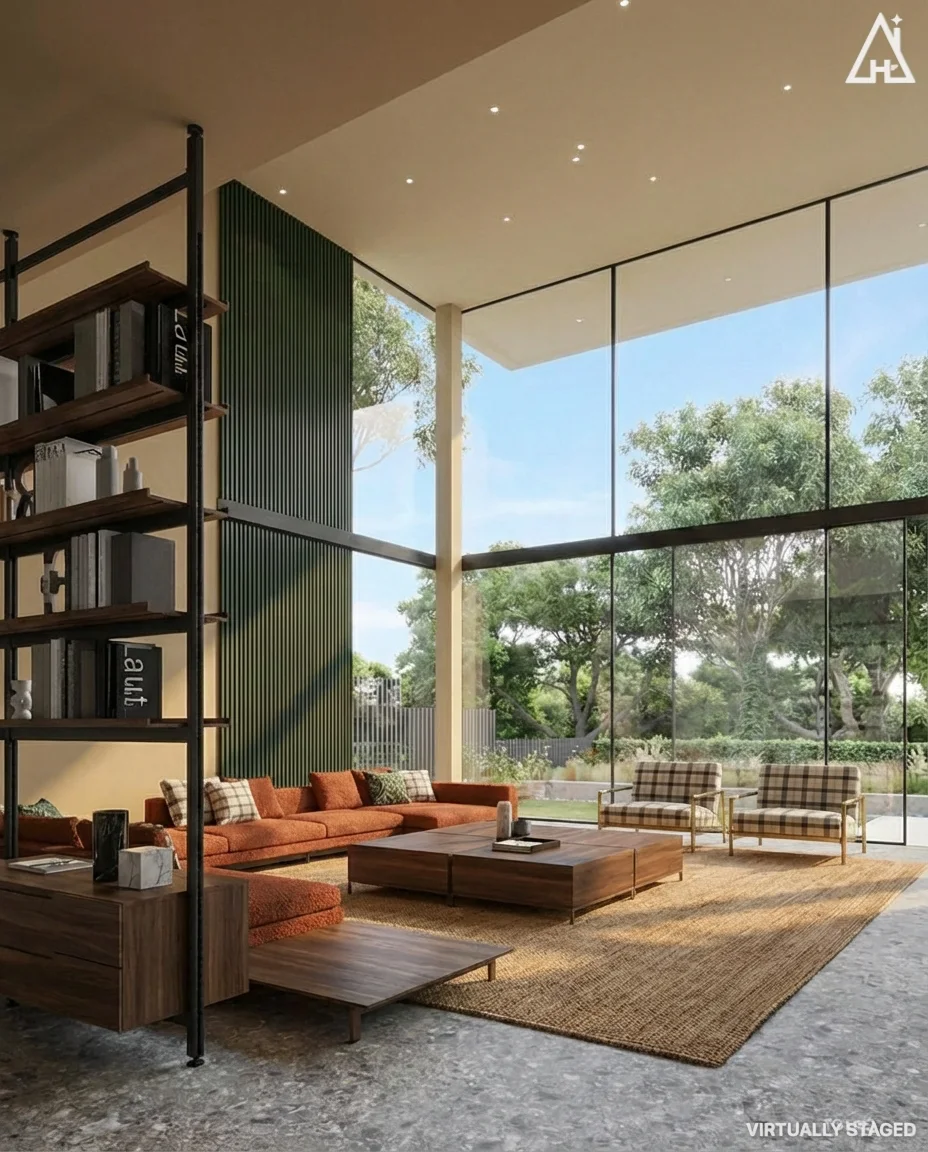
Change your room's flooring by uploading a reference image. This tool replaces the existing flooring while maintaining accurate scale, perspective, lighting, and reflections.
 BeforeAfter
Drag to compare. Use arrow keys when focused.
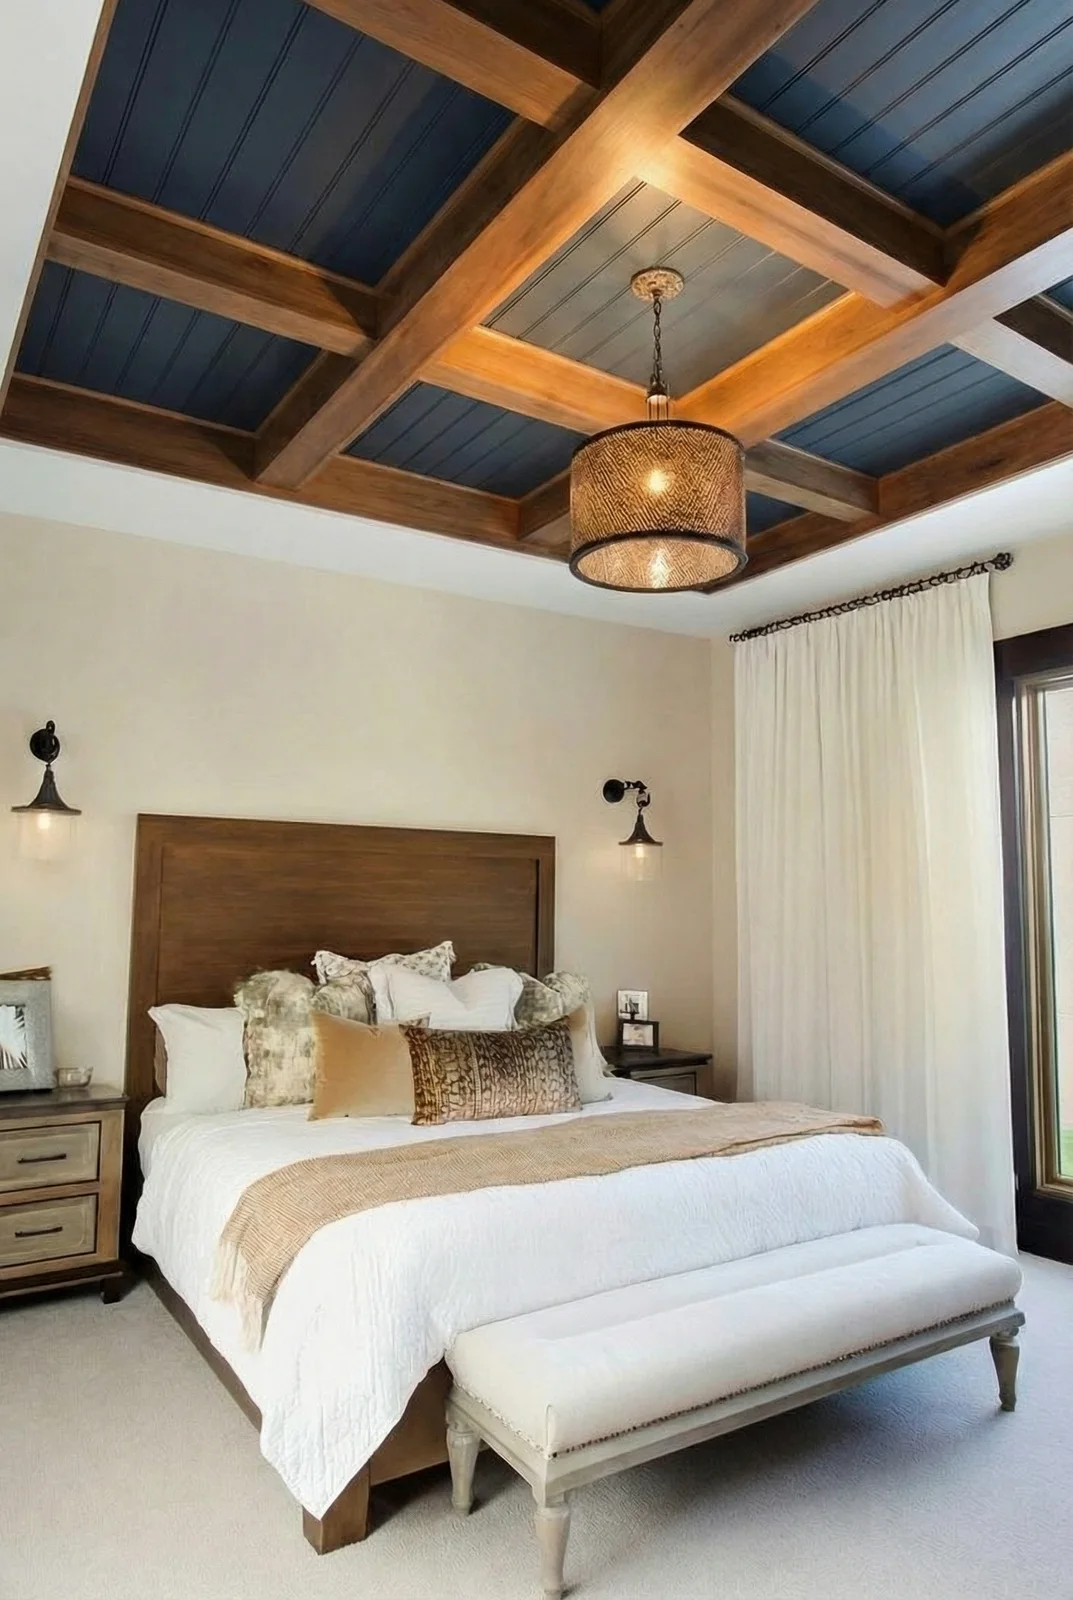
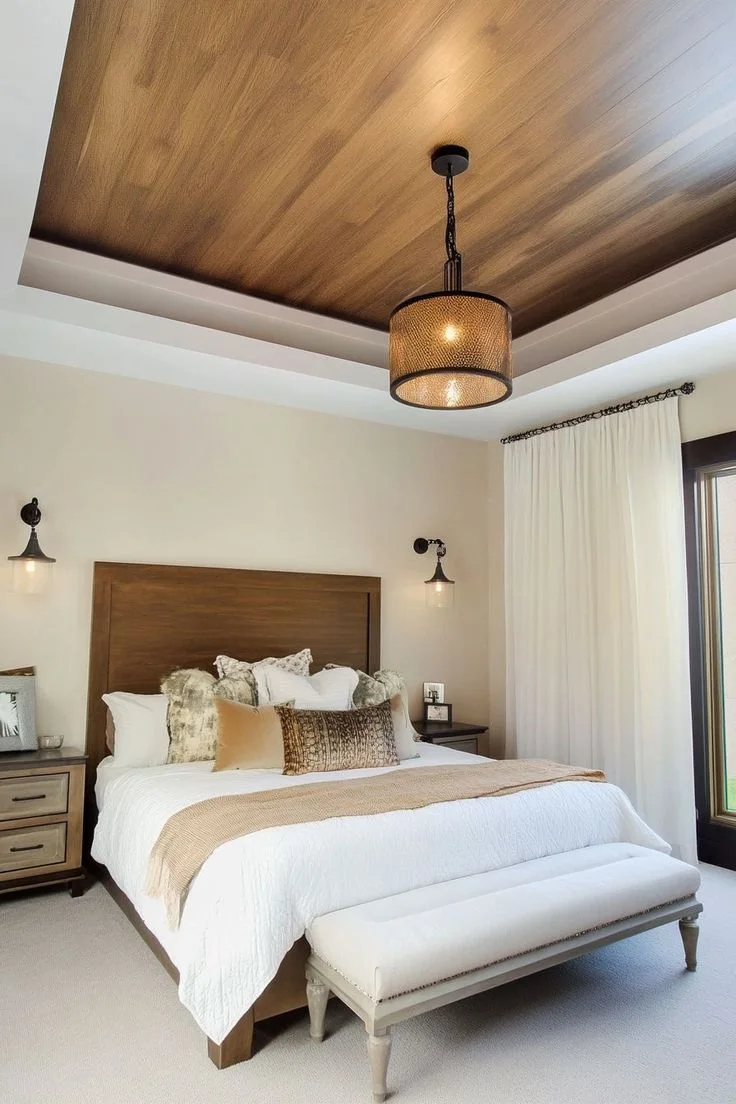
Redesign your ceiling by uploading a reference image. This tool updates the ceiling while preserving existing light fixtures and maintaining balanced brightness across the space.
 BeforeAfter
Drag to compare. Use arrow keys when focused.
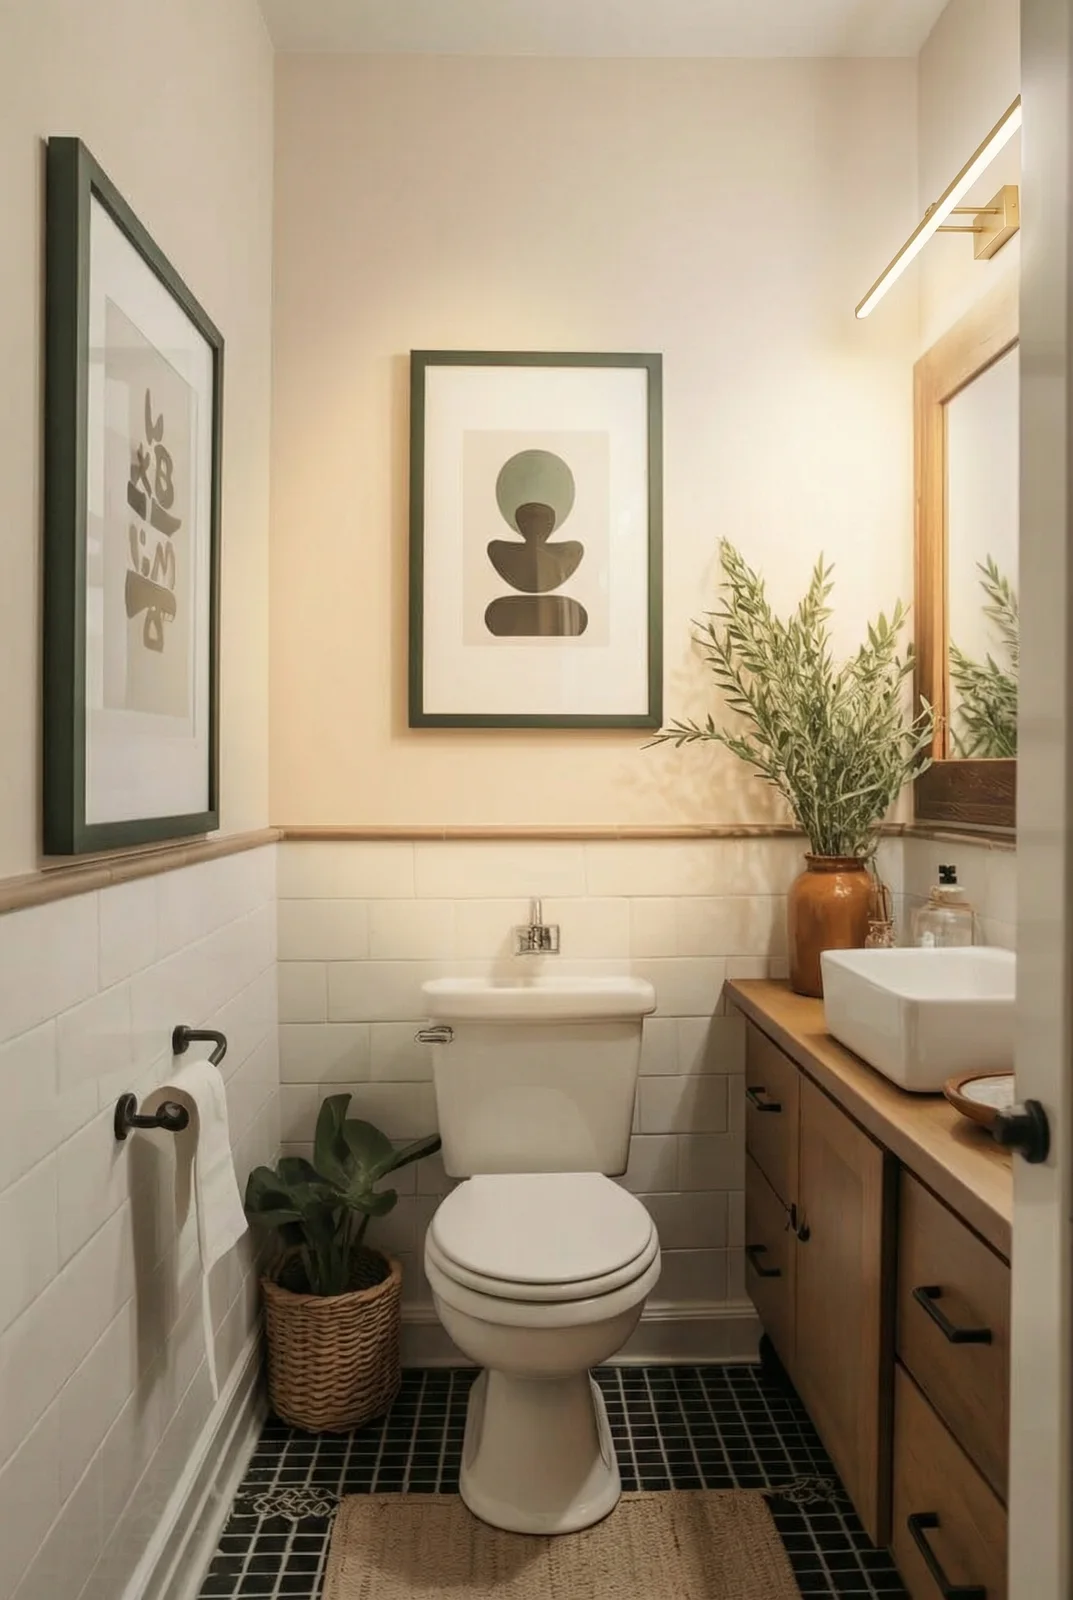
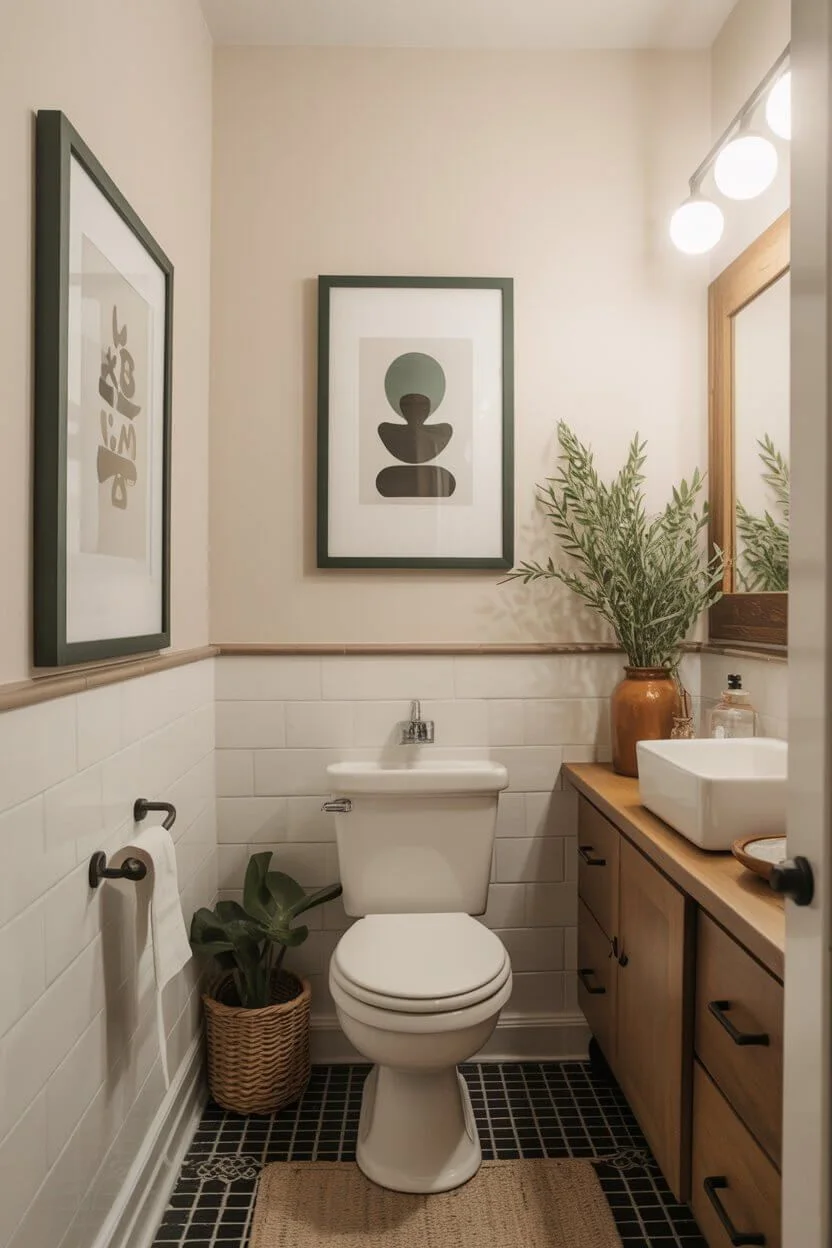
Replace lighting fixtures in your room by uploading a reference image. This tool swaps your existing lights with new ones while maintaining consistent brightness and colour temperature.
 BeforeAfter
Drag to compare. Use arrow keys when focused.
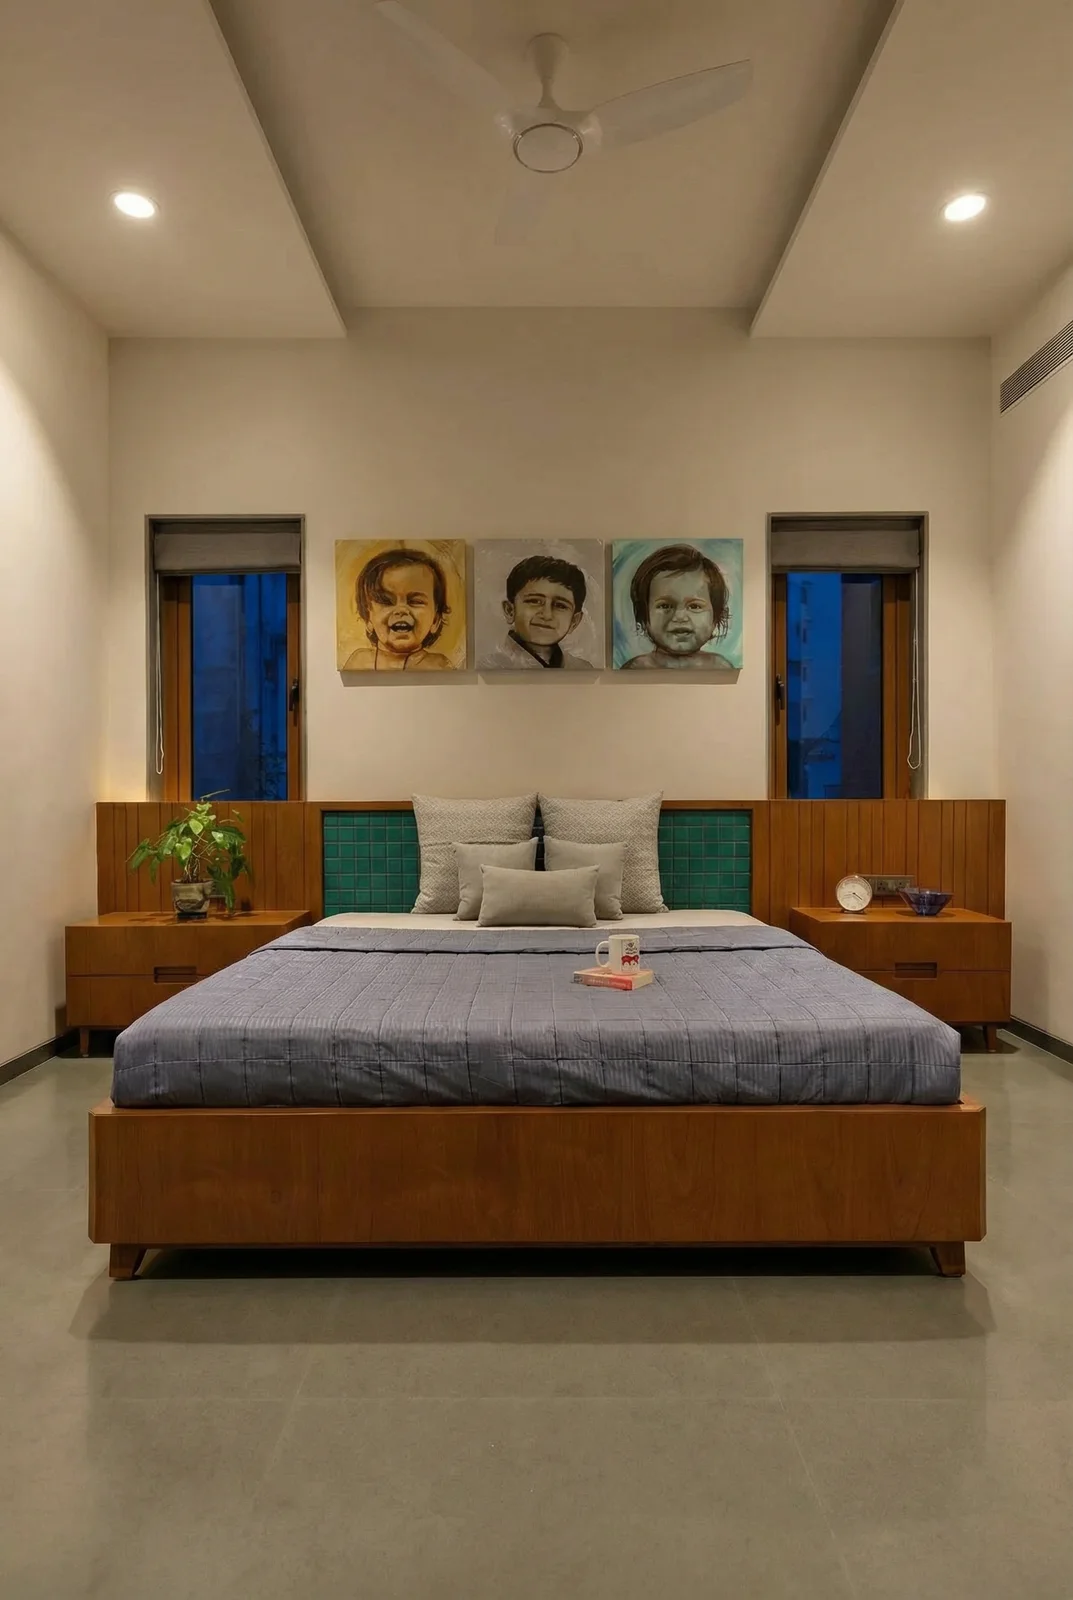
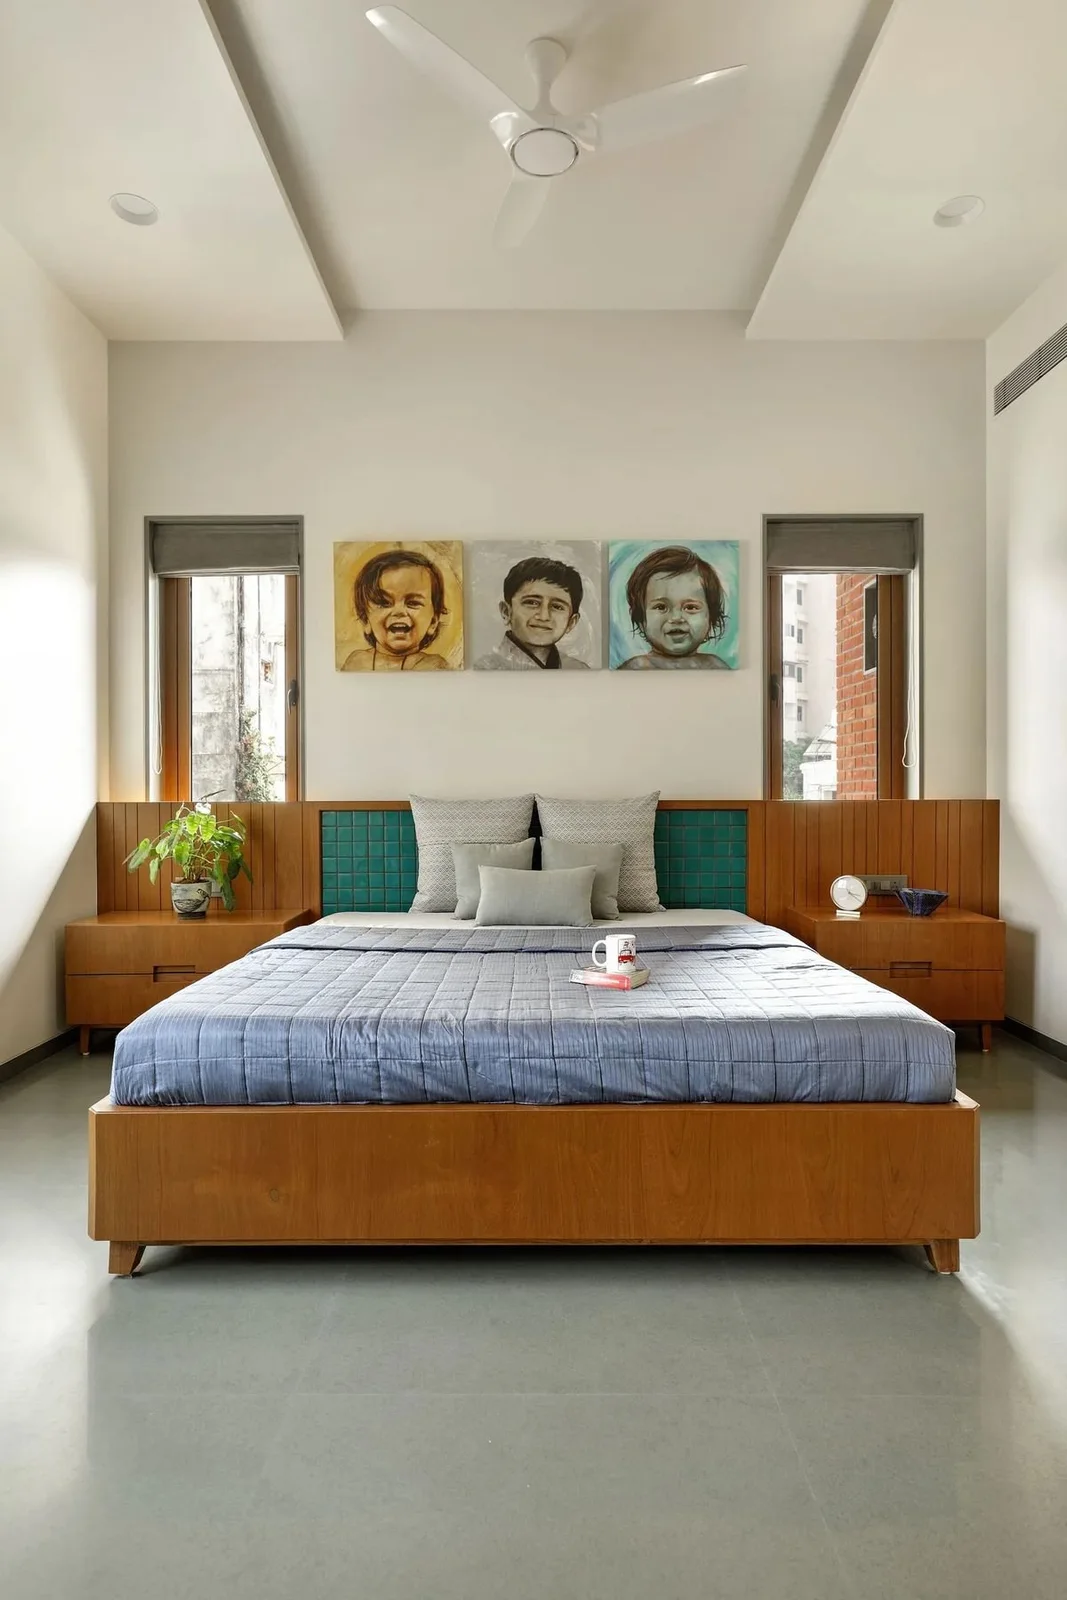
Preview your room in different lighting moods by selecting from scenes like daylight, evening, or night. This tool adjusts lighting, shadows, and highlights to match the chosen environment.
 BeforeAfter
Drag to compare. Use arrow keys when focused.
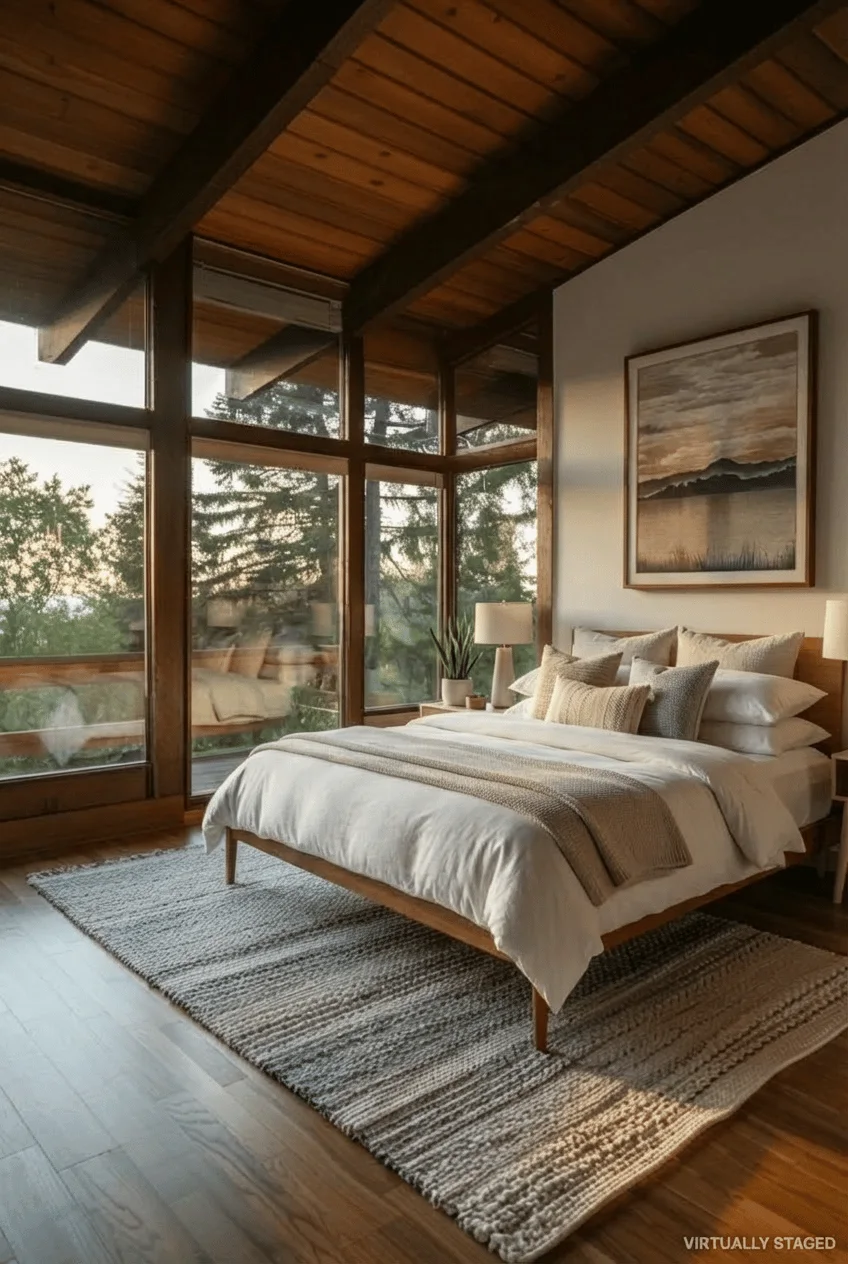
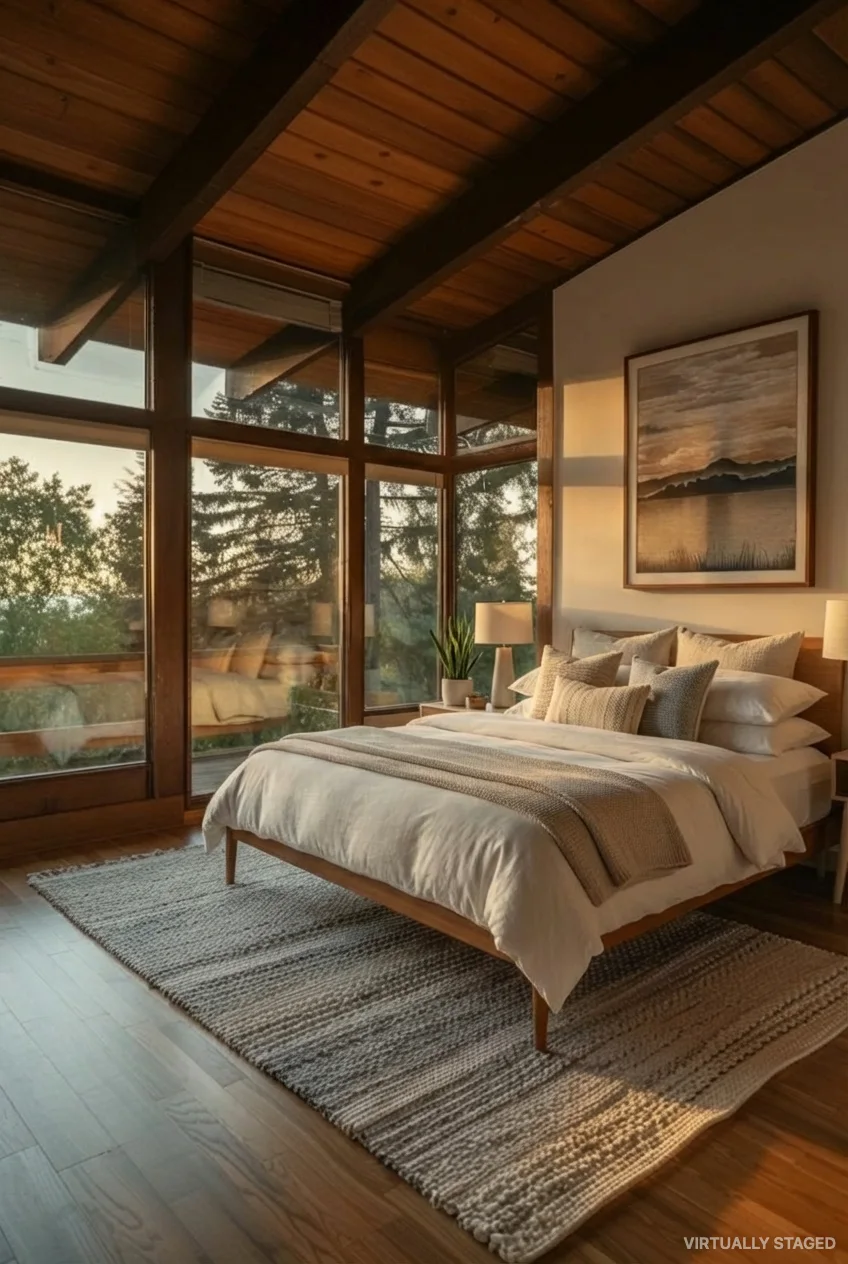
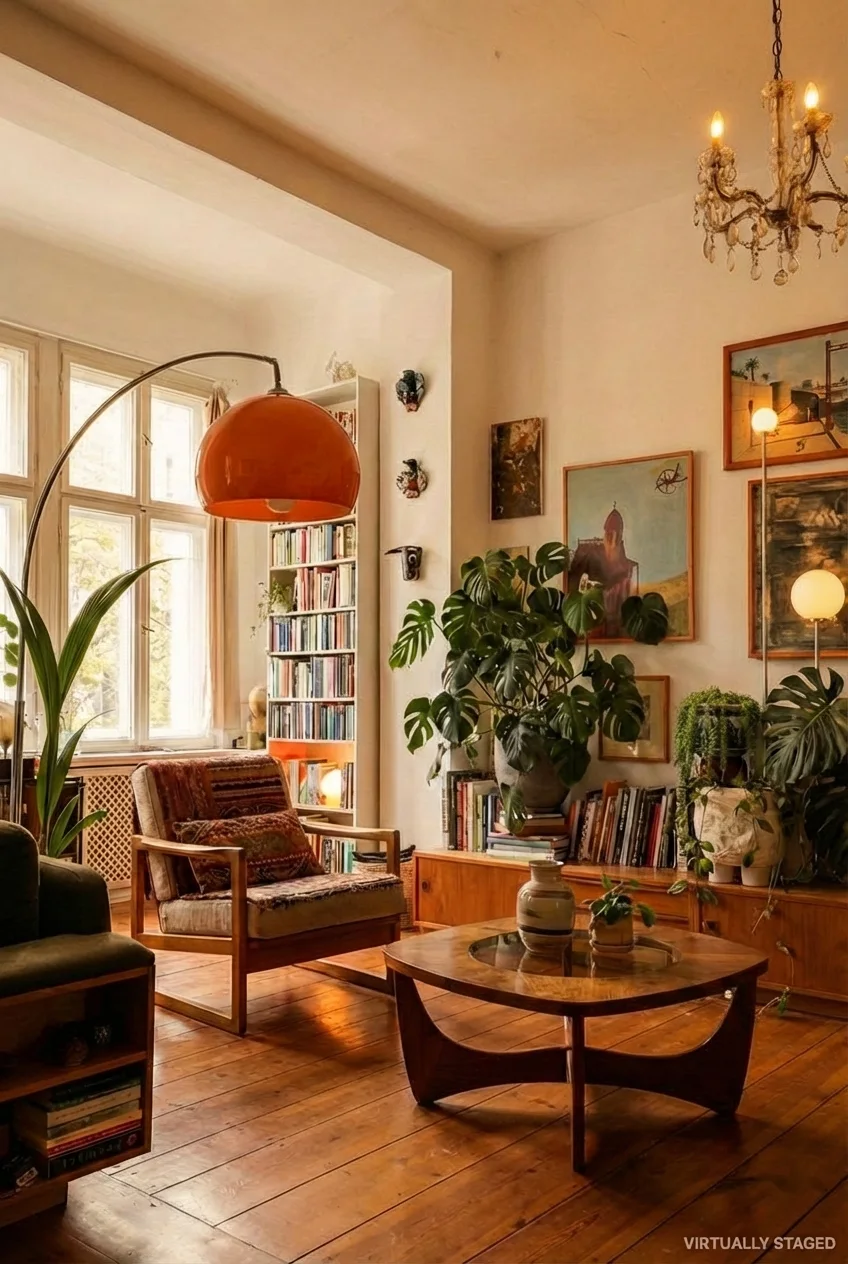
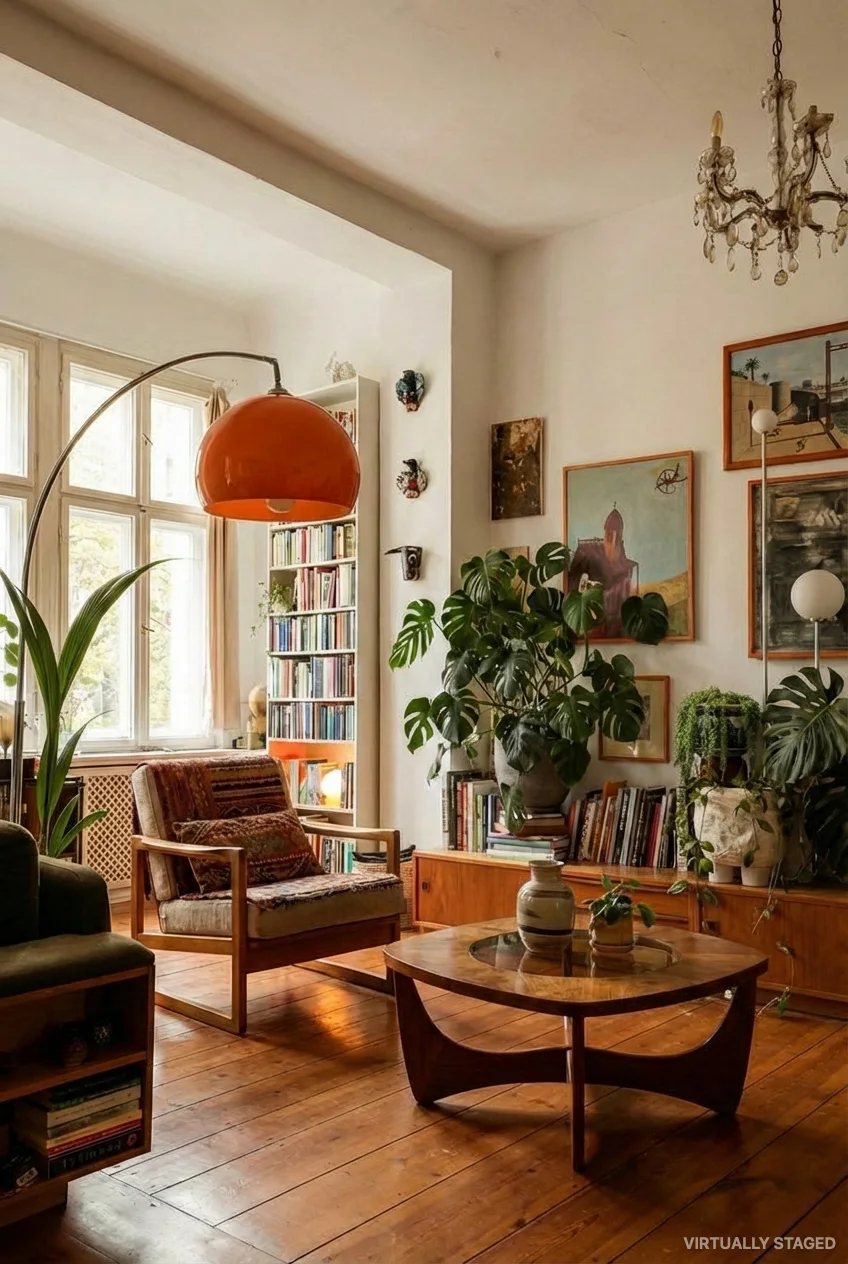
Adjust the overall brightness of your room by selecting a level from soft to bright. This tool balances natural and artificial light to achieve the desired intensity.
 BeforeAfter
Drag to compare. Use arrow keys when focused.
Shift your room's colour tone from warm to cool. This tool adjusts the overall colour balance while preserving true material colours and finishes.
 BeforeAfter
Drag to compare. Use arrow keys when focused.
Change the sky visible through your windows by selecting a sky tone. This tool updates the exterior view while naturally adjusting interior lighting and reflections.
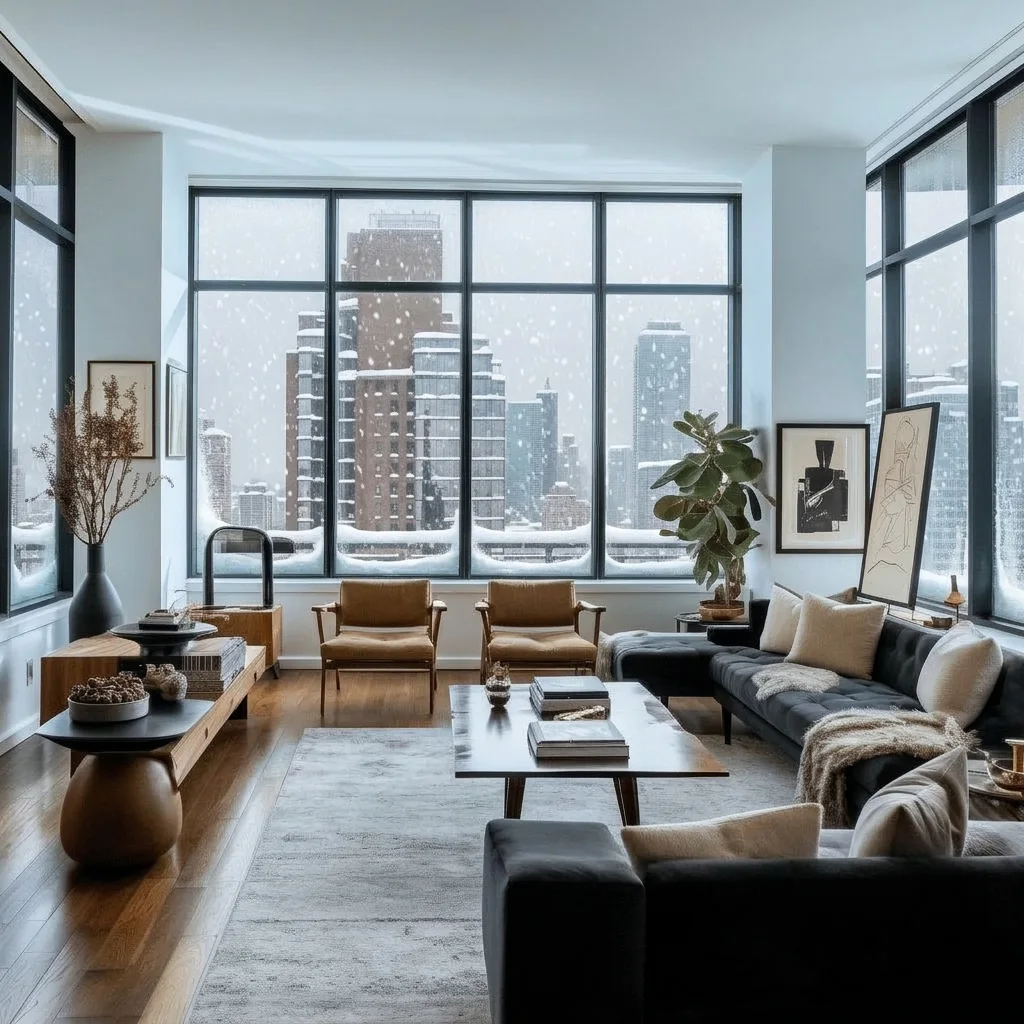
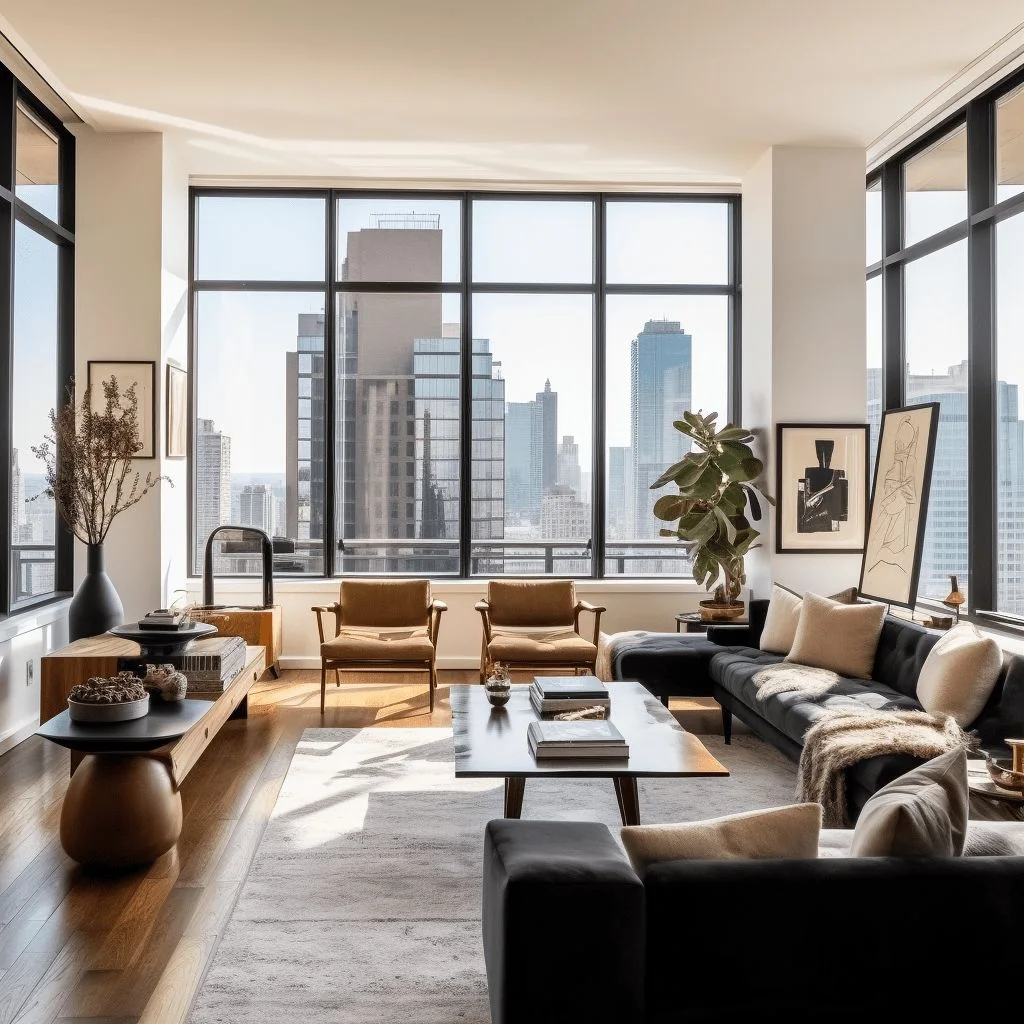 BeforeAfter
Drag to compare. Use arrow keys when focused.
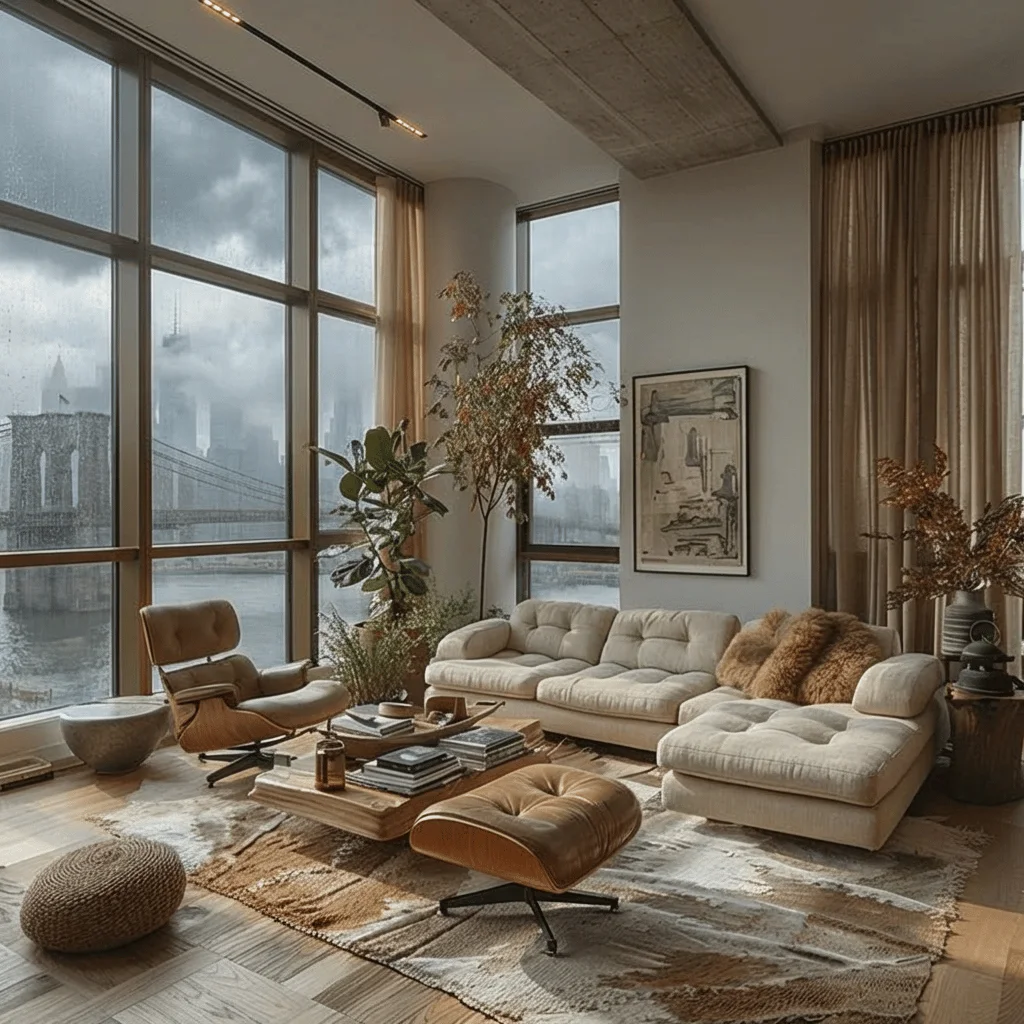
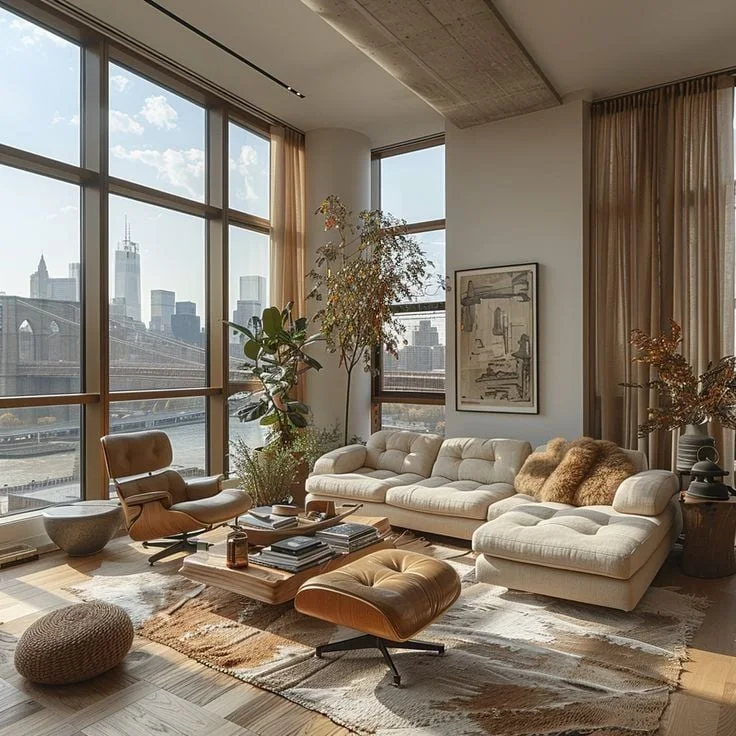
Visualise your room under different weather conditions like sunny, cloudy, or rainy. This tool modifies the outdoor view and adjusts indoor lighting and shadows accordingly.
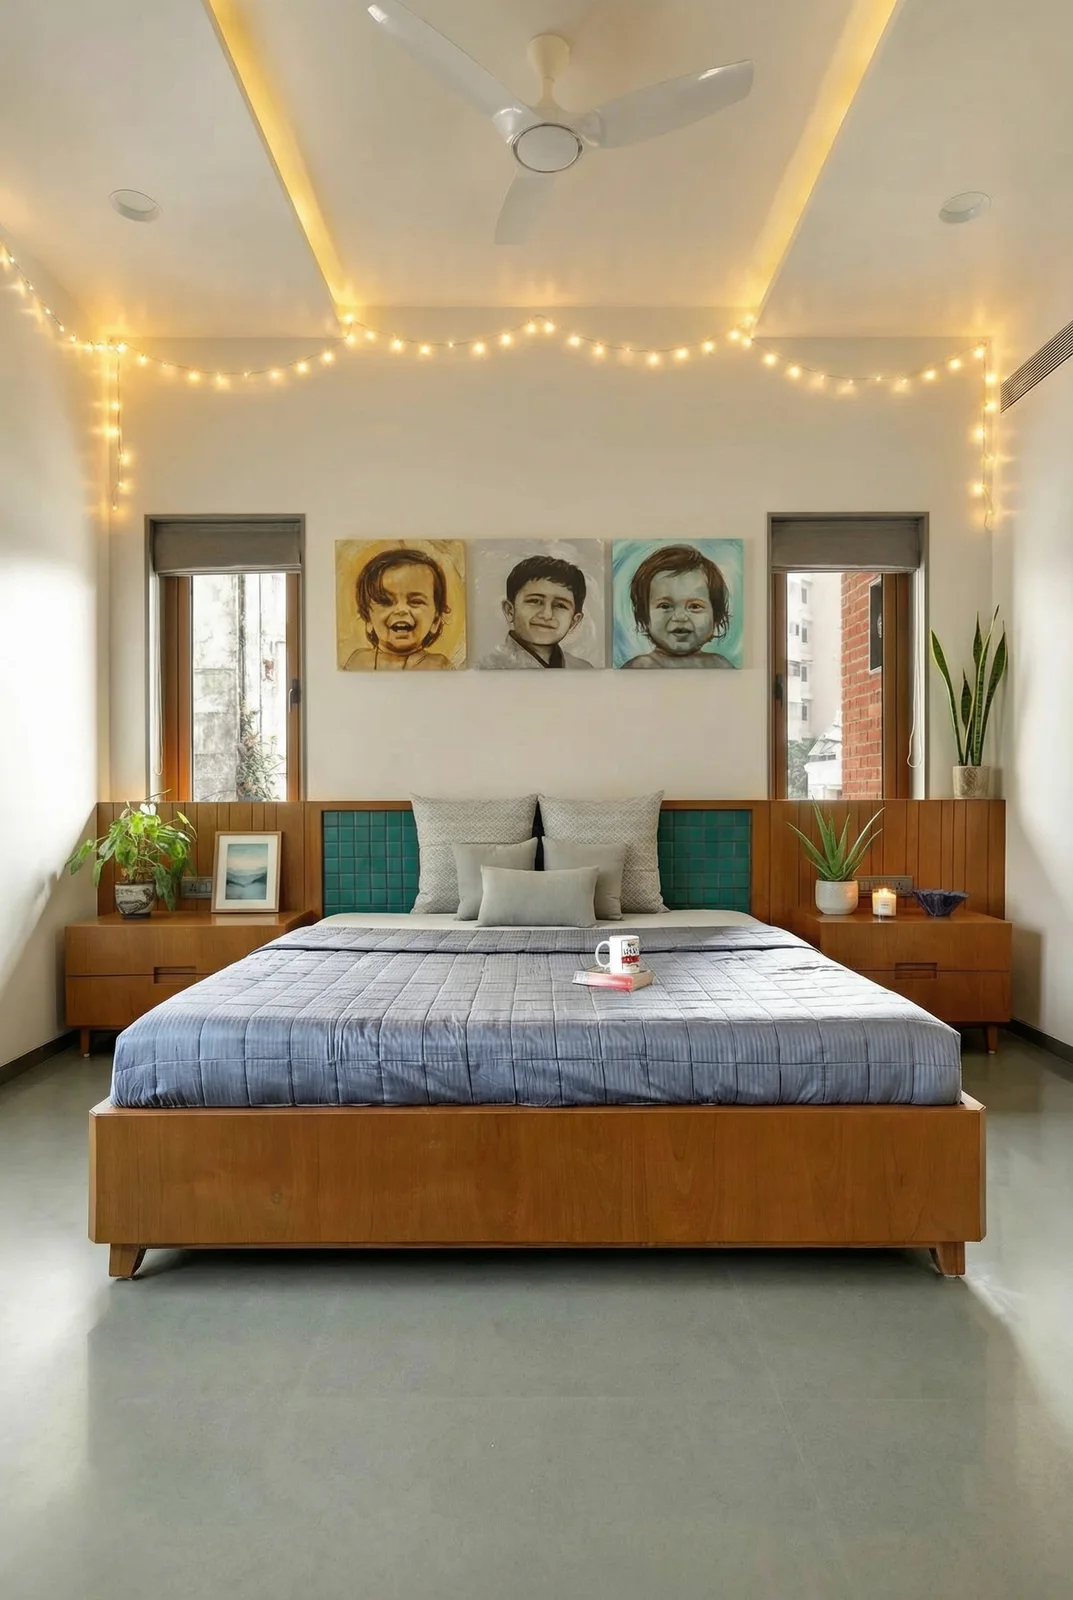
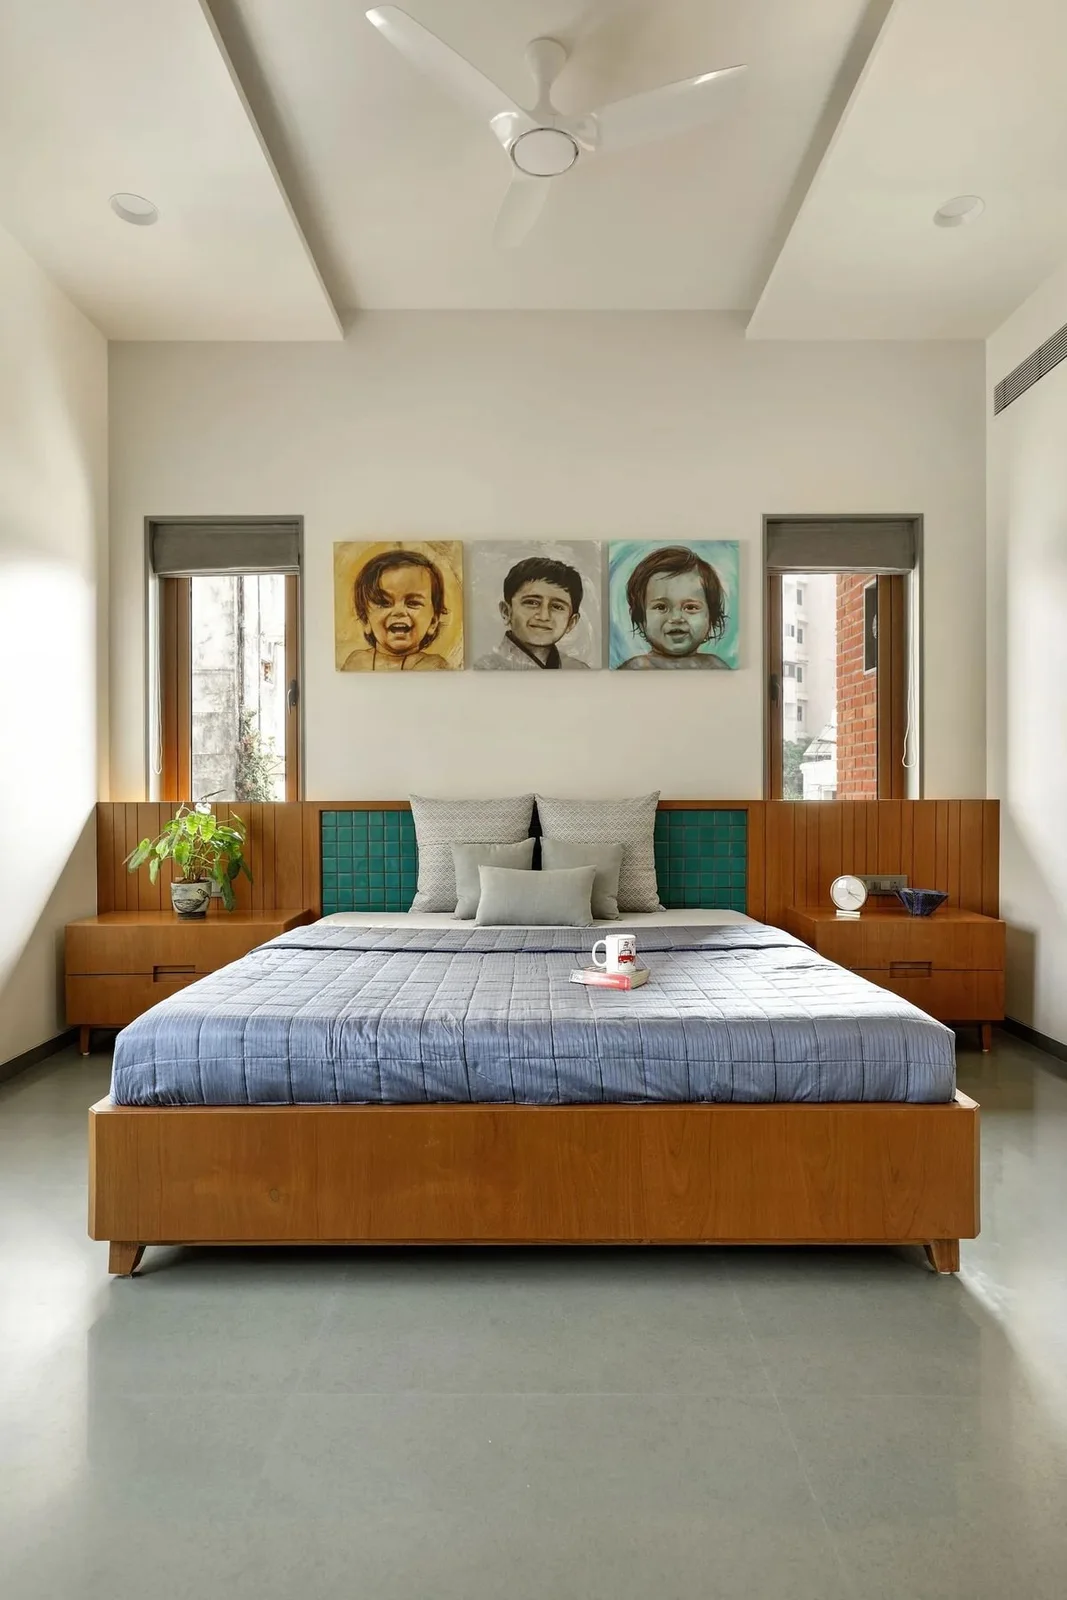 BeforeAfter
Drag to compare. Use arrow keys when focused.
Adjust the level of decor in your room from minimal to richly styled. This tool adds or reduces decorative elements while keeping large furniture unchanged.
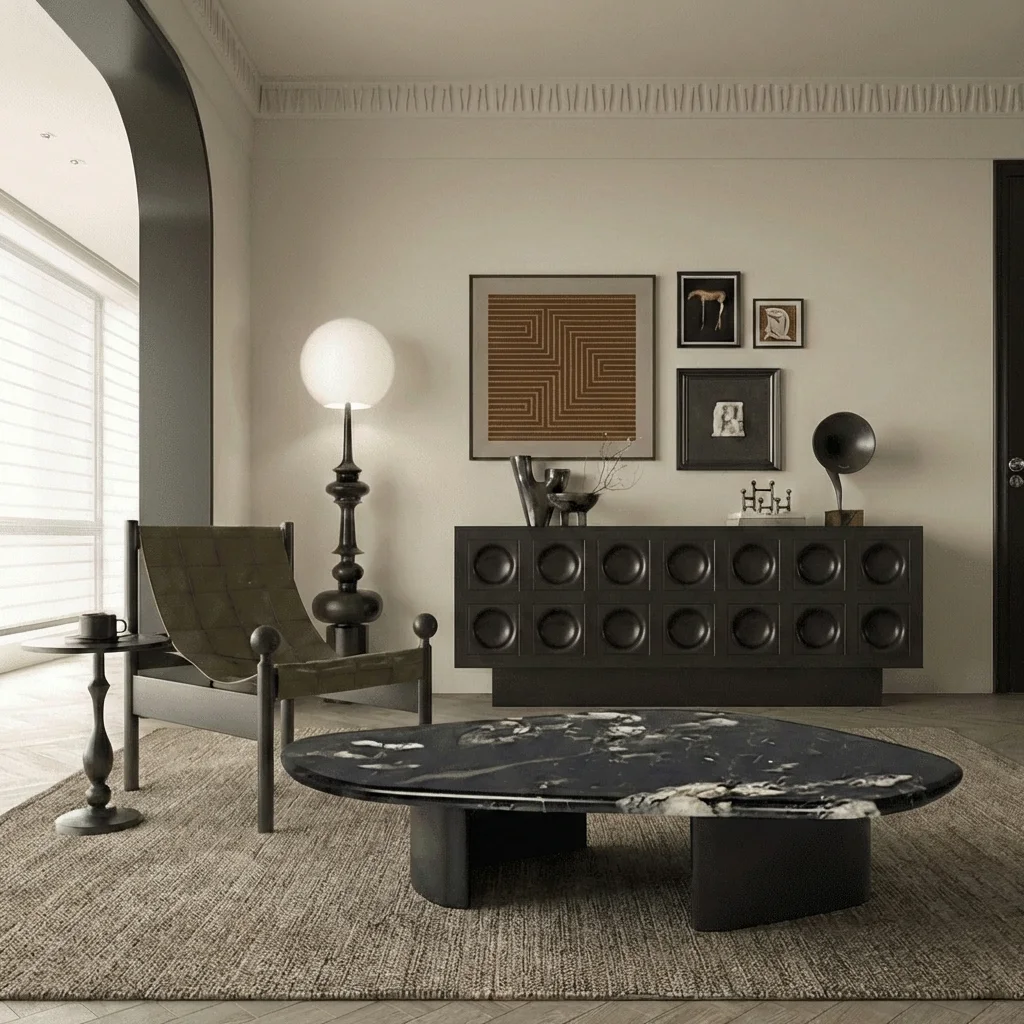
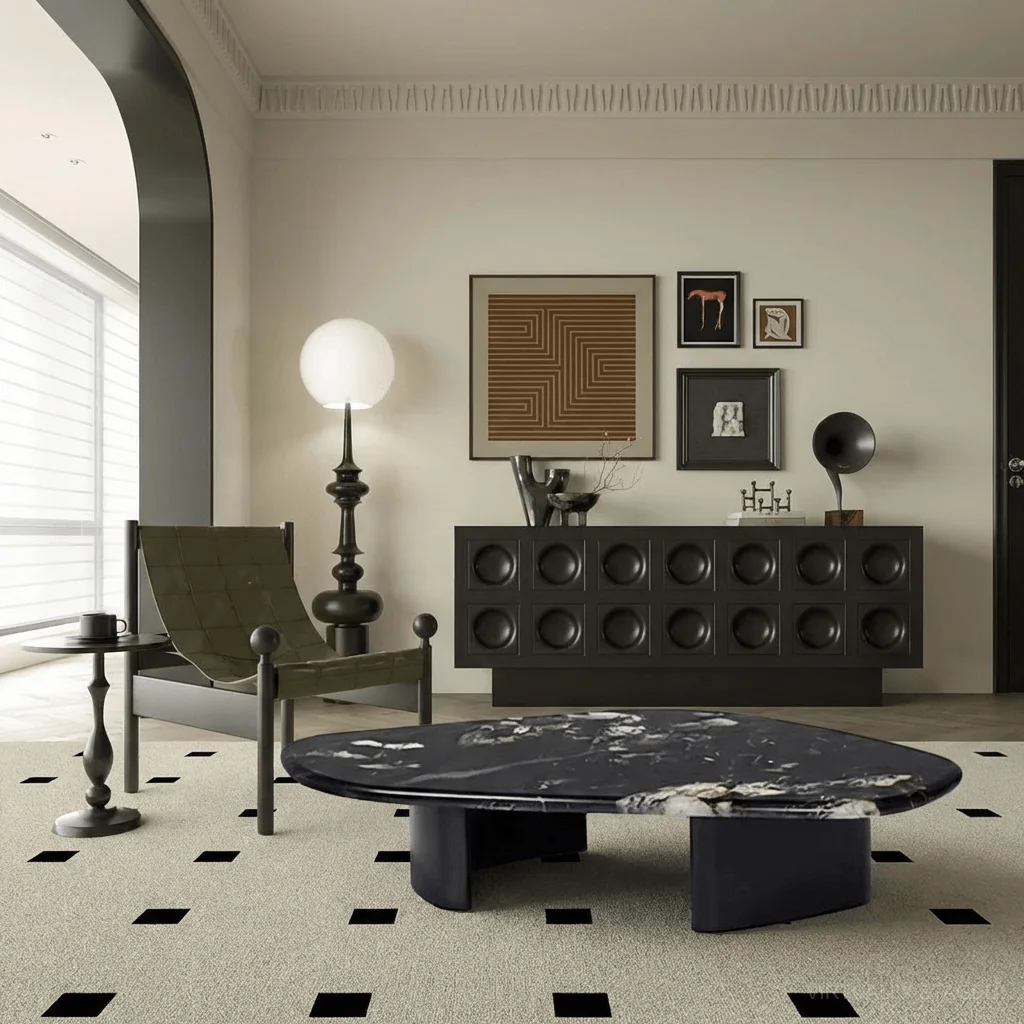 BeforeAfter
Drag to compare. Use arrow keys when focused.
Control rug size and placement by selecting a coverage level. This tool adjusts the rug relative to your furniture layout while maintaining realistic scale and alignment.
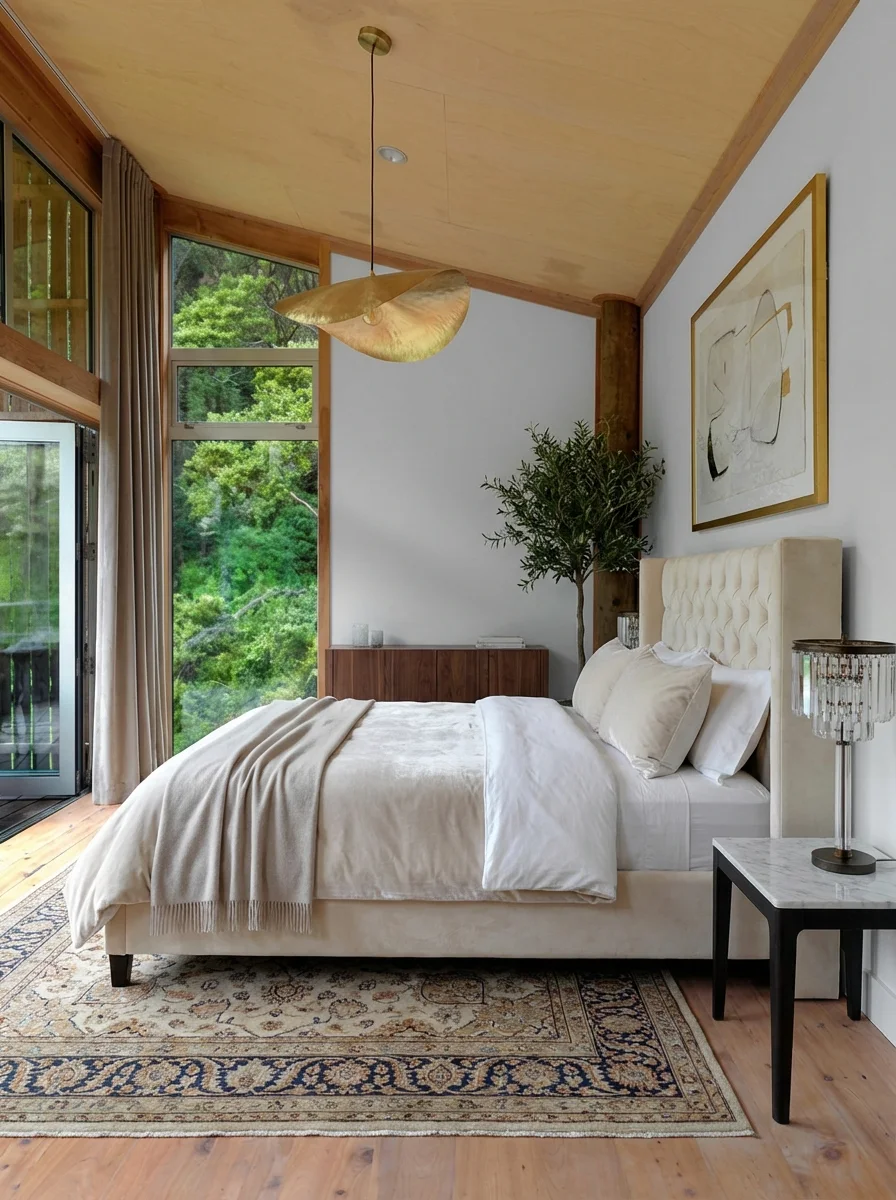
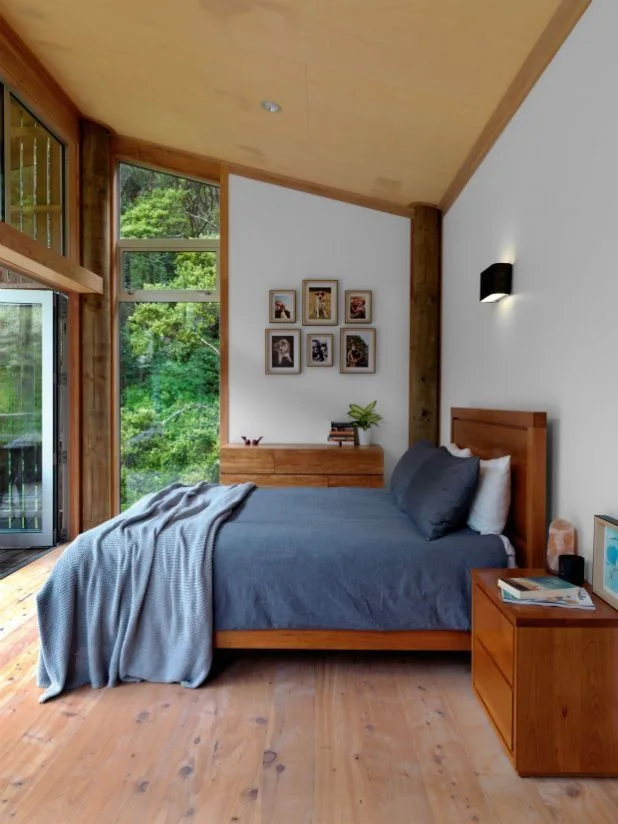 BeforeAfter
Drag to compare. Use arrow keys when focused.
Visualise your room across different budget tiers from save to splurge. This tool adjusts materials, finishes, and detailing to reflect the chosen budget level.
 BeforeAfter
Drag to compare. Use arrow keys when focused.
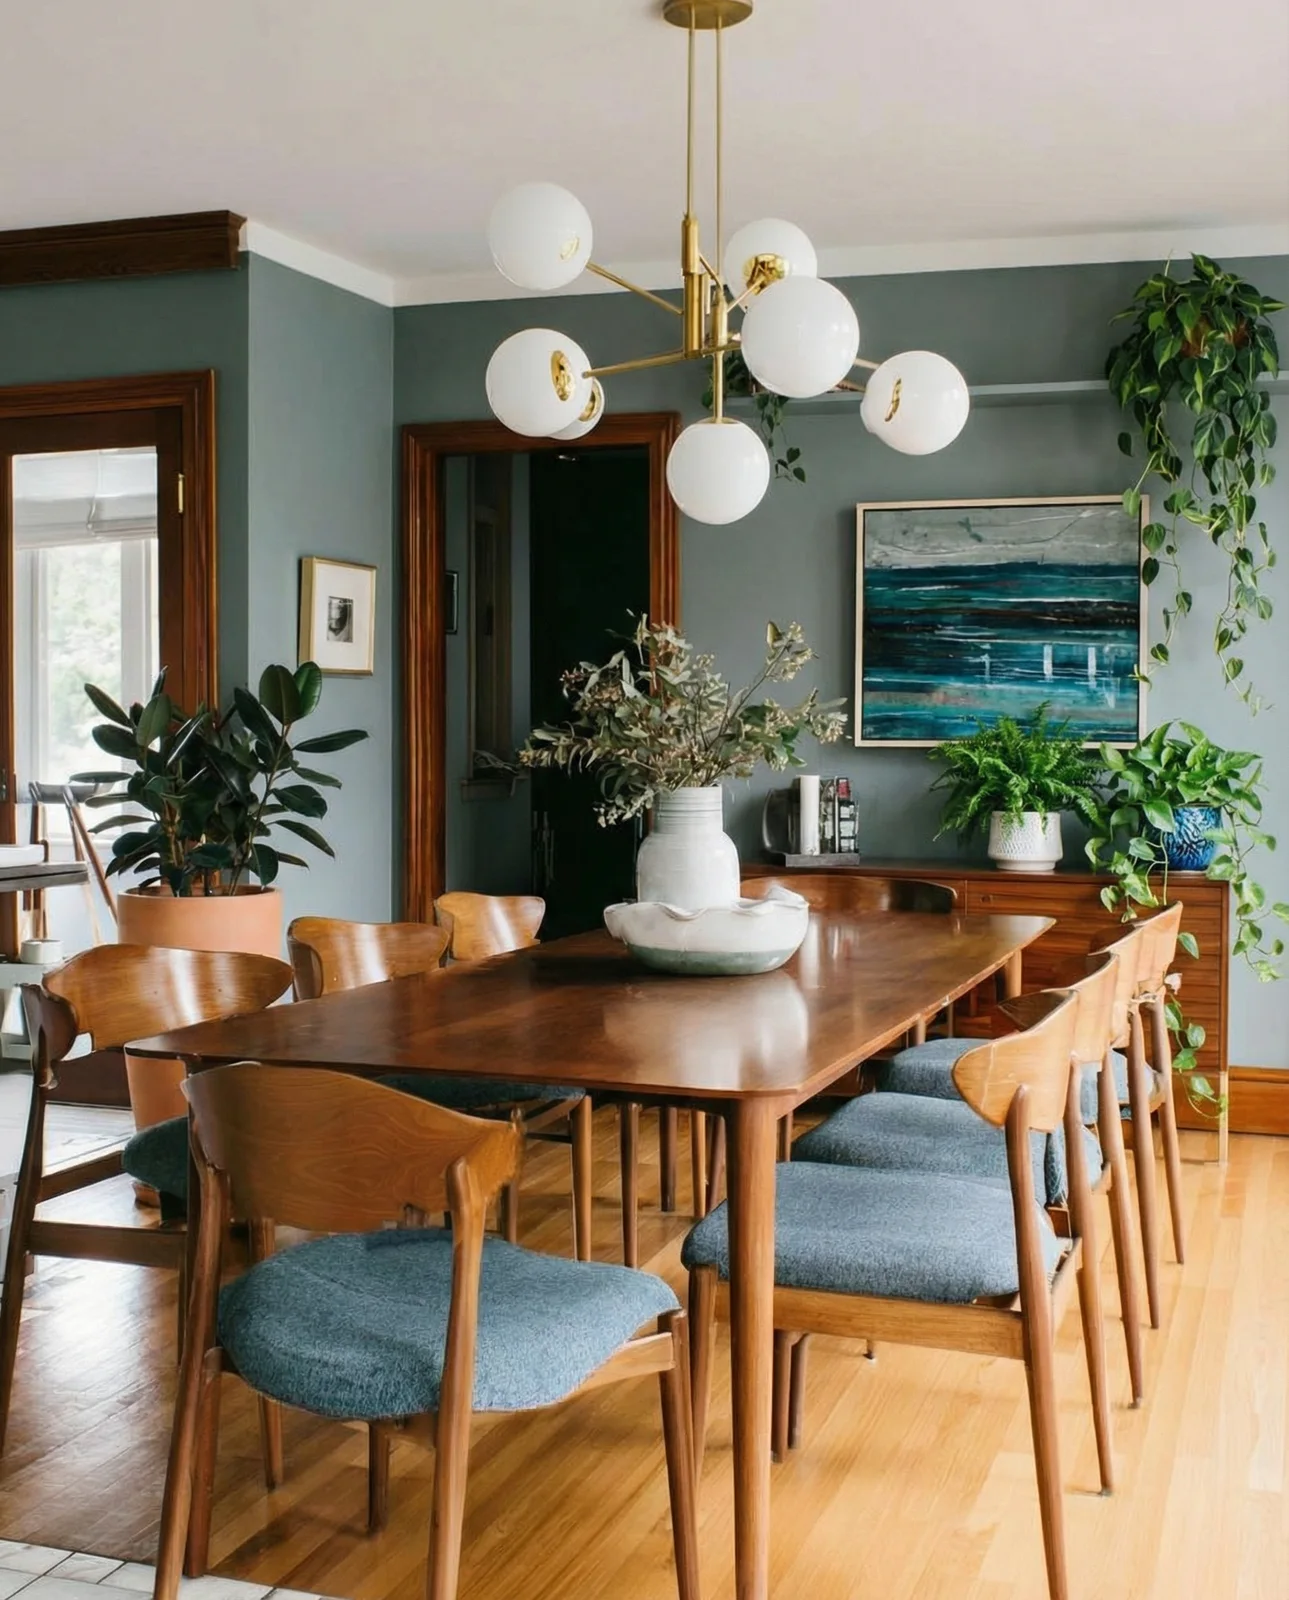
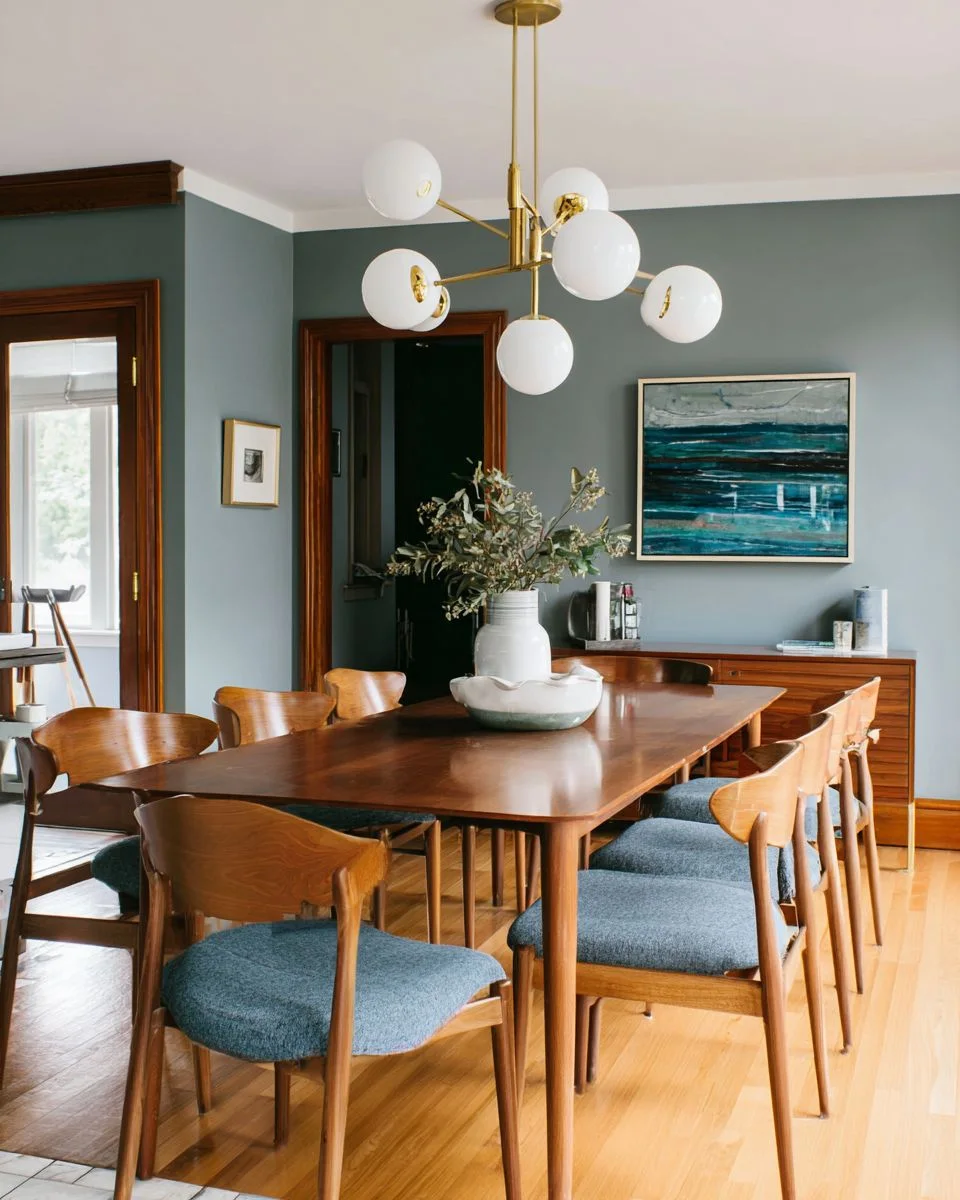
Add indoor plants to your room by selecting the level of greenery. This tool places plants in natural, balanced positions while adjusting lighting and shadows.
 BeforeAfter
Drag to compare. Use arrow keys when focused.
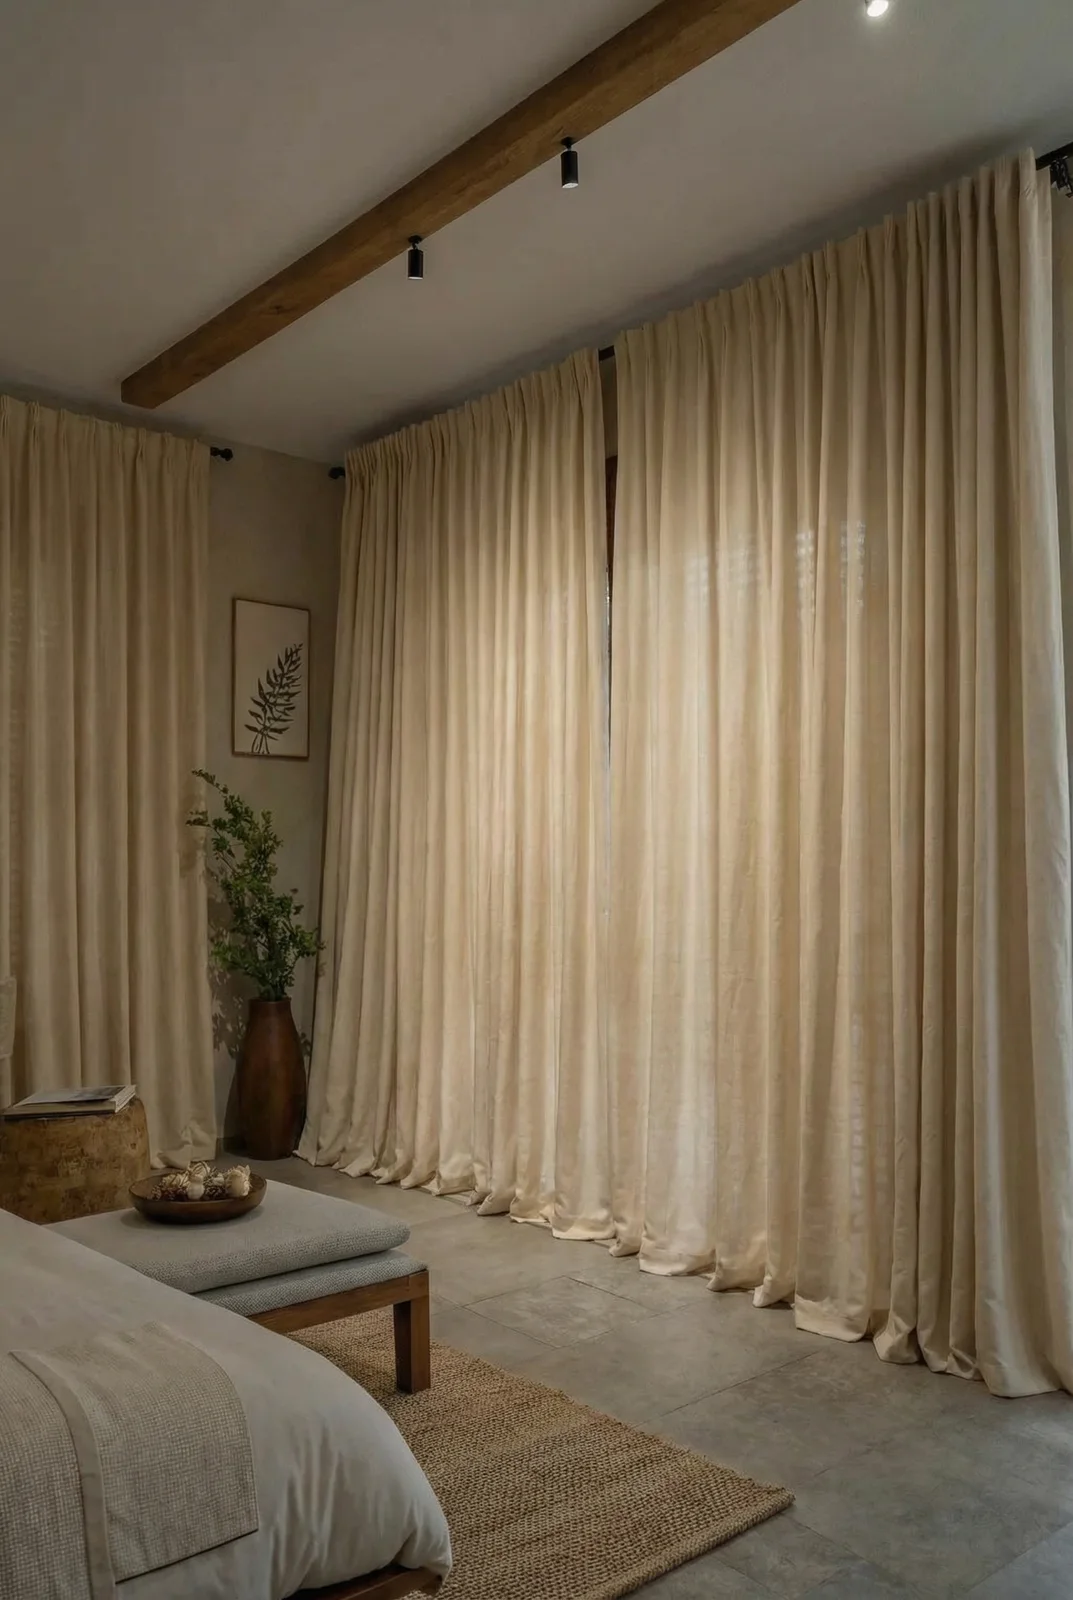
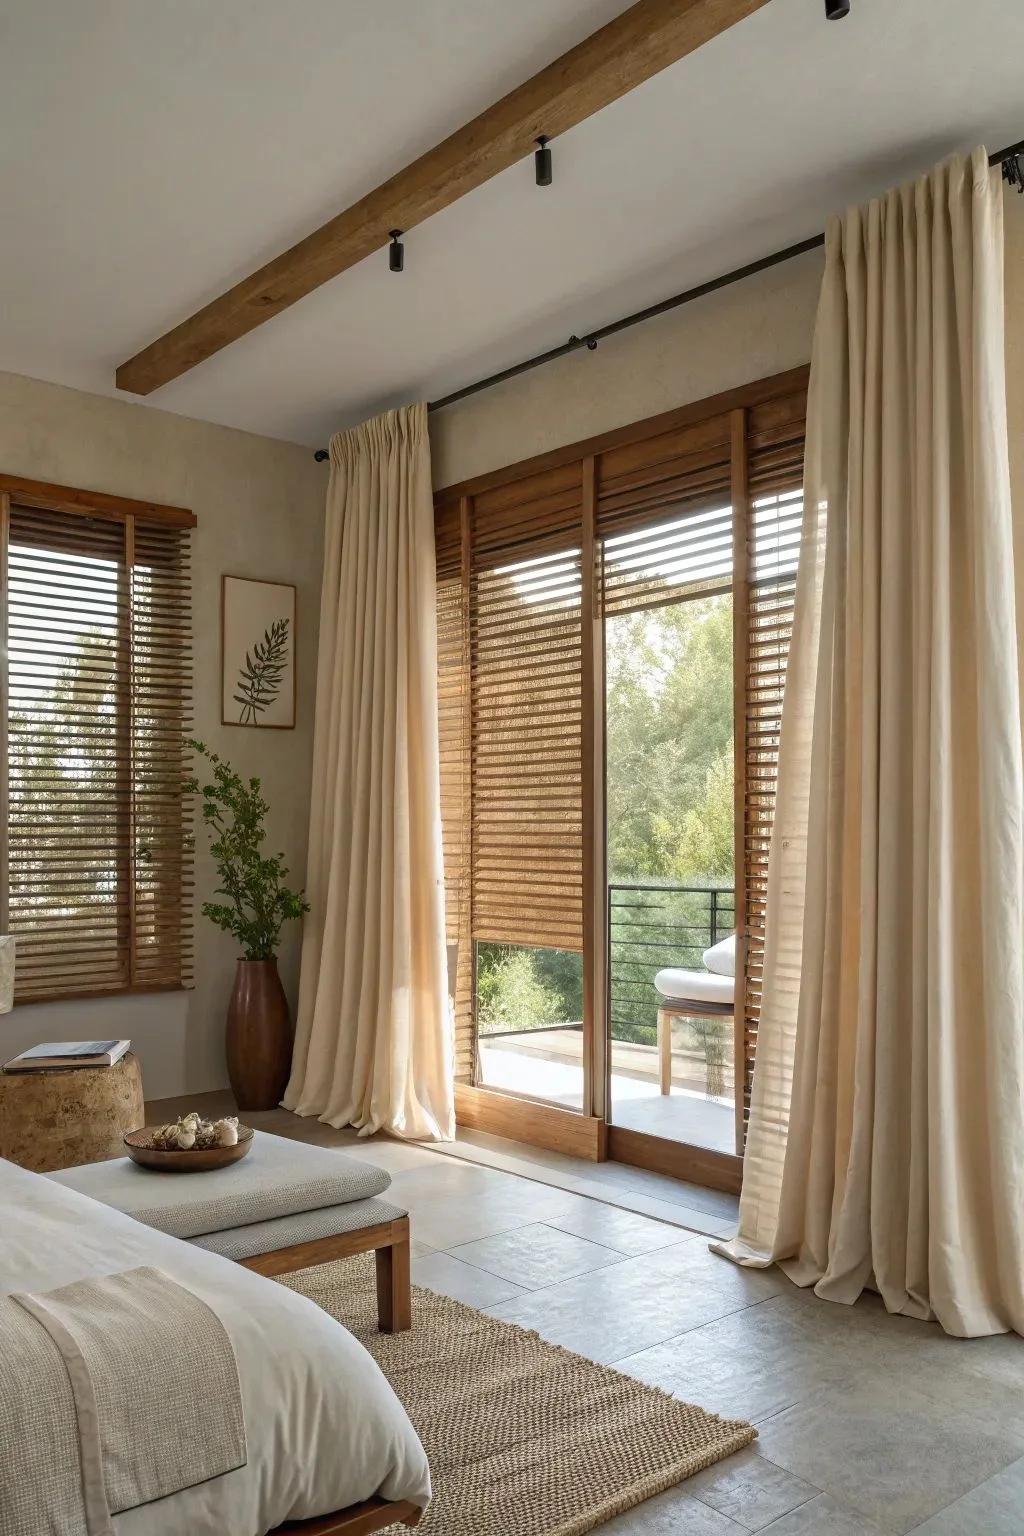
Adjust curtain styling and position by selecting from open, half-drawn, or closed. This tool modifies the drapes while maintaining fabric texture and natural light interaction.
 BeforeAfter
Drag to compare. Use arrow keys when focused.
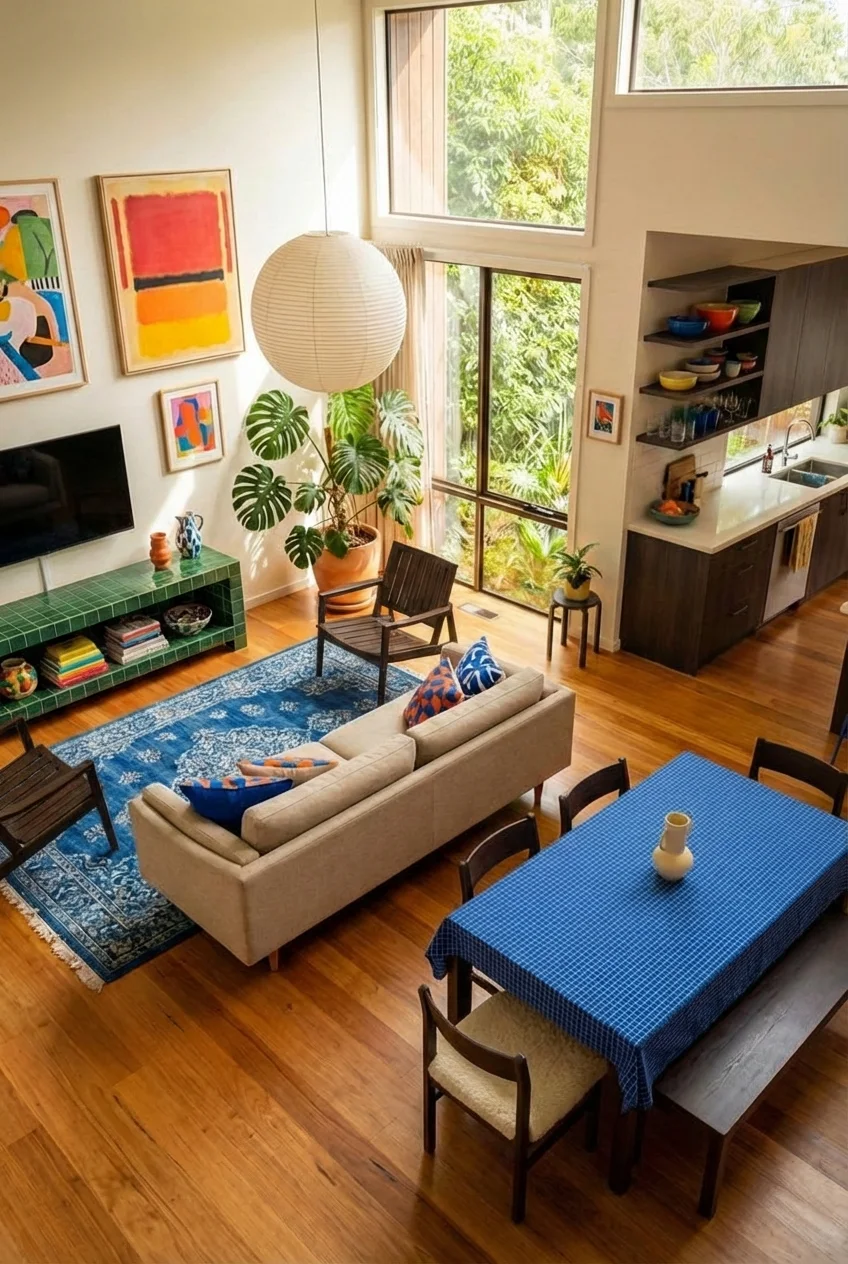
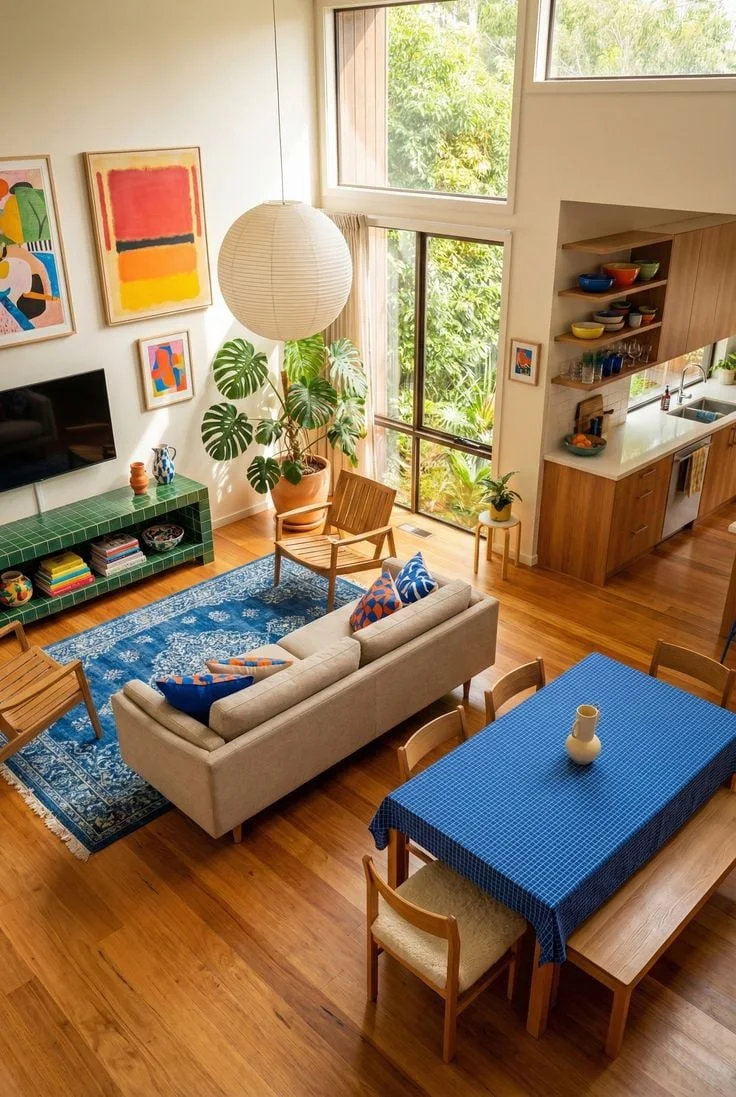
Shift the tone of wooden surfaces from light to dark. This tool updates wood elements while preserving grain patterns, texture, and realistic lighting.
 BeforeAfter
Drag to compare. Use arrow keys when focused.
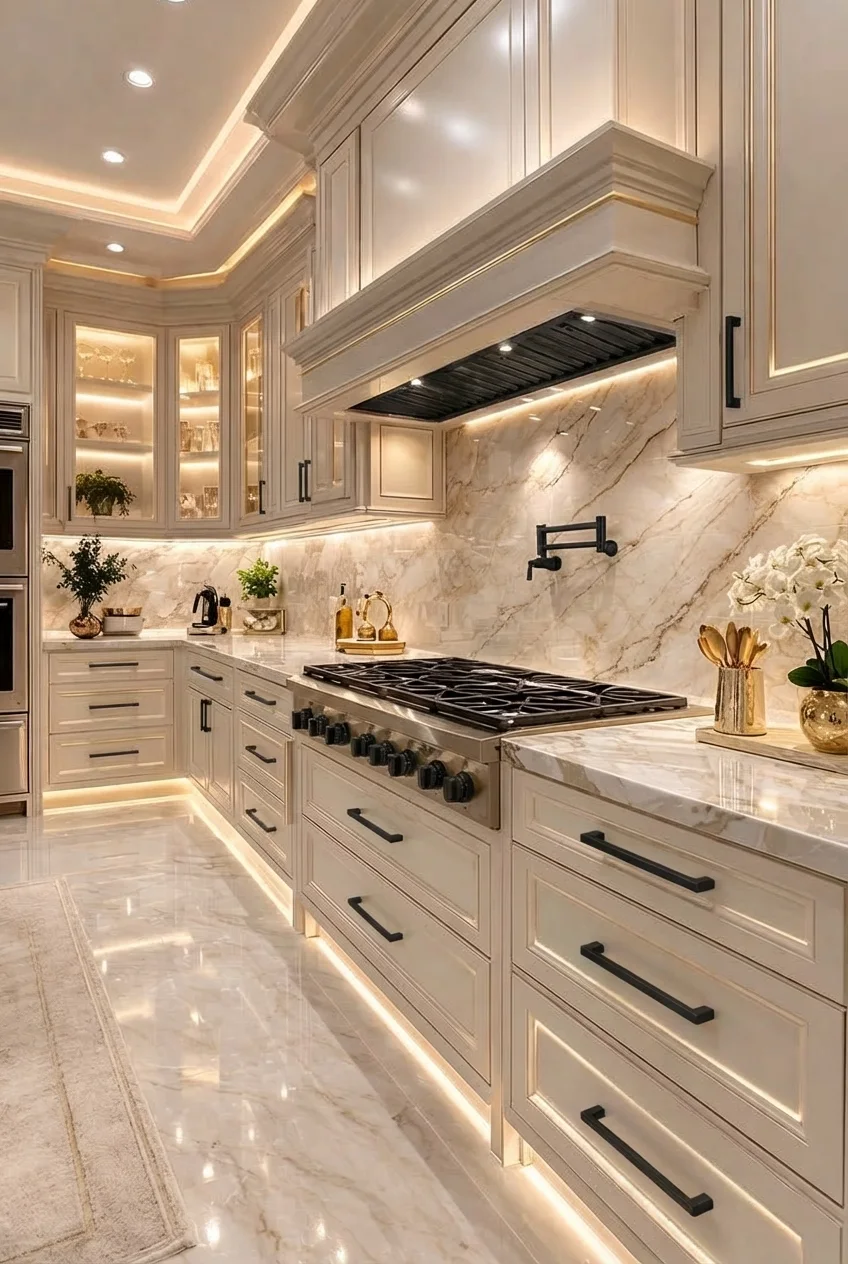
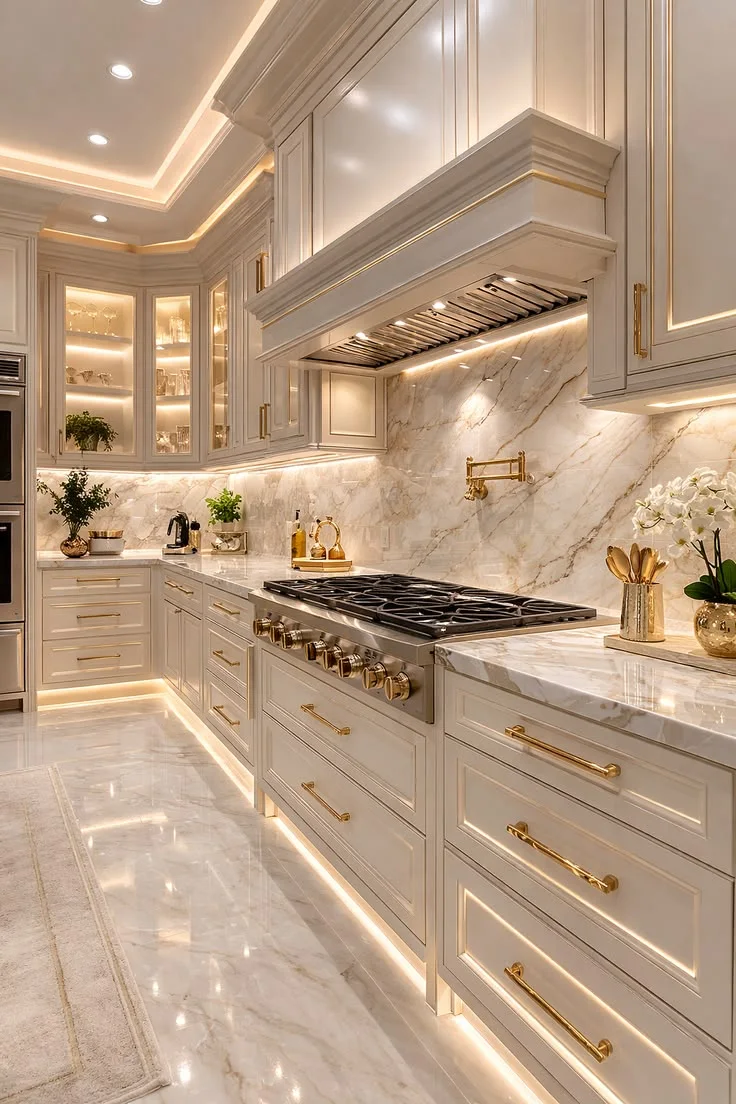
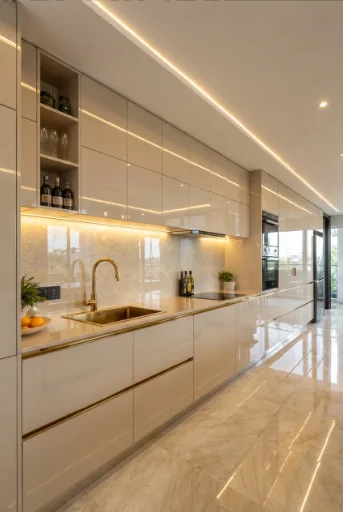
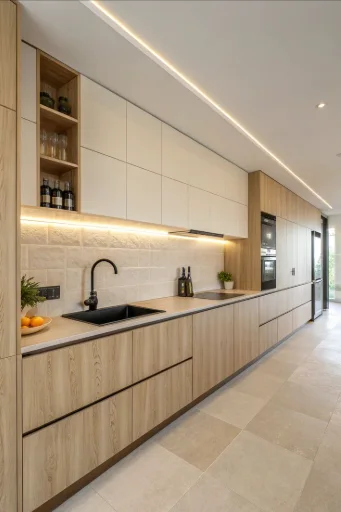
Change metallic surfaces to a different finish like brass, chrome, or matte black. This tool updates all metal elements while maintaining reflections and material realism.
 BeforeAfter
Drag to compare. Use arrow keys when focused.
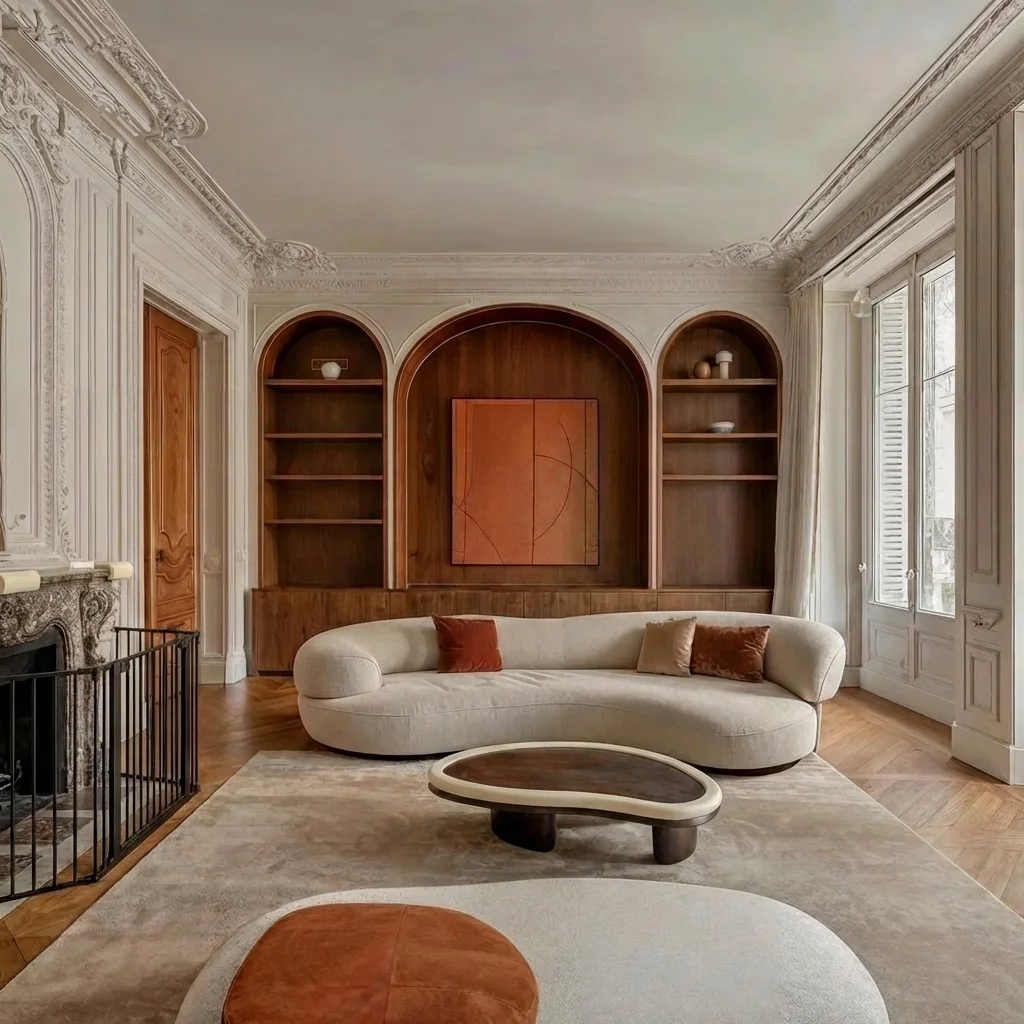
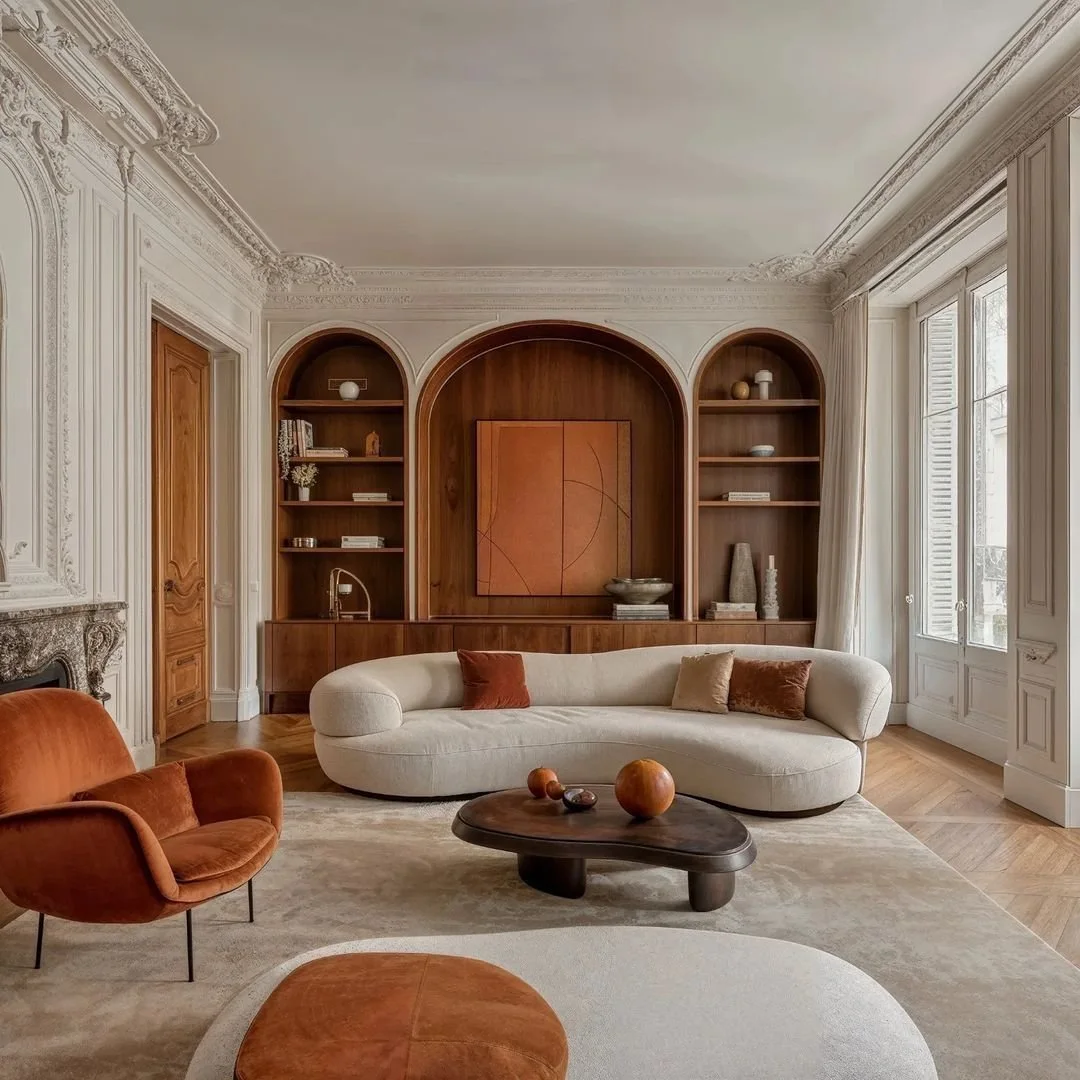
Adjust your room's maintenance needs from low to high. This tool modifies materials, fabrics, and styling complexity to reflect the chosen upkeep level.
 BeforeAfter
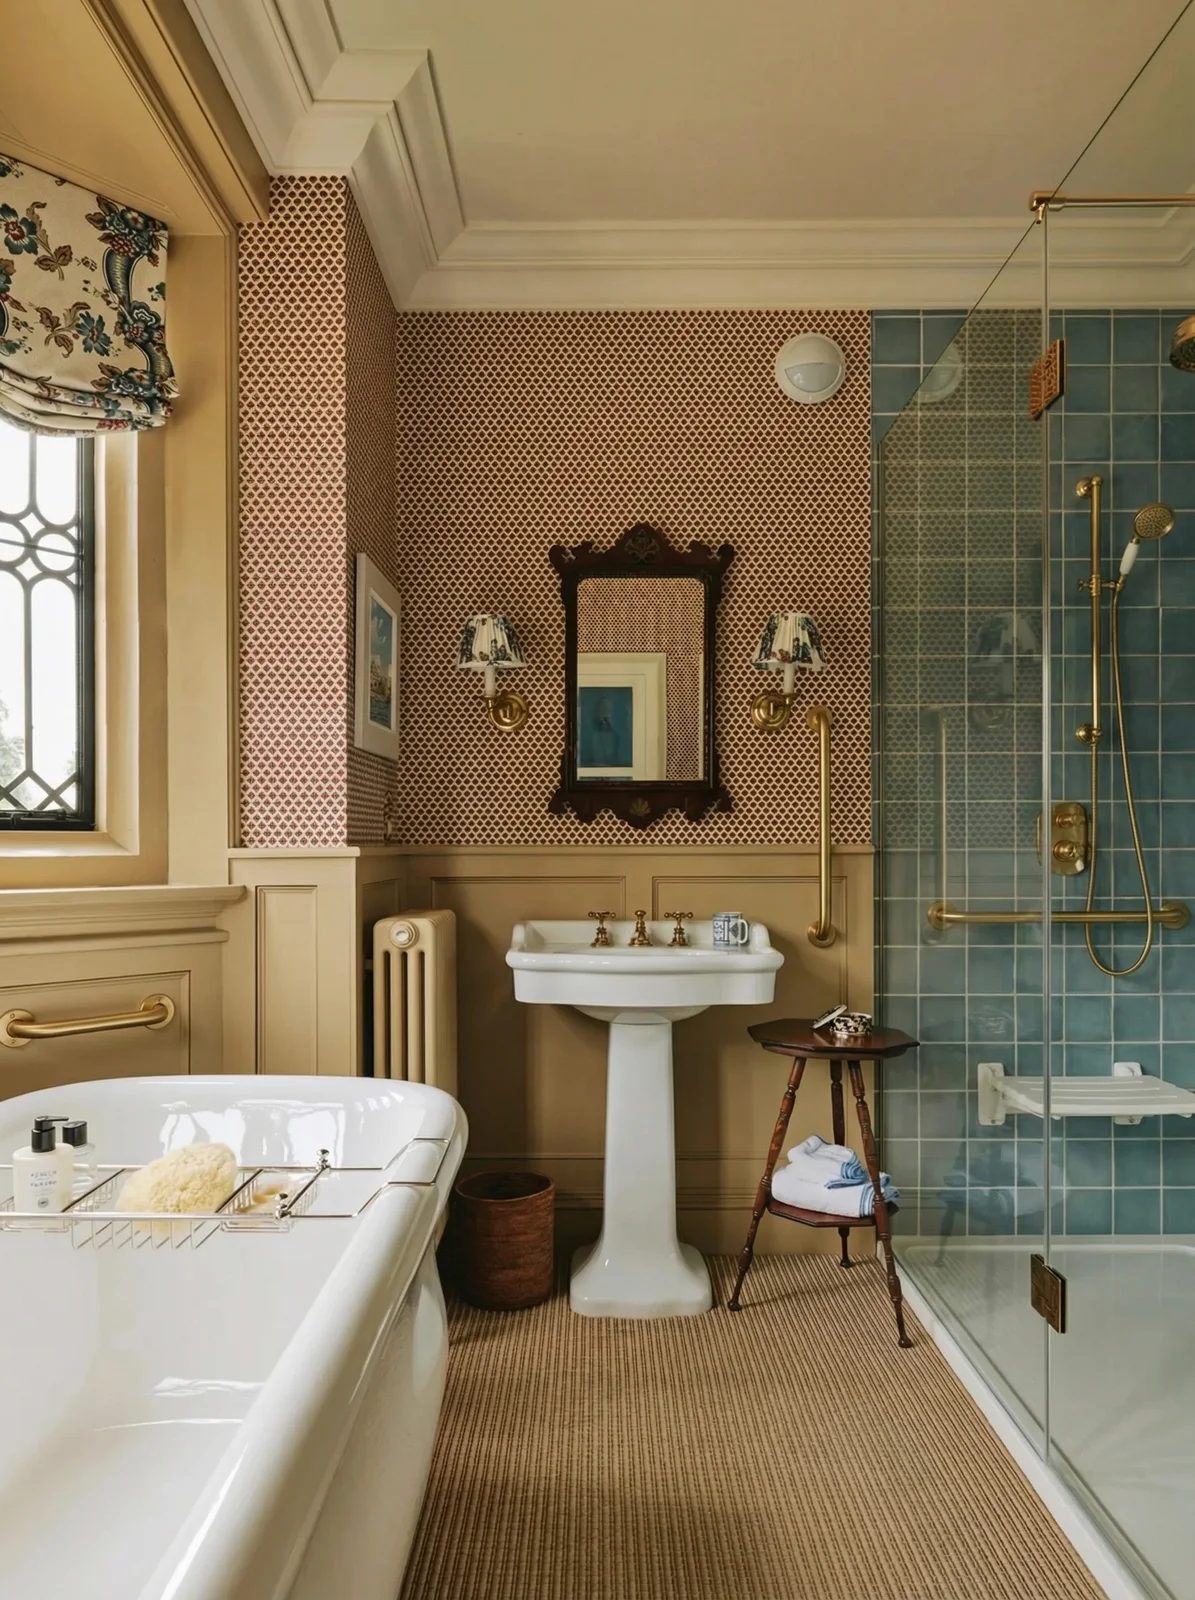
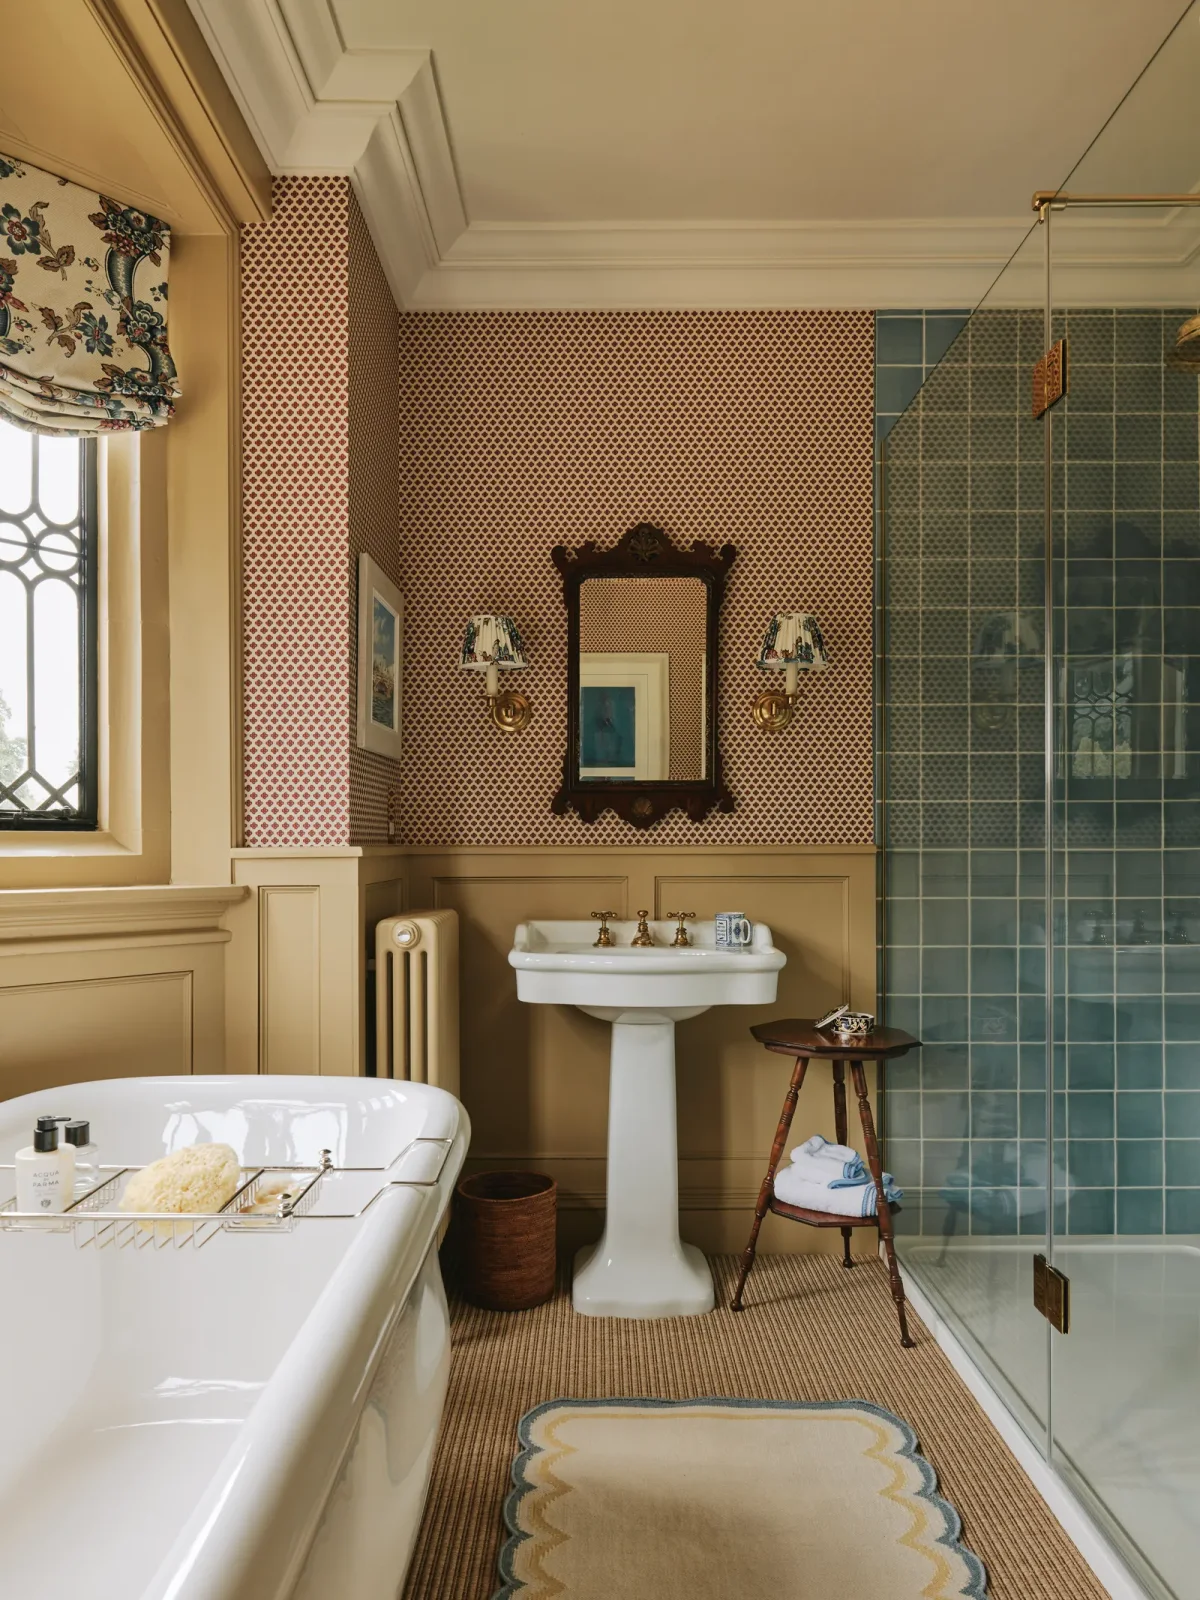
Drag to compare. Use arrow keys when focused.
Make your room safer for young children. This tool softens sharp edges, improves accessibility, and replaces materials with safer, easy-to-clean options.
 BeforeAfter
Drag to compare. Use arrow keys when focused.
Improve comfort and accessibility for older adults. This tool enhances safety by reducing obstacles, improving lighting, and making key elements easier to reach.
 BeforeAfter
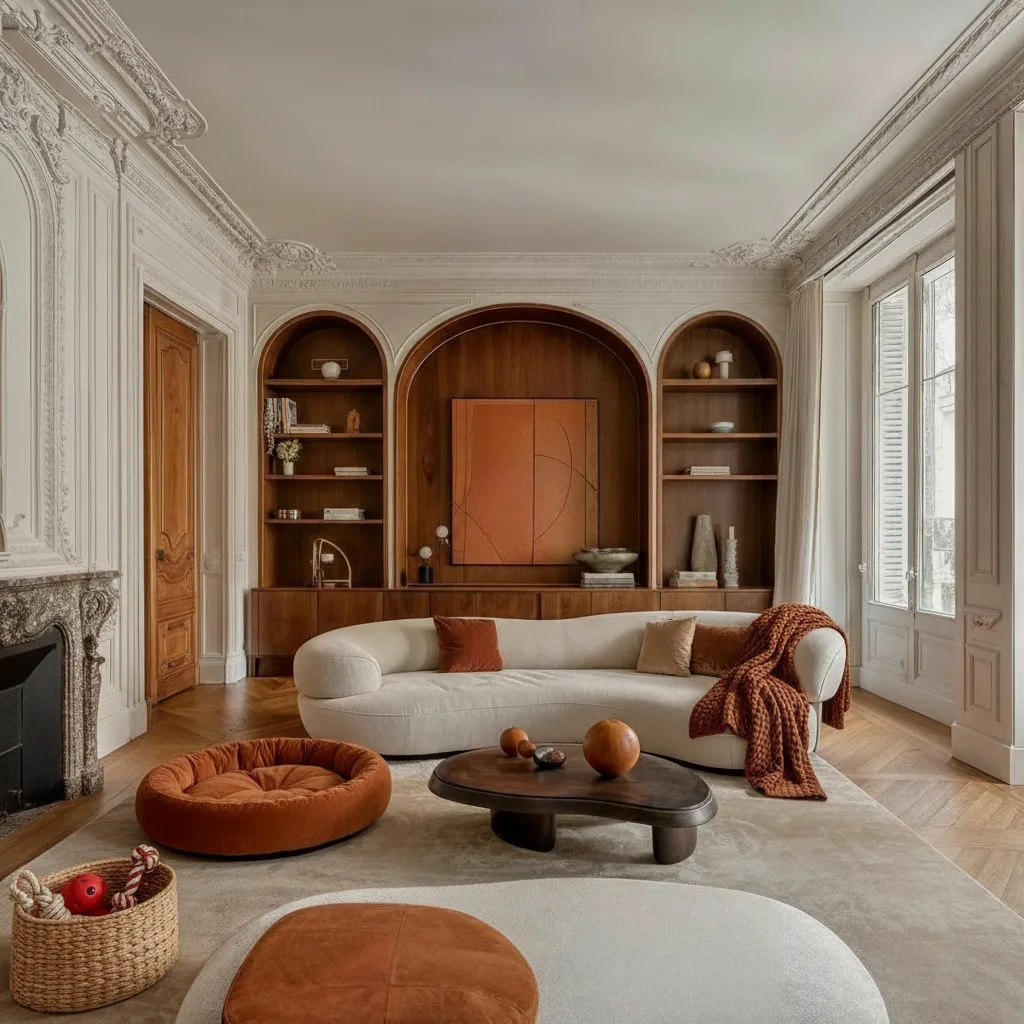
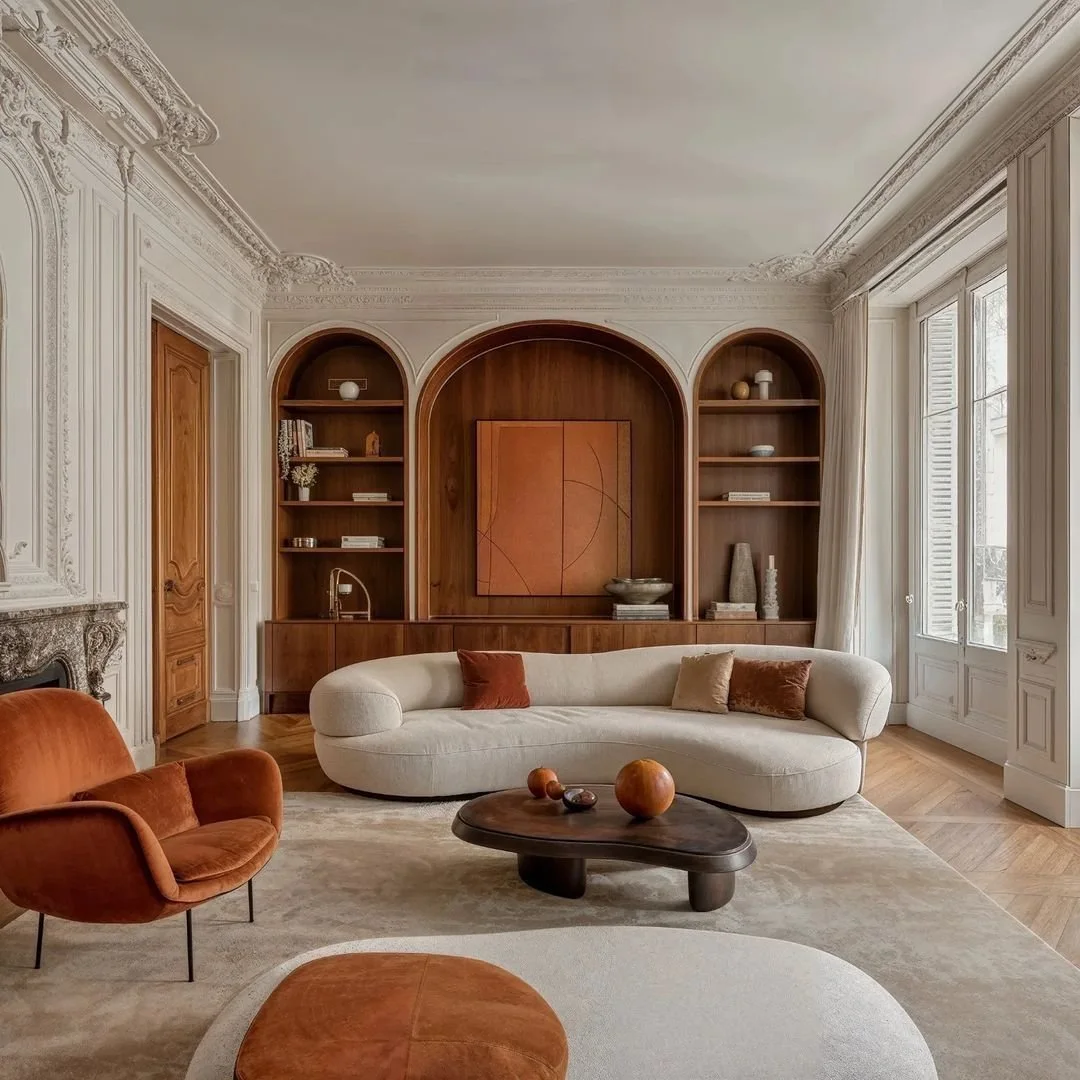
Drag to compare. Use arrow keys when focused.
Adapt your room for pets. This tool adjusts materials and layout to handle scratches, spills, and movement while keeping the space practical and visually consistent.
 BeforeAfter
Drag to compare. Use arrow keys when focused.
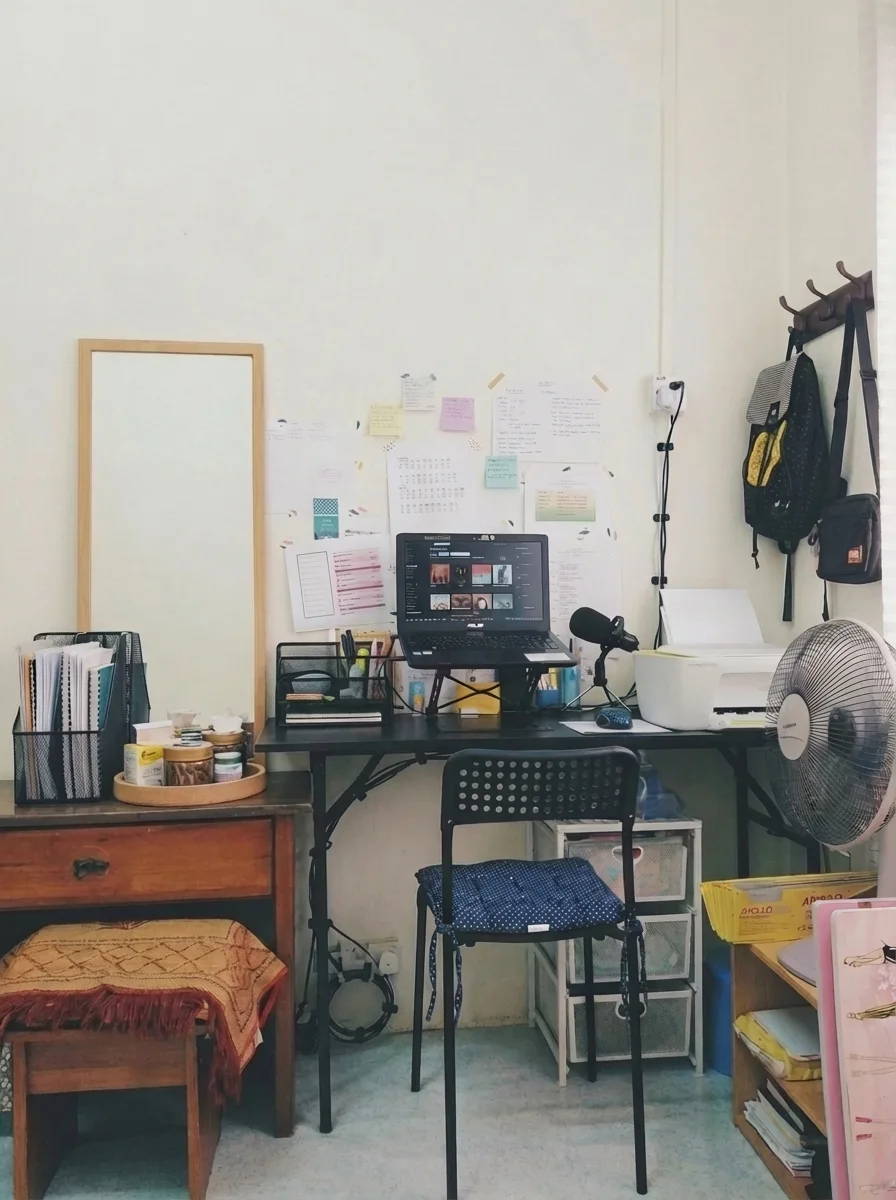
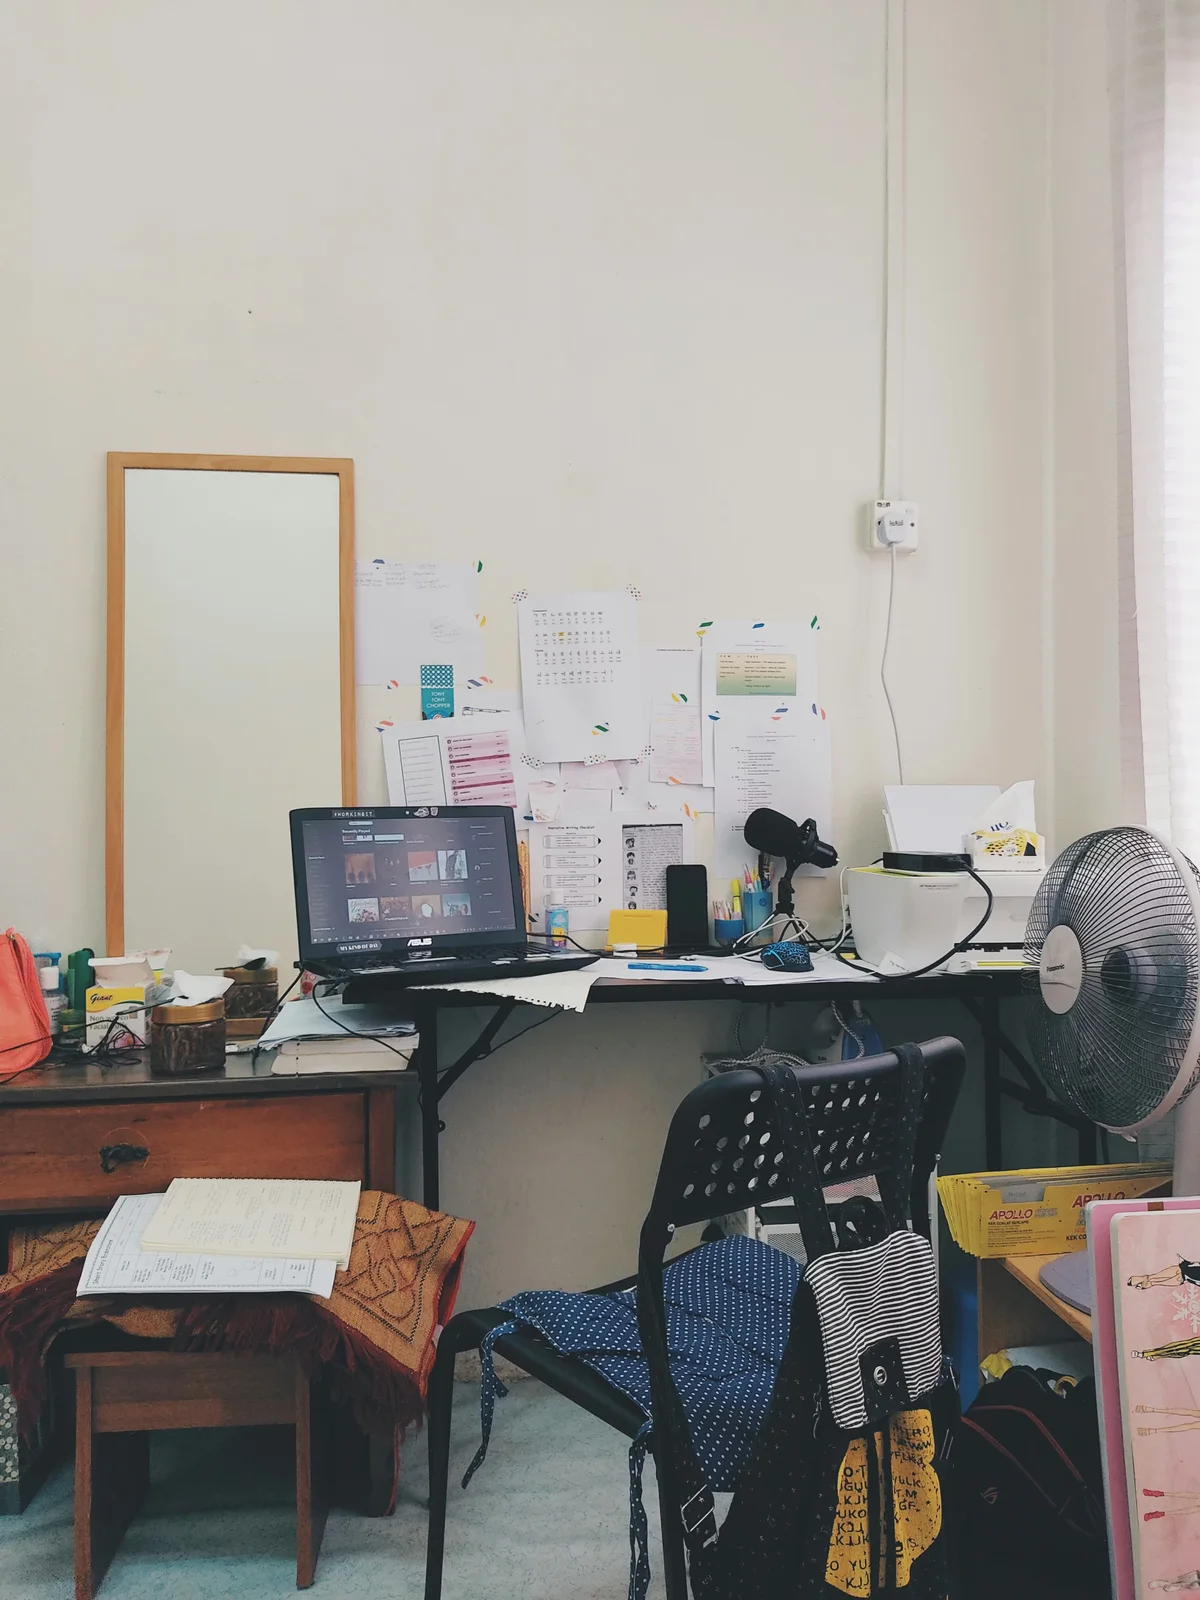
Reduce clutter and improve organization. This tool adds smart storage solutions while maintaining the room's visual appeal and overall design integrity.
 BeforeAfter
Drag to compare. Use arrow keys when focused.
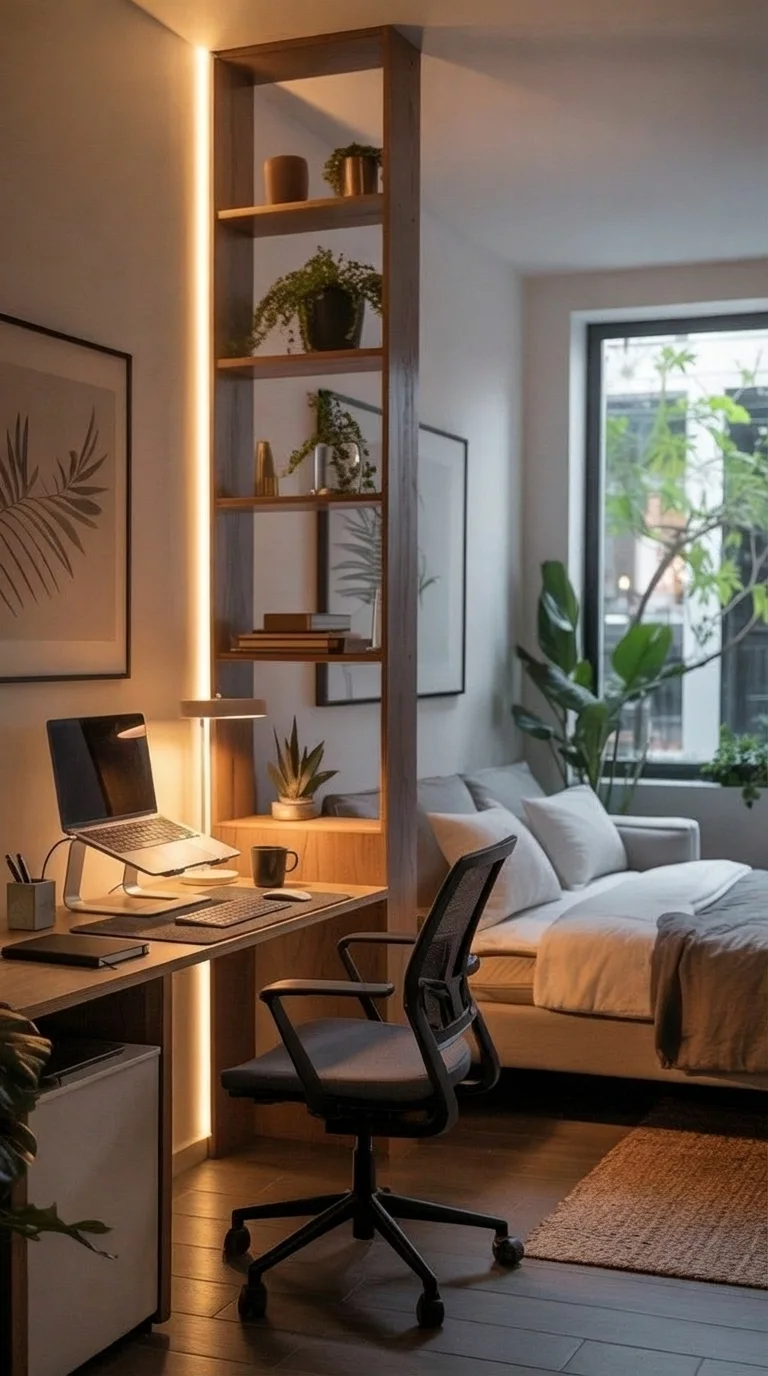
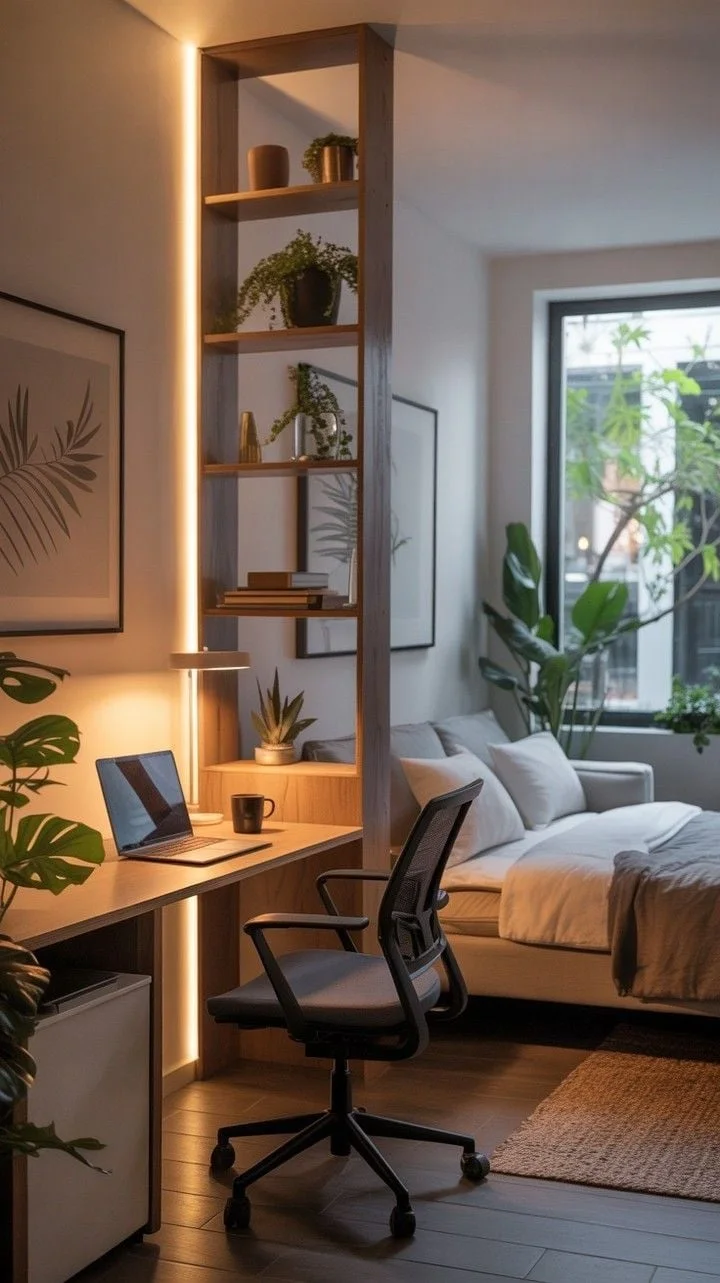
Optimize your space for remote work. This tool integrates a functional workspace into your room while maintaining comfort and design harmony.
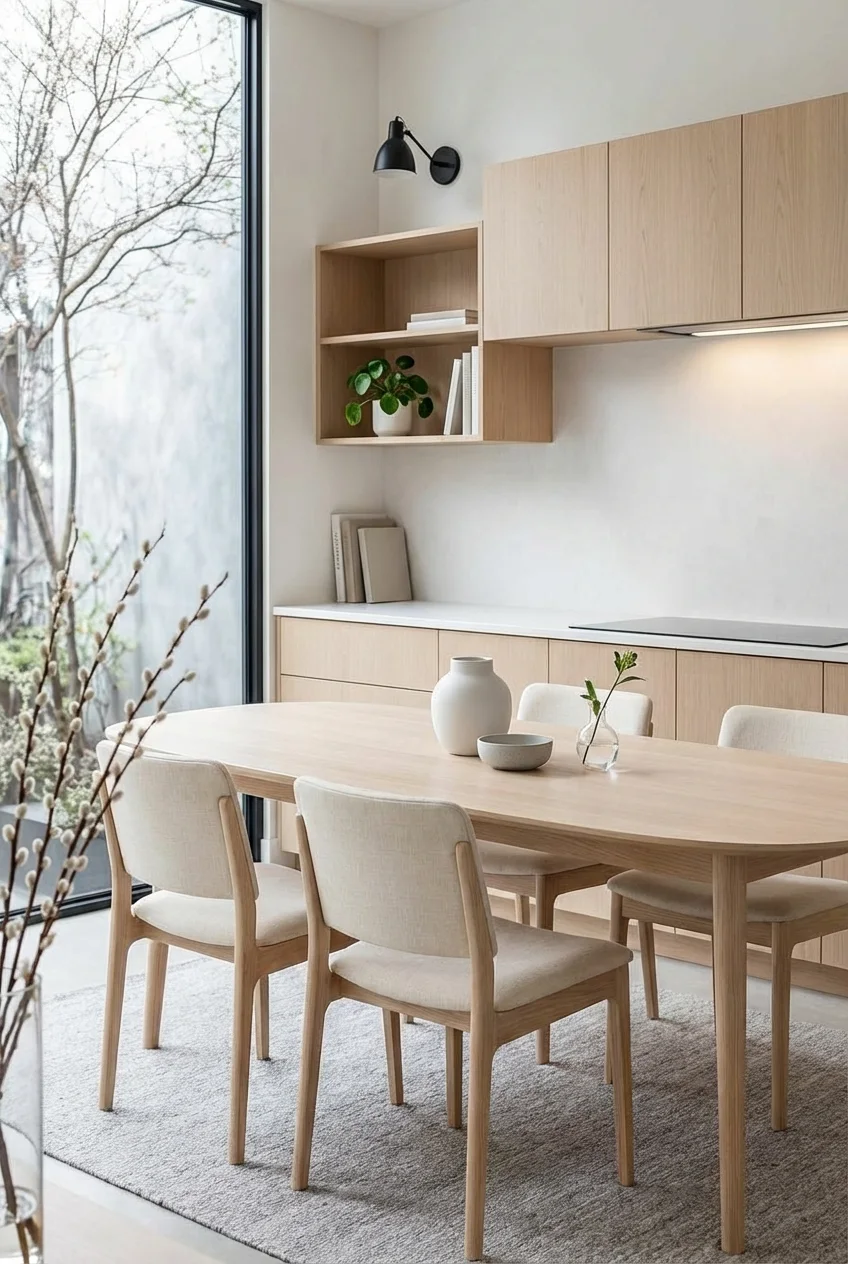
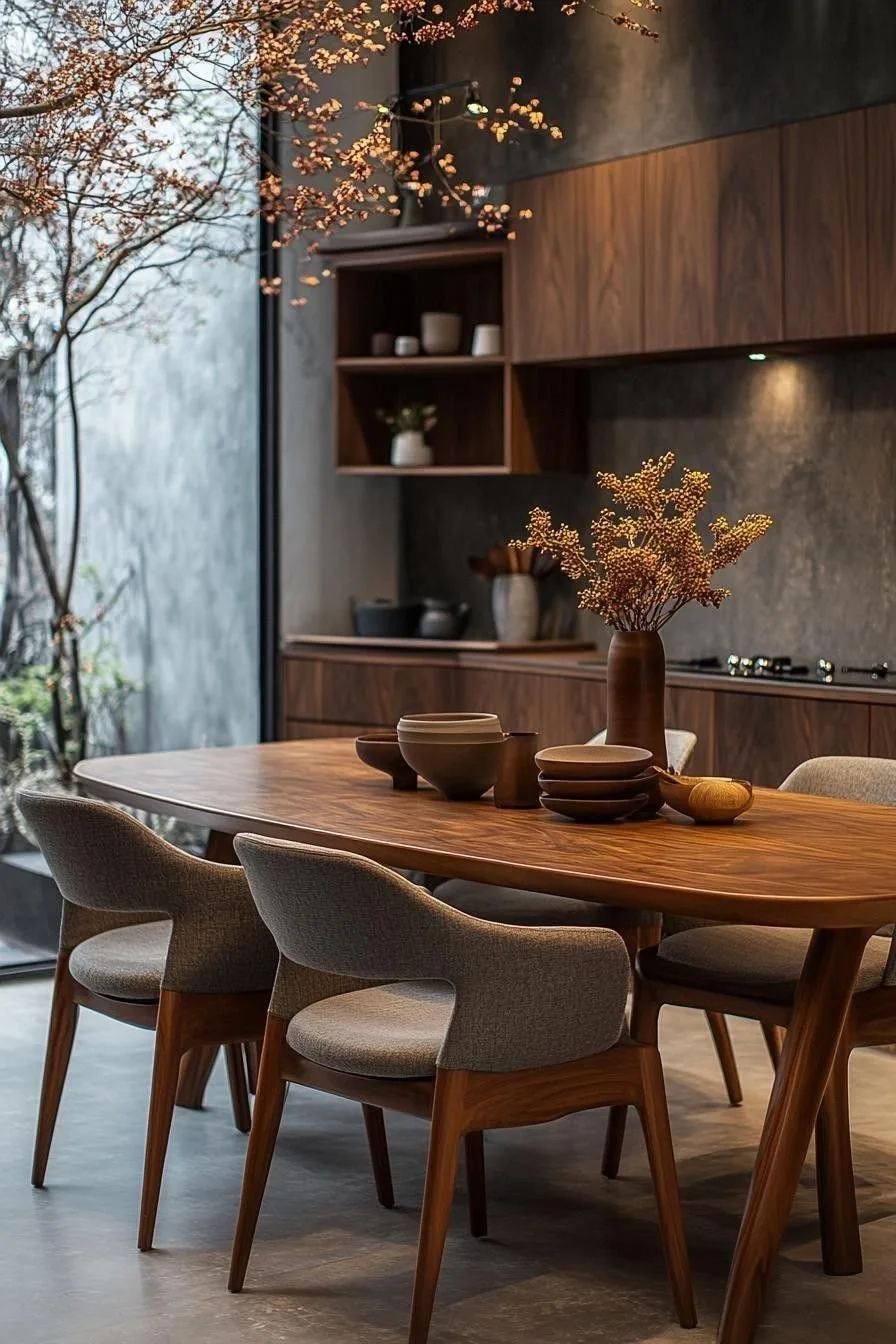 BeforeAfter
Drag to compare. Use arrow keys when focused.
Design your entire home with a consistent style. This tool applies a unified design language across all spaces ensuring a well-coordinated look throughout.
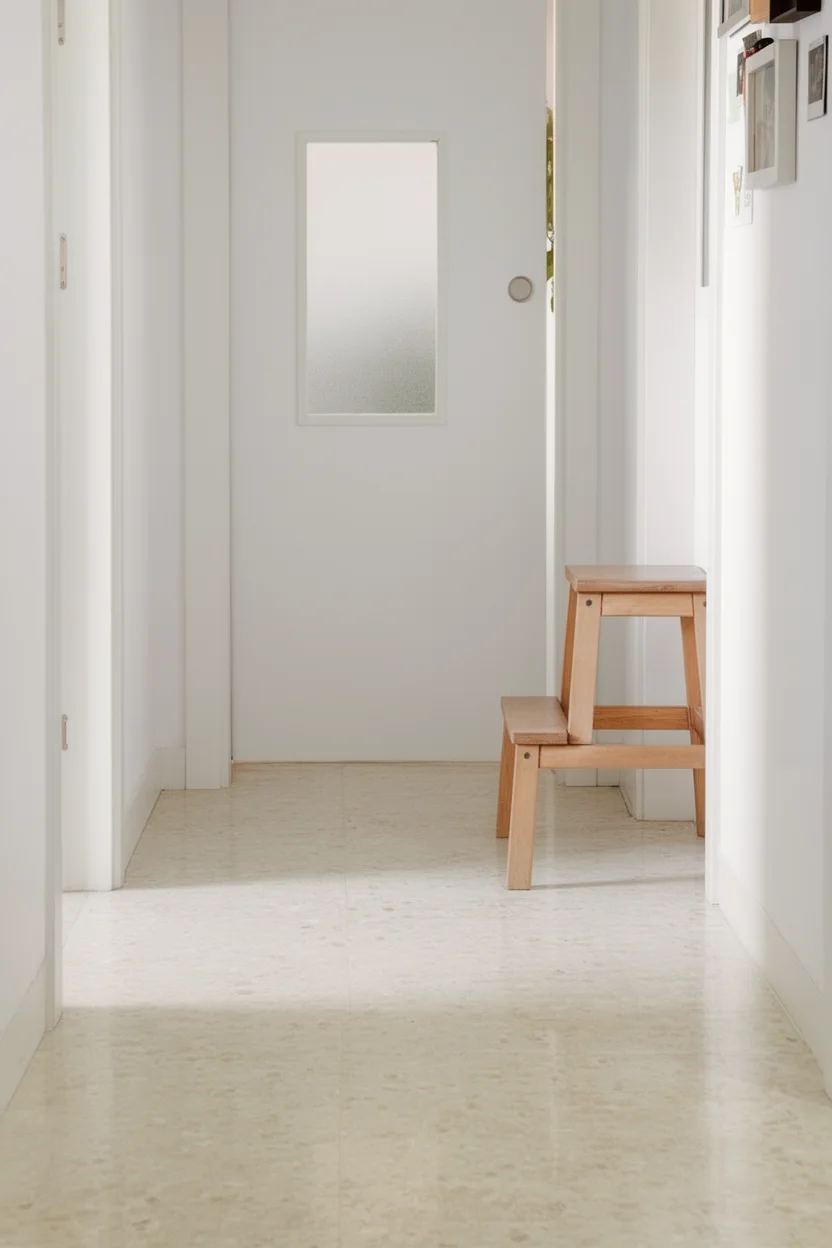
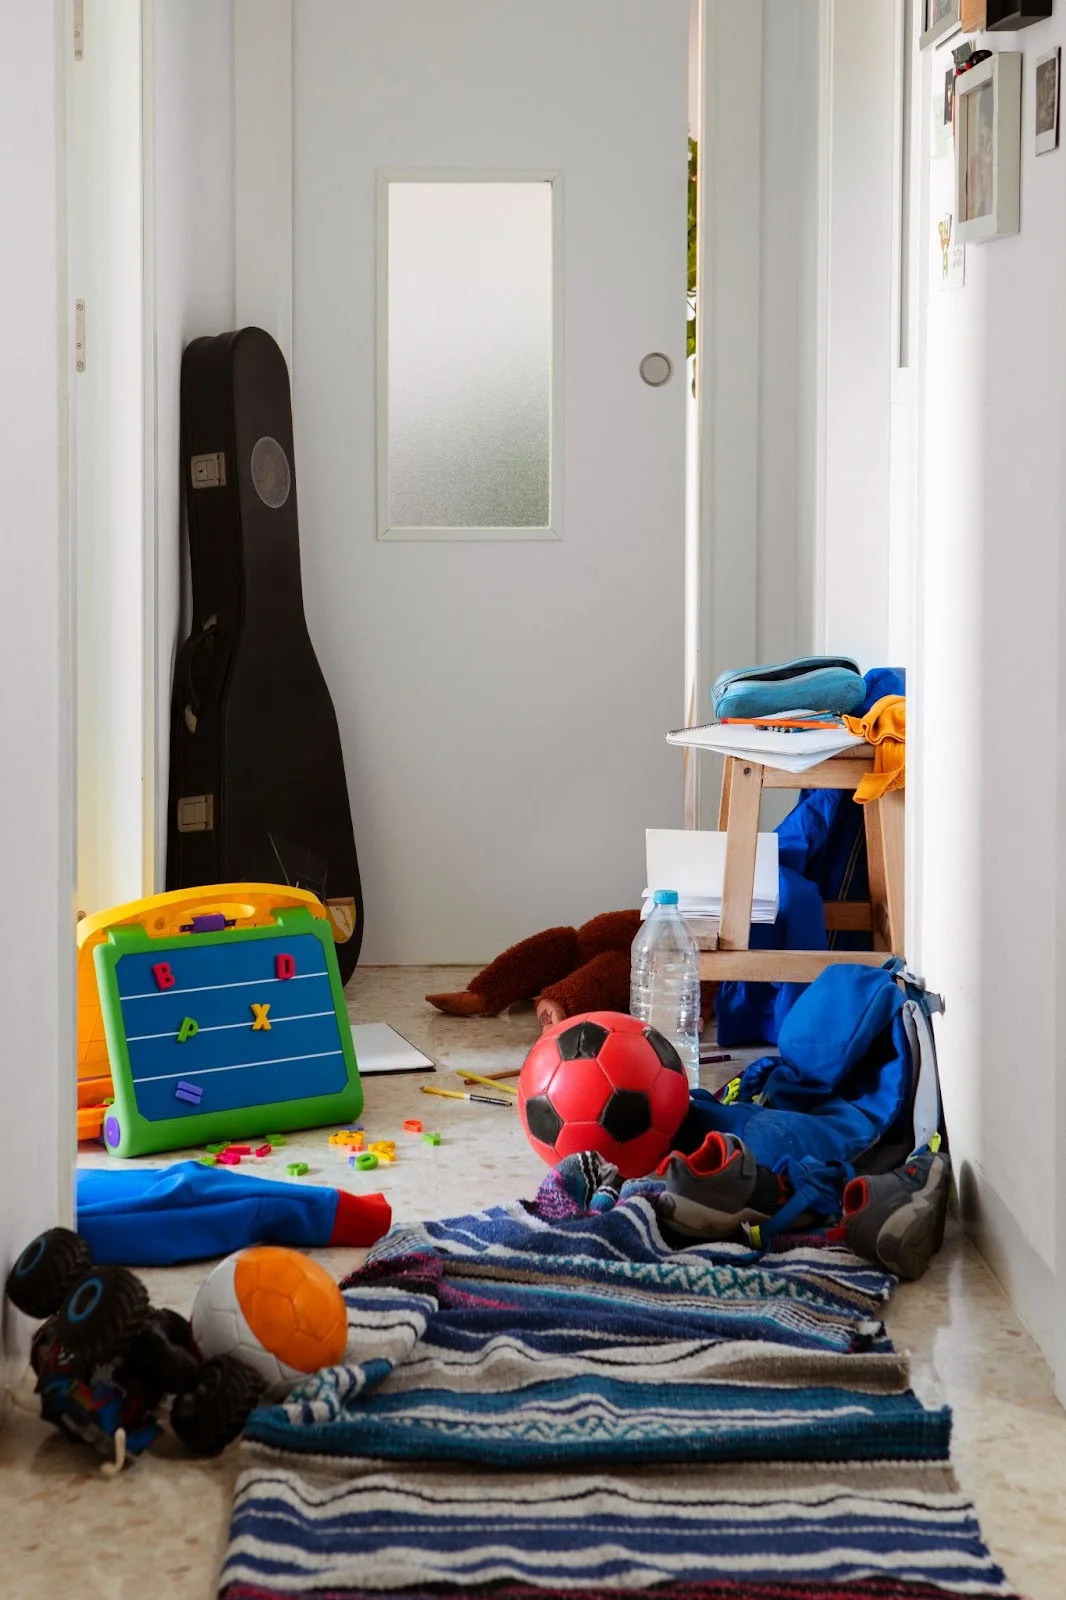 BeforeAfter
Drag to compare. Use arrow keys when focused.
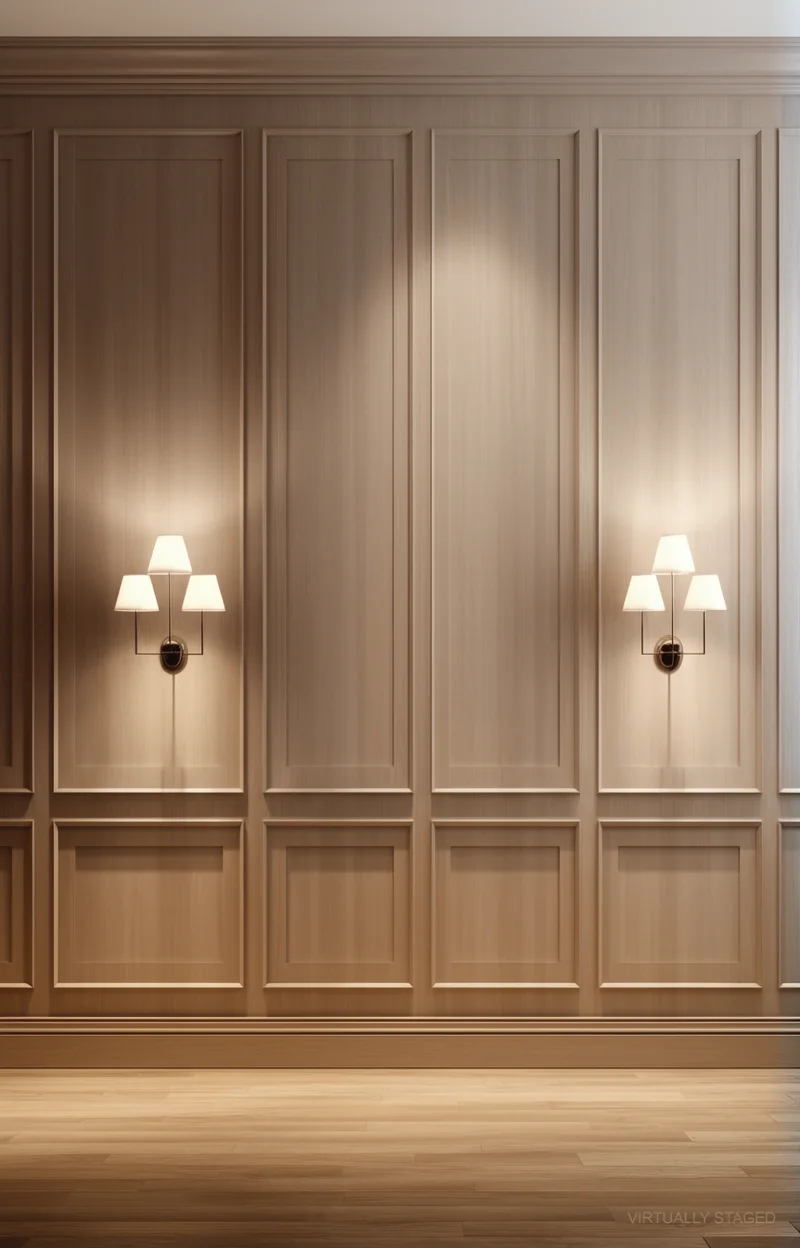
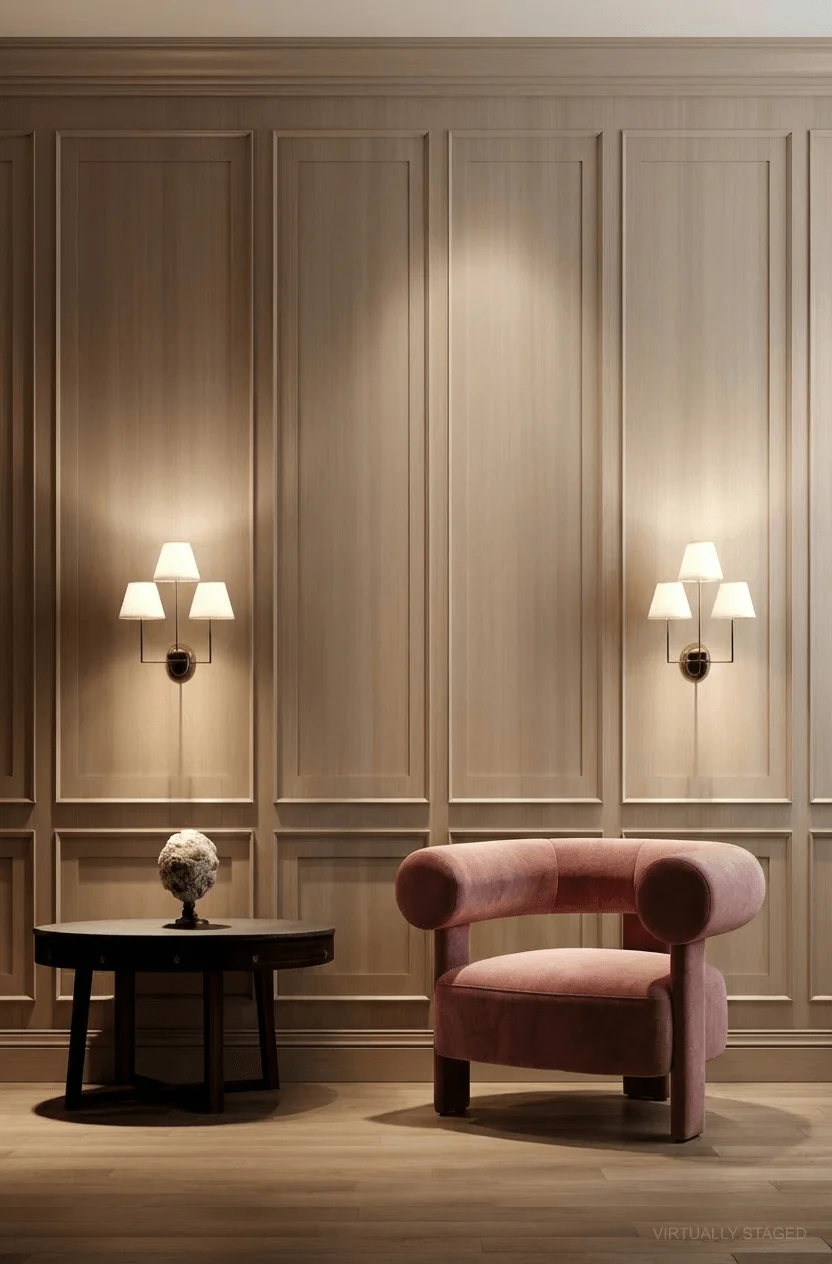
Remove visual clutter from your room. This tool eliminates scattered items like cords, toys, and miscellaneous objects while keeping the core layout intact.
 BeforeAfter
Drag to compare. Use arrow keys when focused.
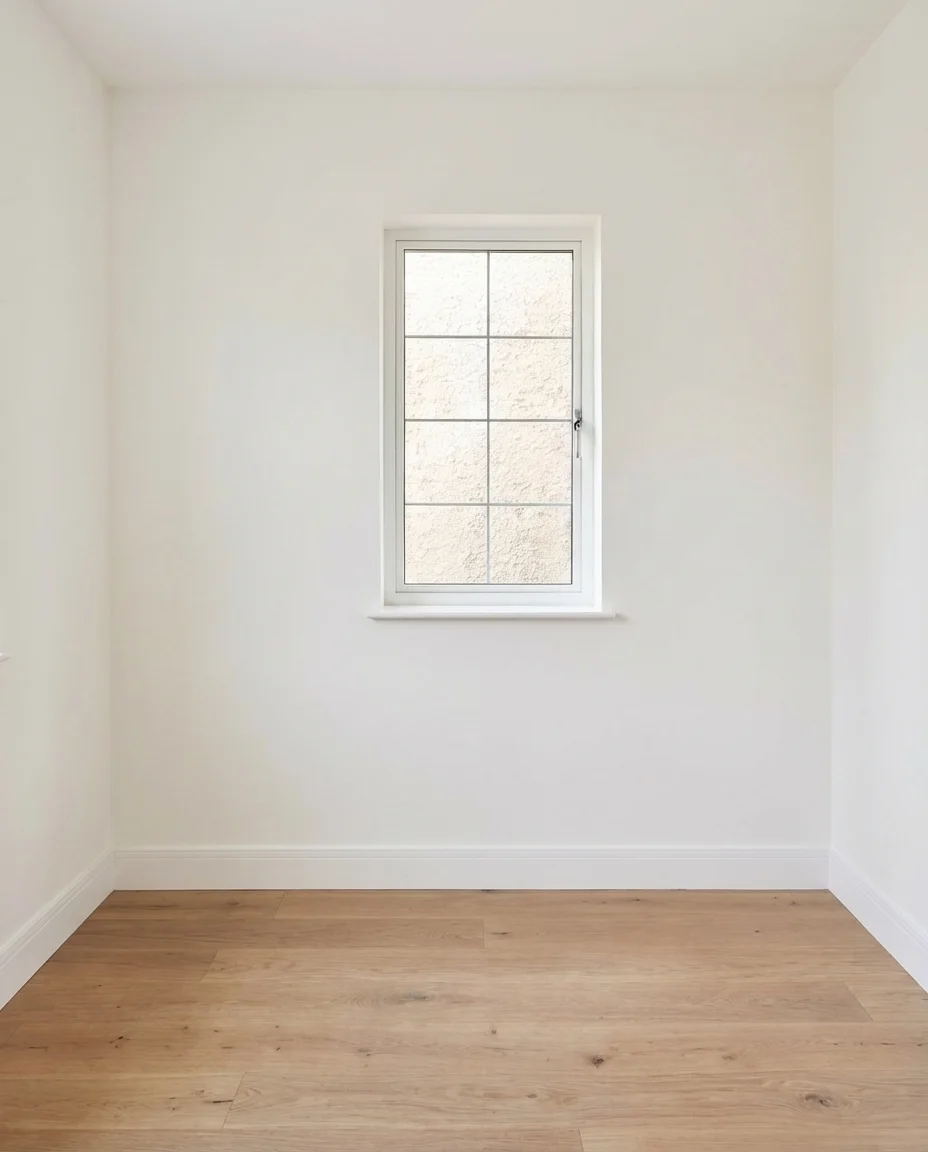
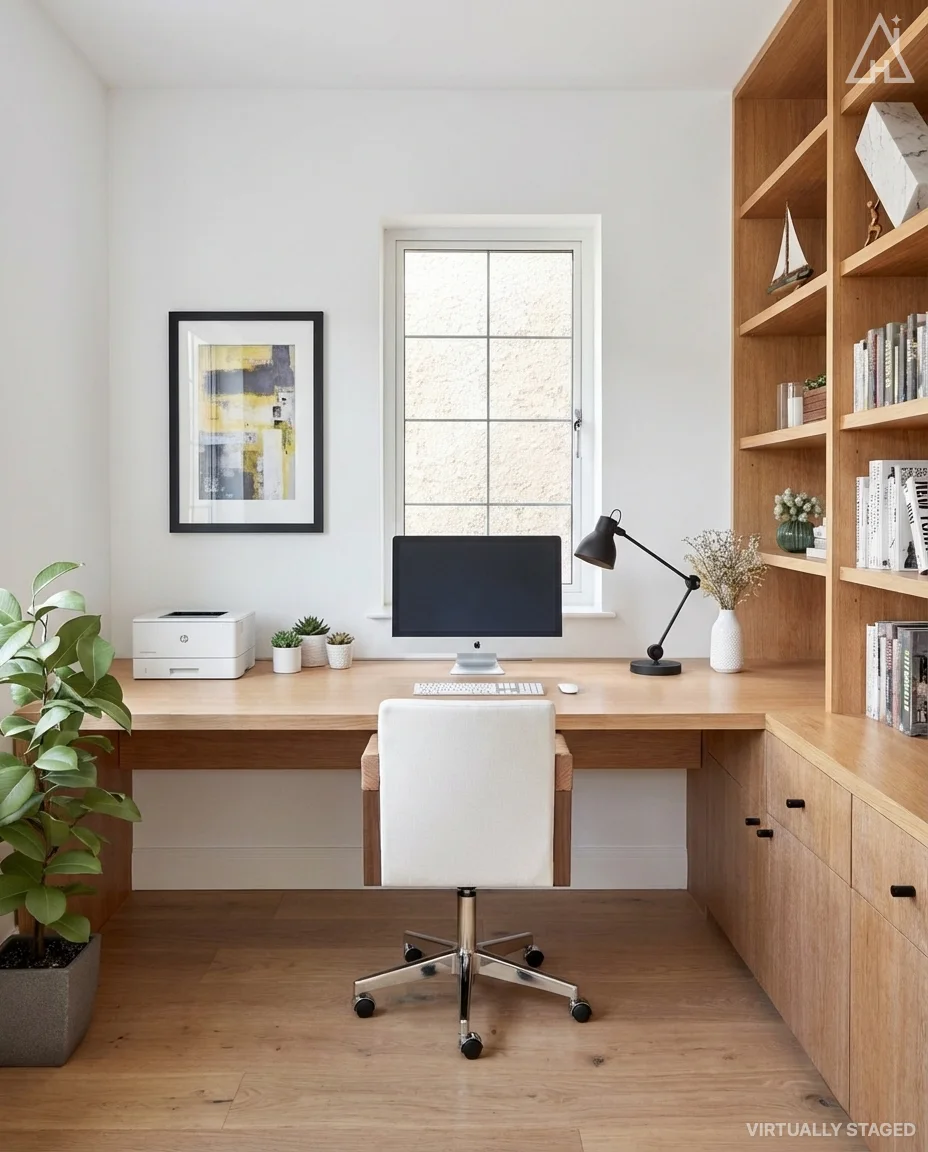
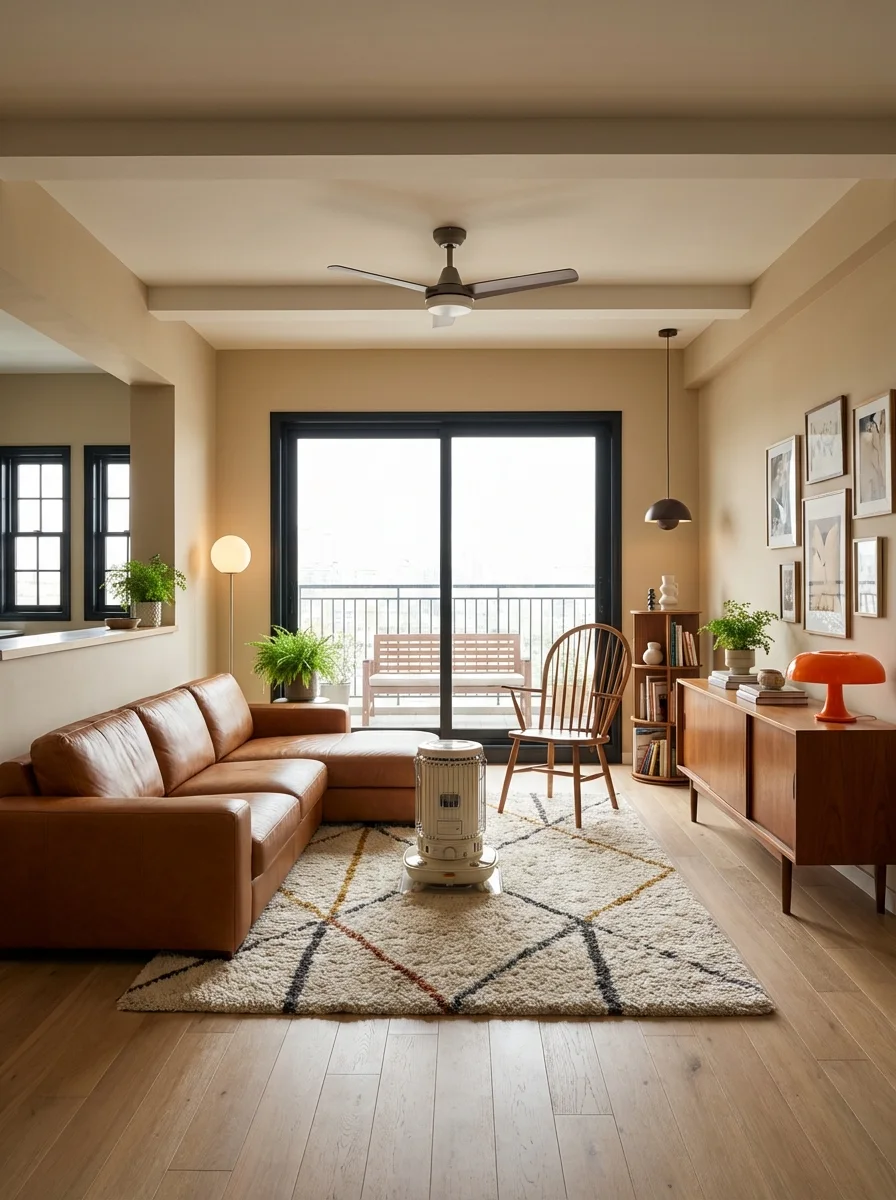
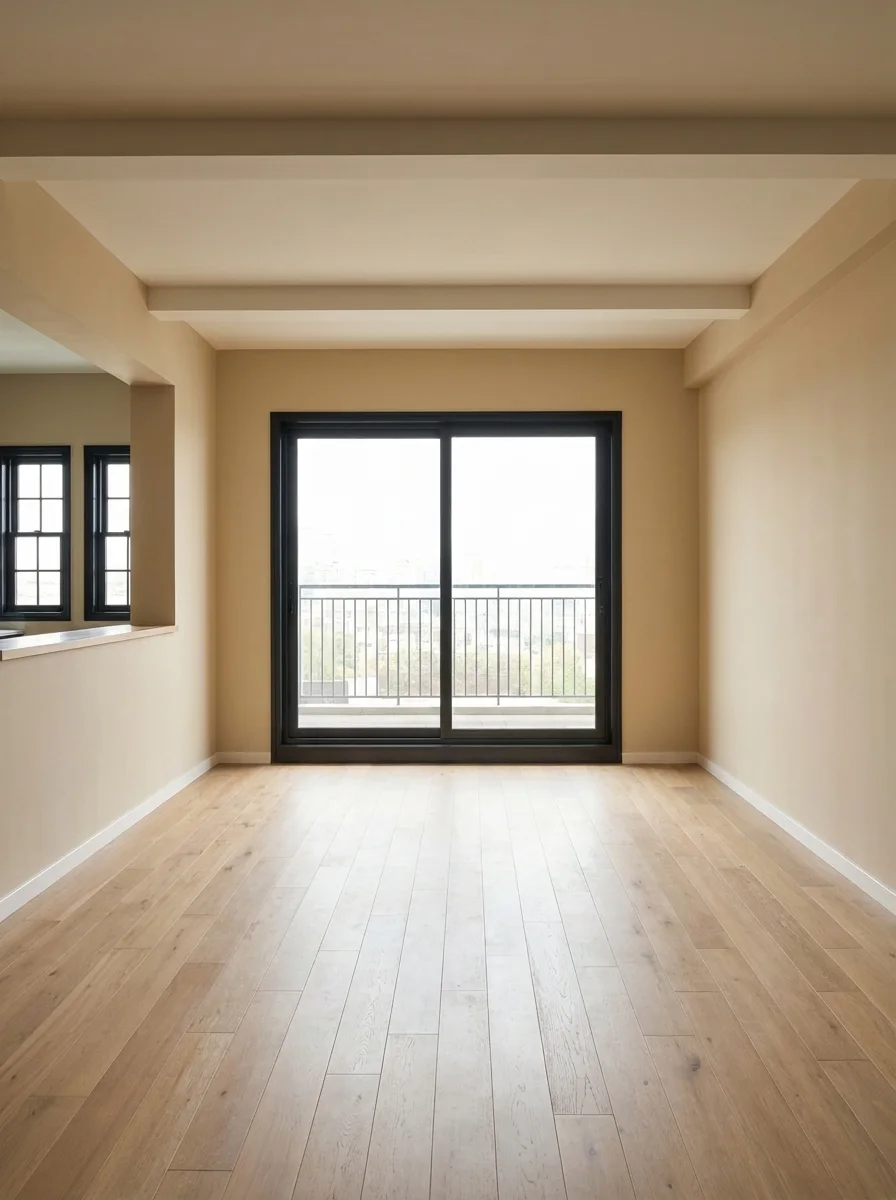
Strip all furnishings from your room to see the bare space. This tool removes furniture, decor, and soft items while preserving the architectural shell.
 BeforeAfter
Drag to compare. Use arrow keys when focused.
Remove all built-in fixtures from your room. This tool strips lighting, shelving, and mounted elements to reveal the raw architectural space.
 BeforeAfter
Drag to compare. Use arrow keys when focused.
Furnish an empty or sparse room by adding furniture that fits the space. This tool places items with proper scale, perspective, and styling consistency.
 BeforeAfter
Drag to compare. Use arrow keys when focused.
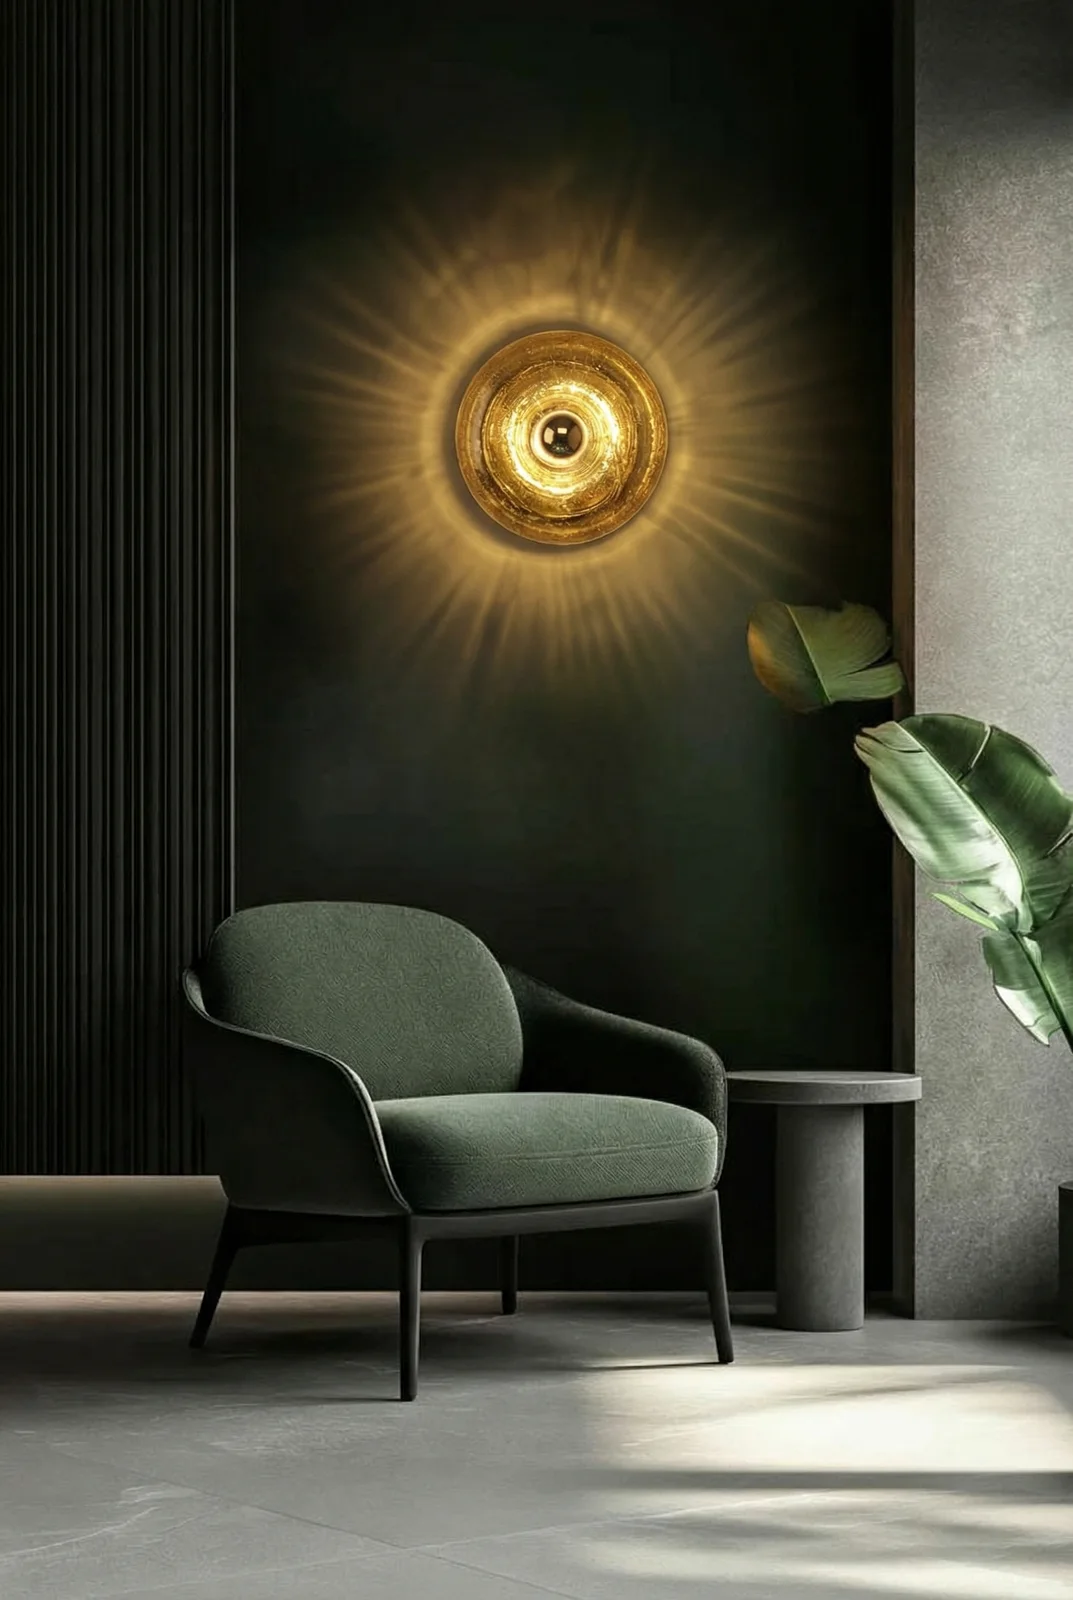
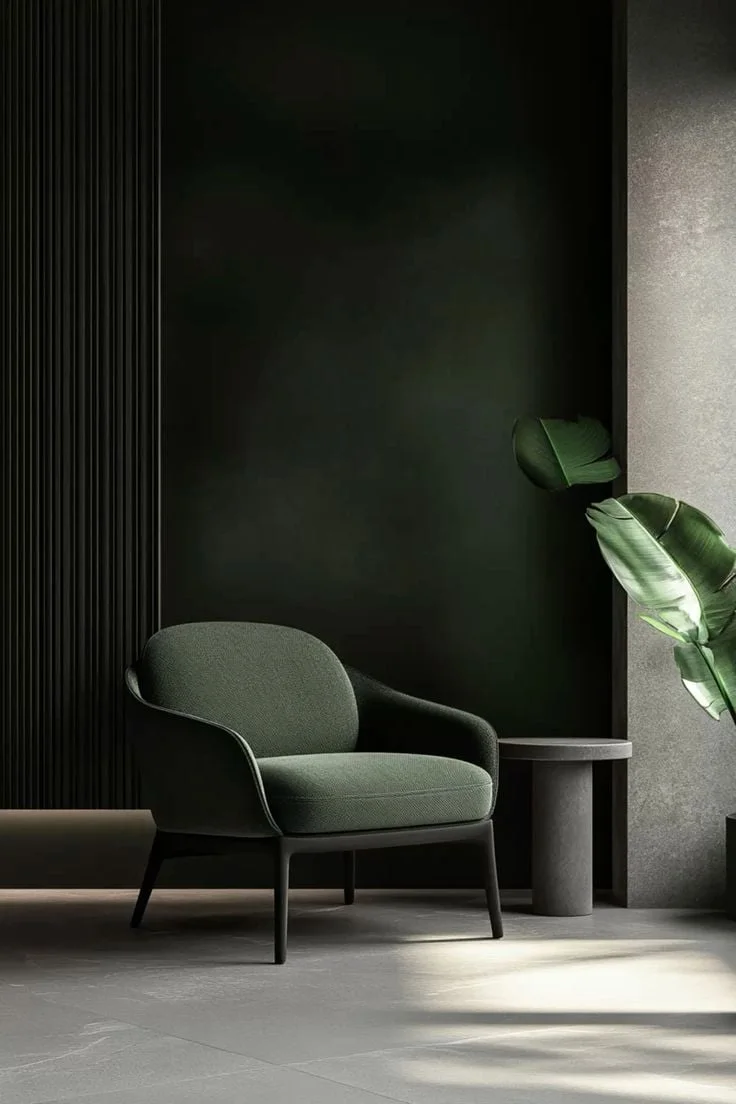
Place a specific product into your room to see how it looks. This tool integrates the product with accurate lighting, shadows, and perspective.
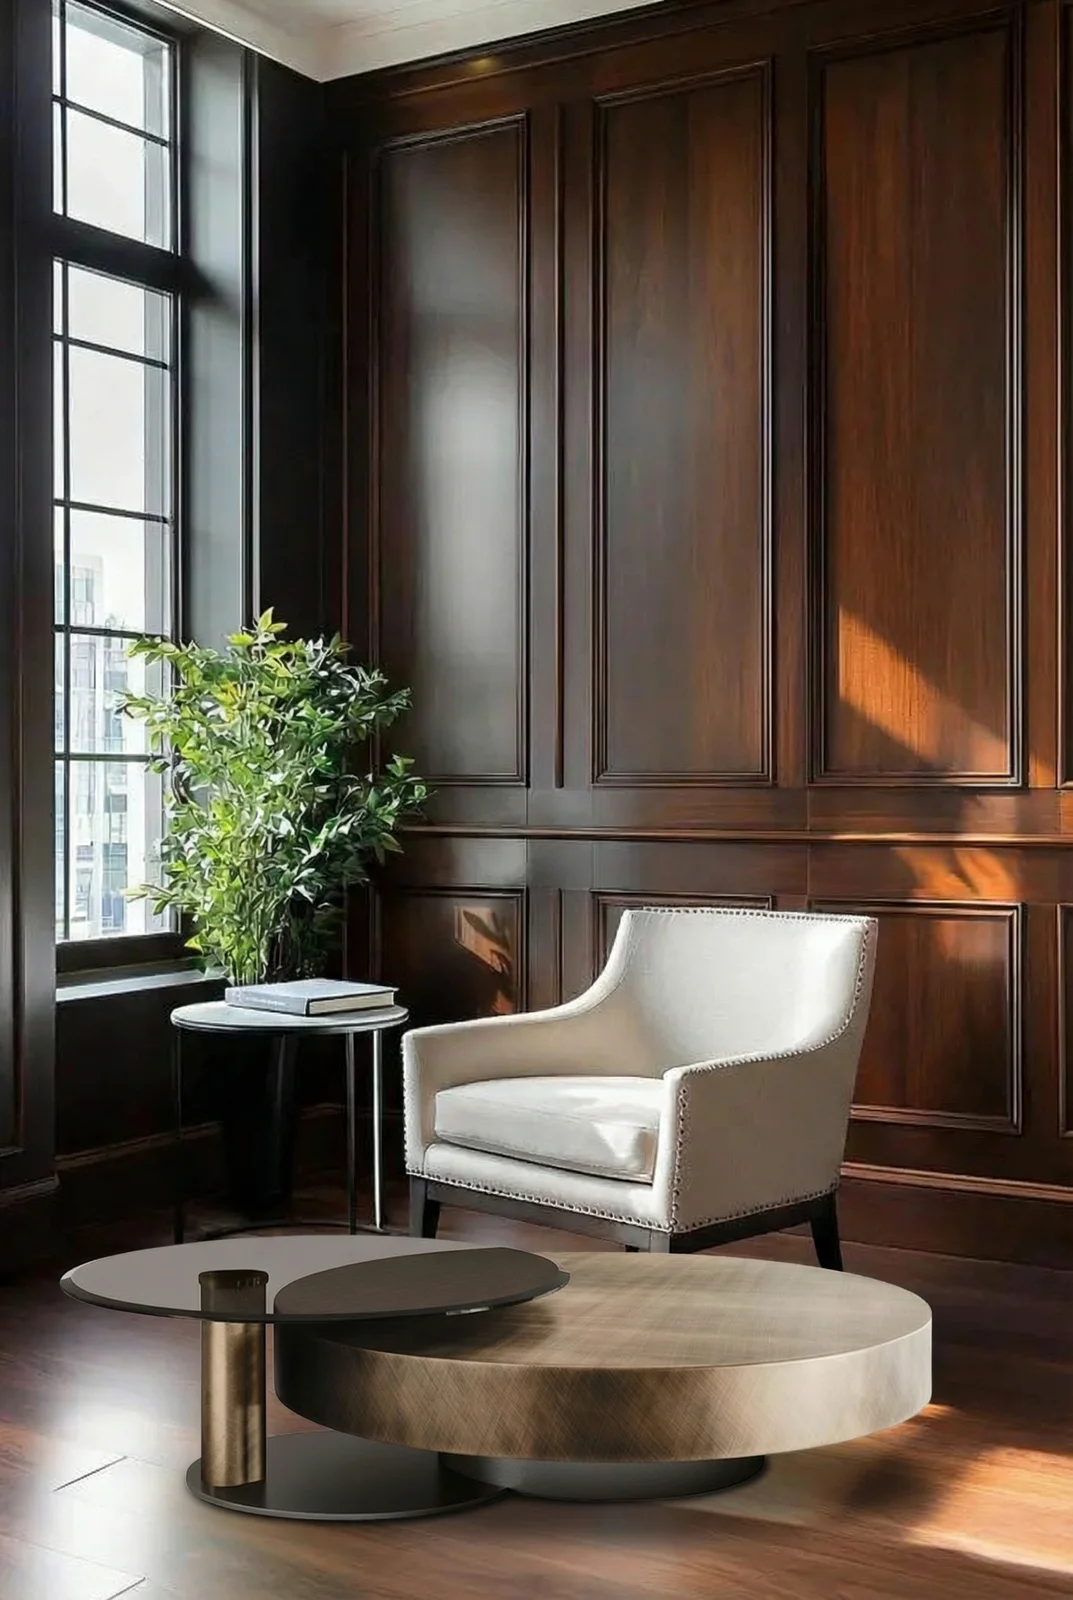
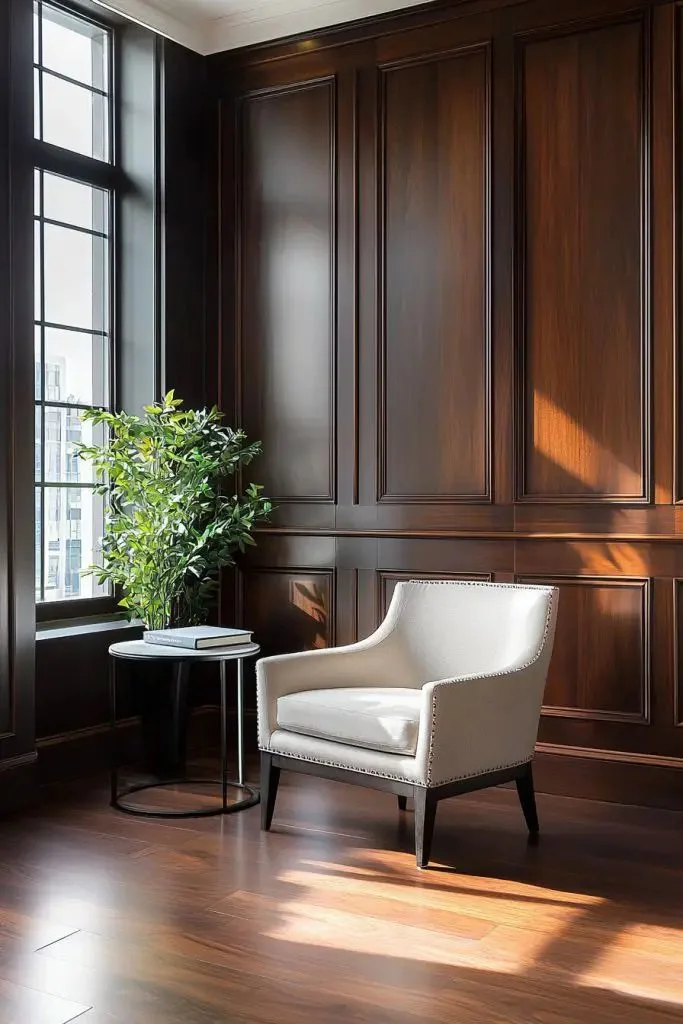 BeforeAfter
Drag to compare. Use arrow keys when focused.
Apply a controlled redesign to your room with fine-tuned parameters. This tool lets you specify exactly what changes while keeping everything else intact.
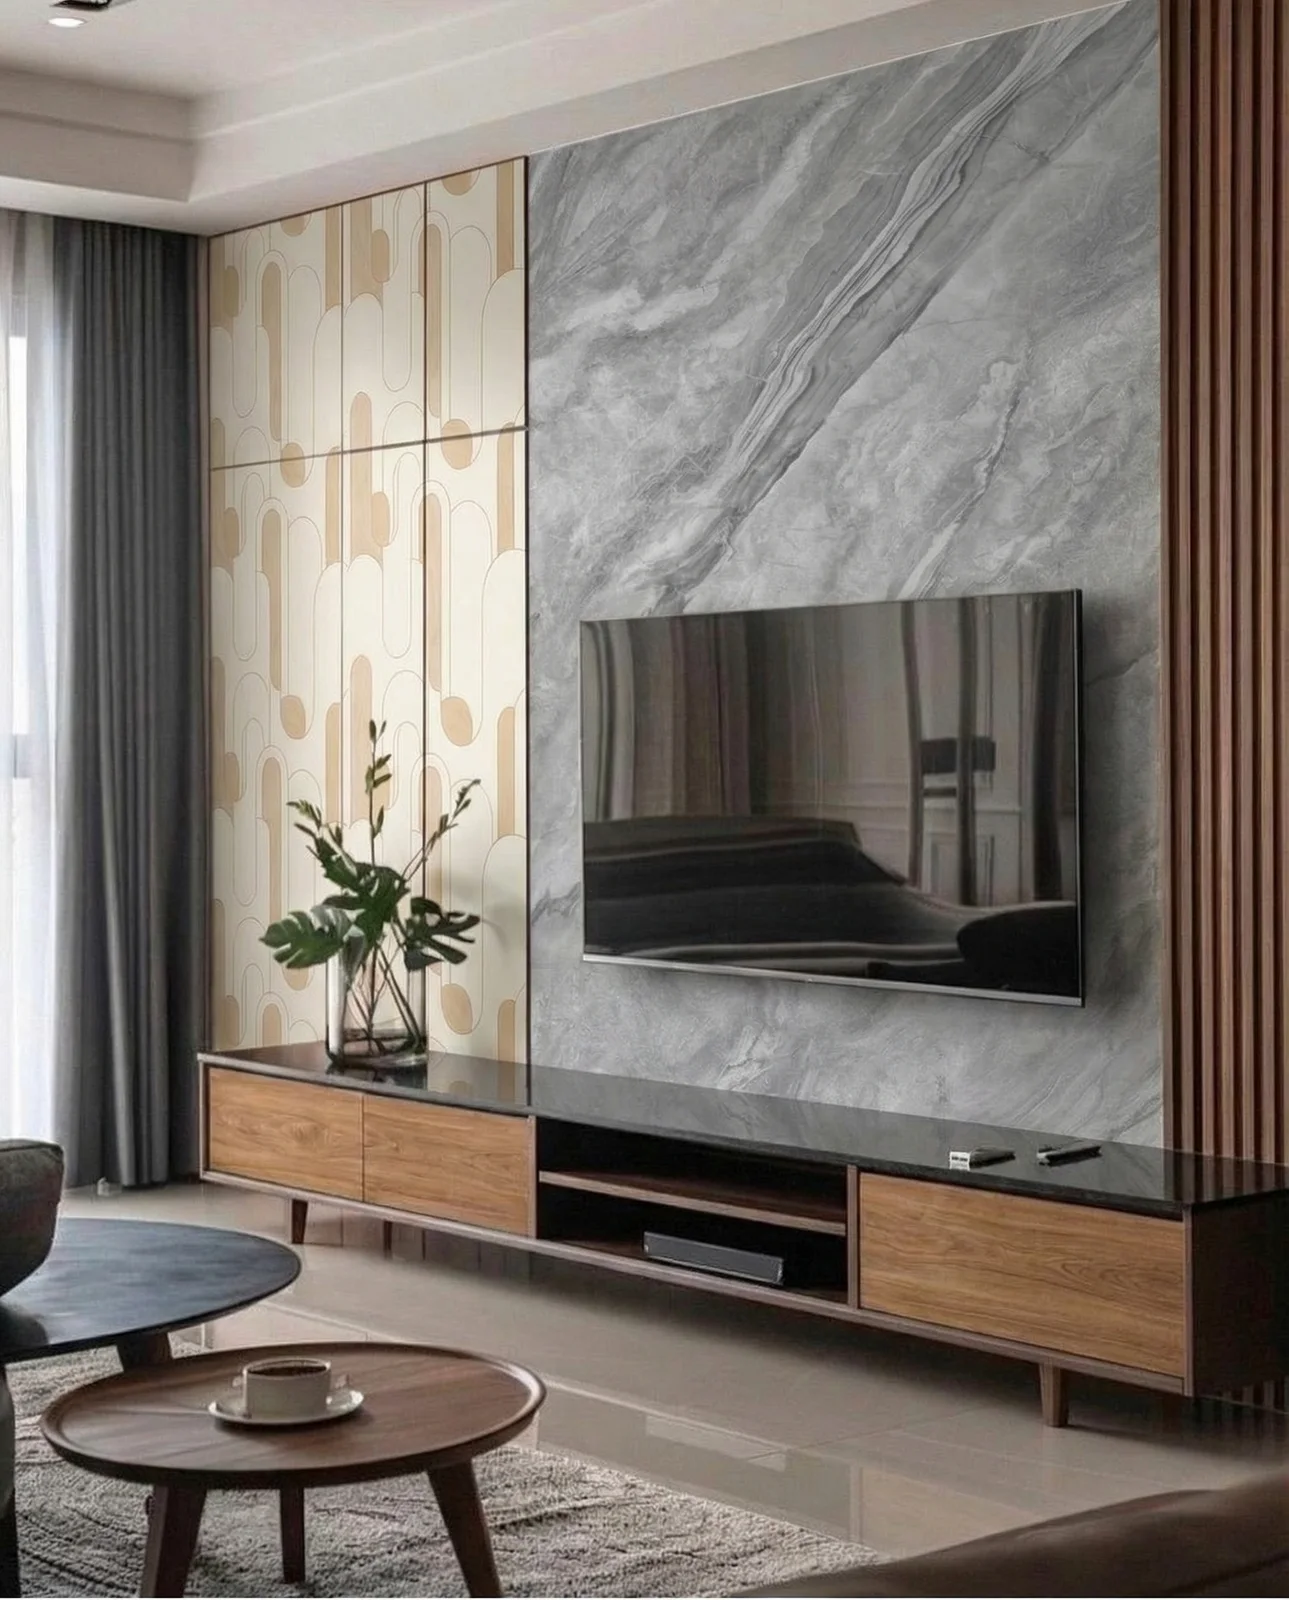
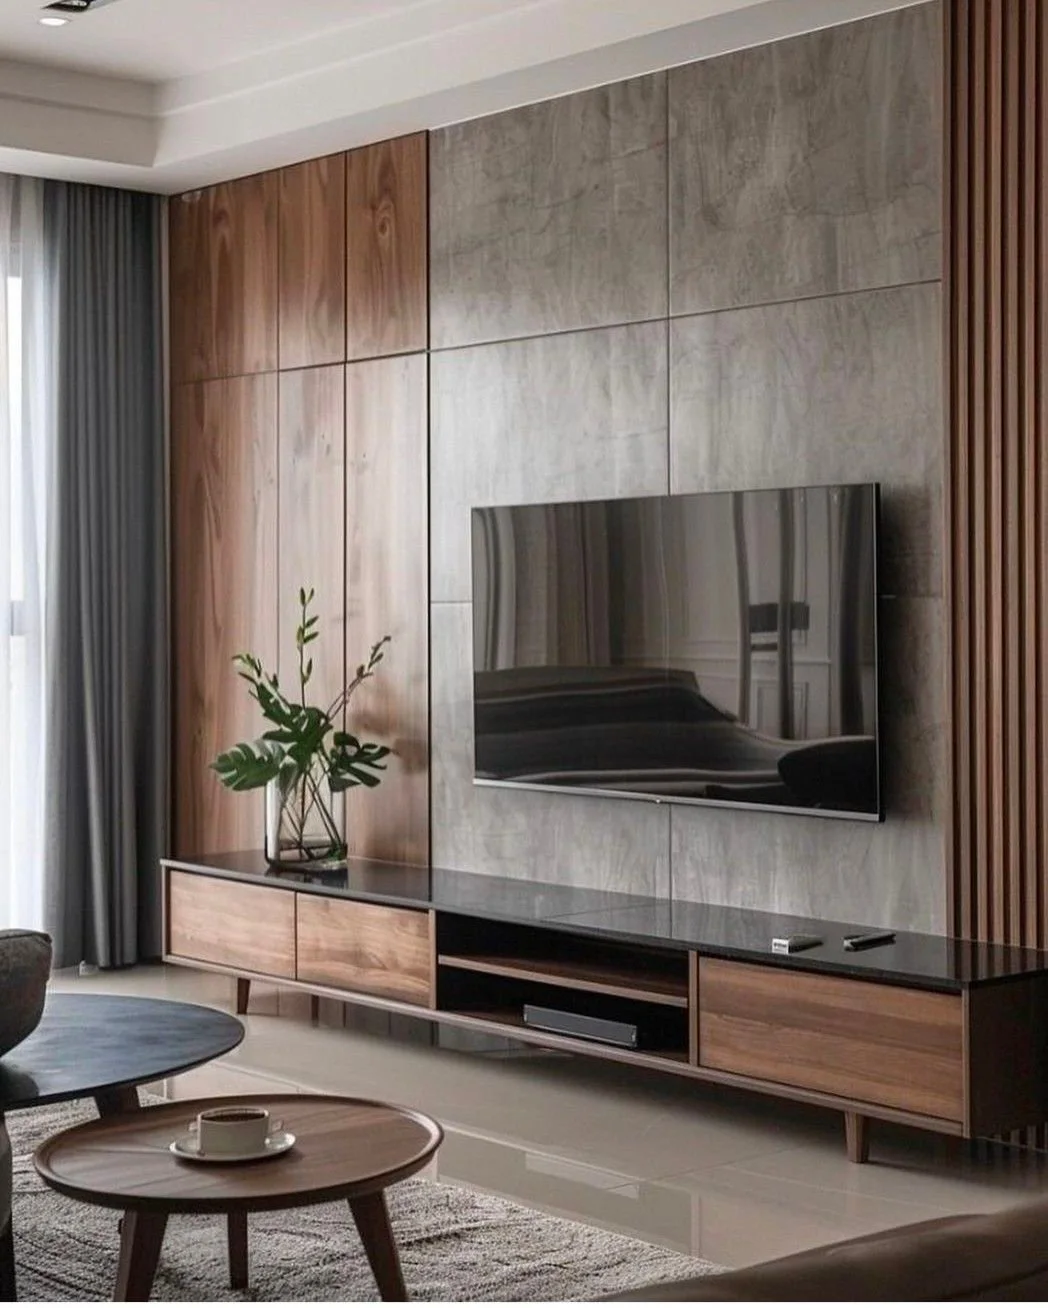 BeforeAfter
Drag to compare. Use arrow keys when focused.
Preview different laminate options on your surfaces. This tool applies laminate textures with accurate scale, grain direction, and lighting interaction.
 BeforeAfter
Drag to compare. Use arrow keys when focused.
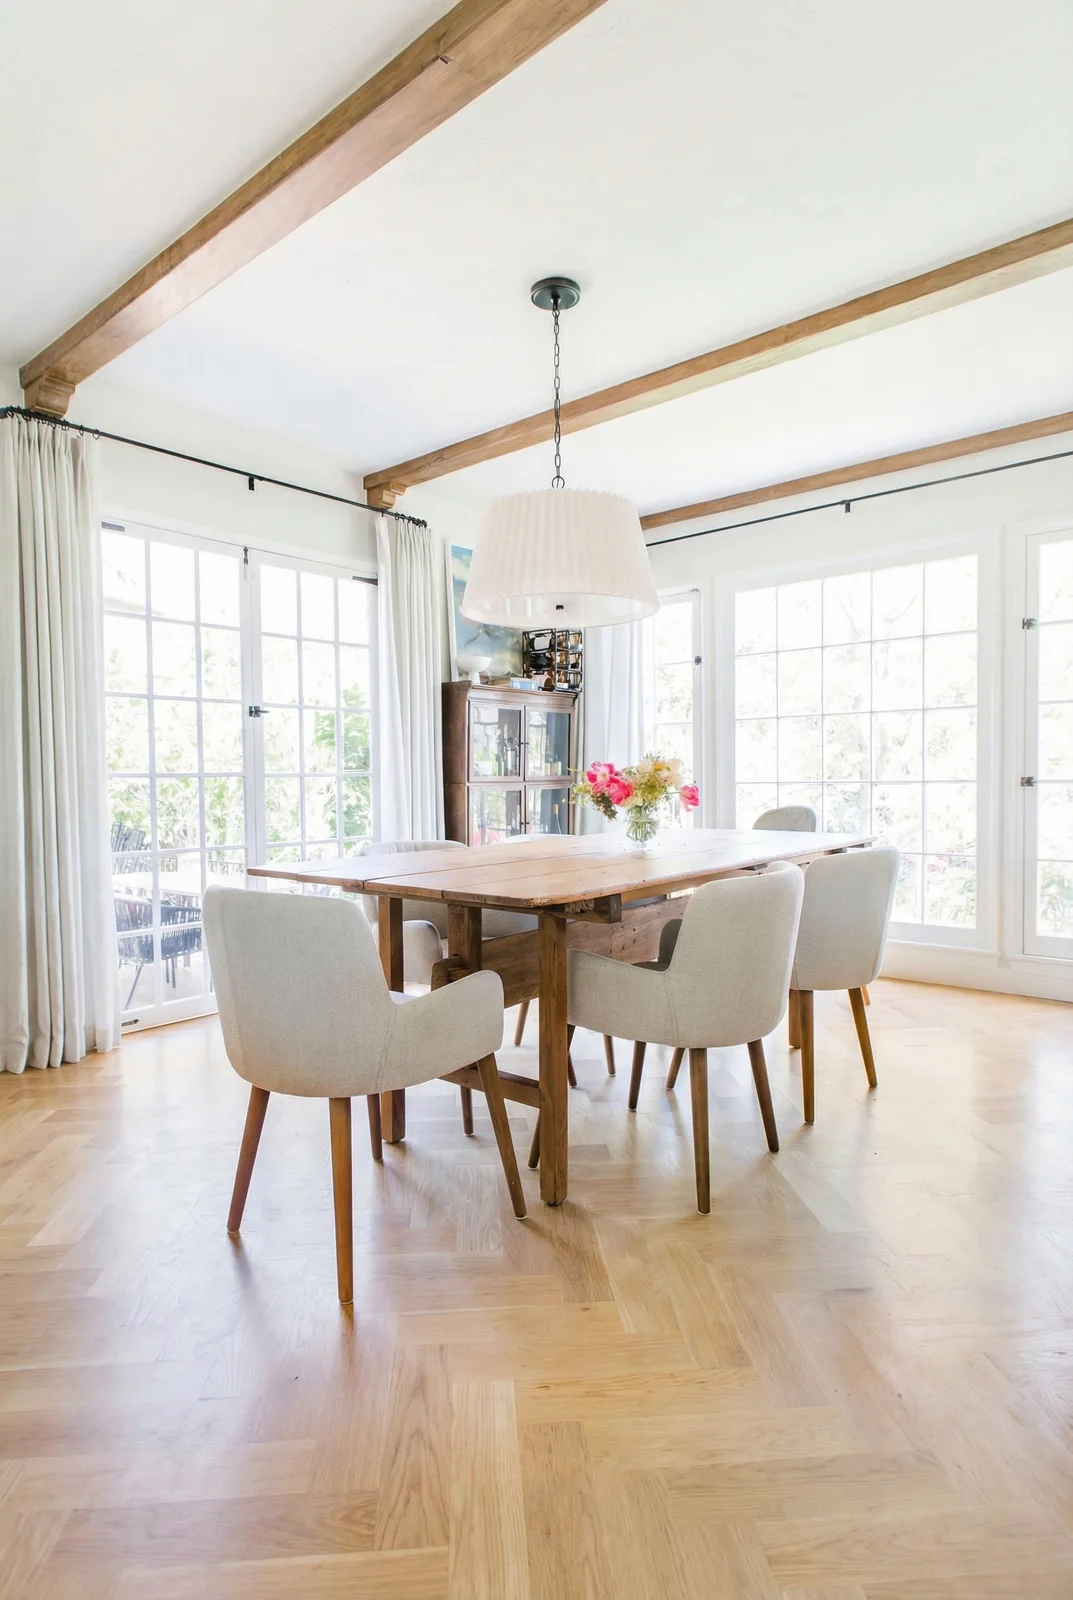
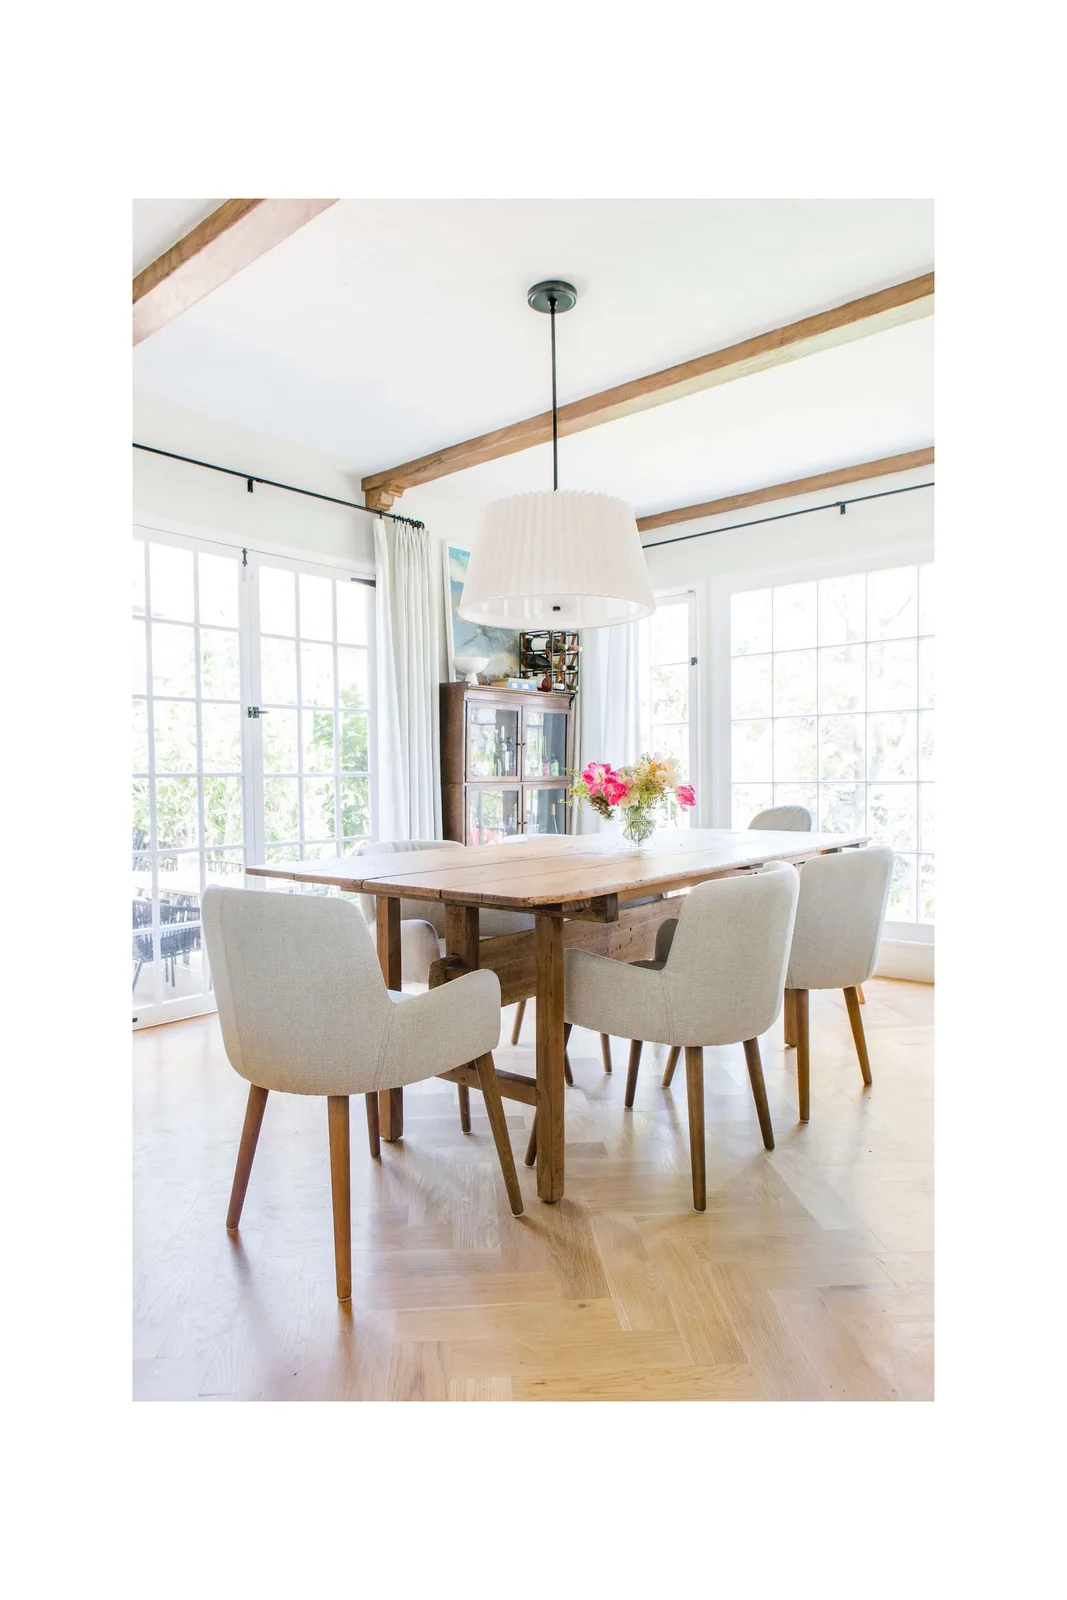
Extend the visible area of your room beyond the original frame. This tool generates realistic extensions that match the existing design and perspective.
 BeforeAfter
Drag to compare. Use arrow keys when focused.
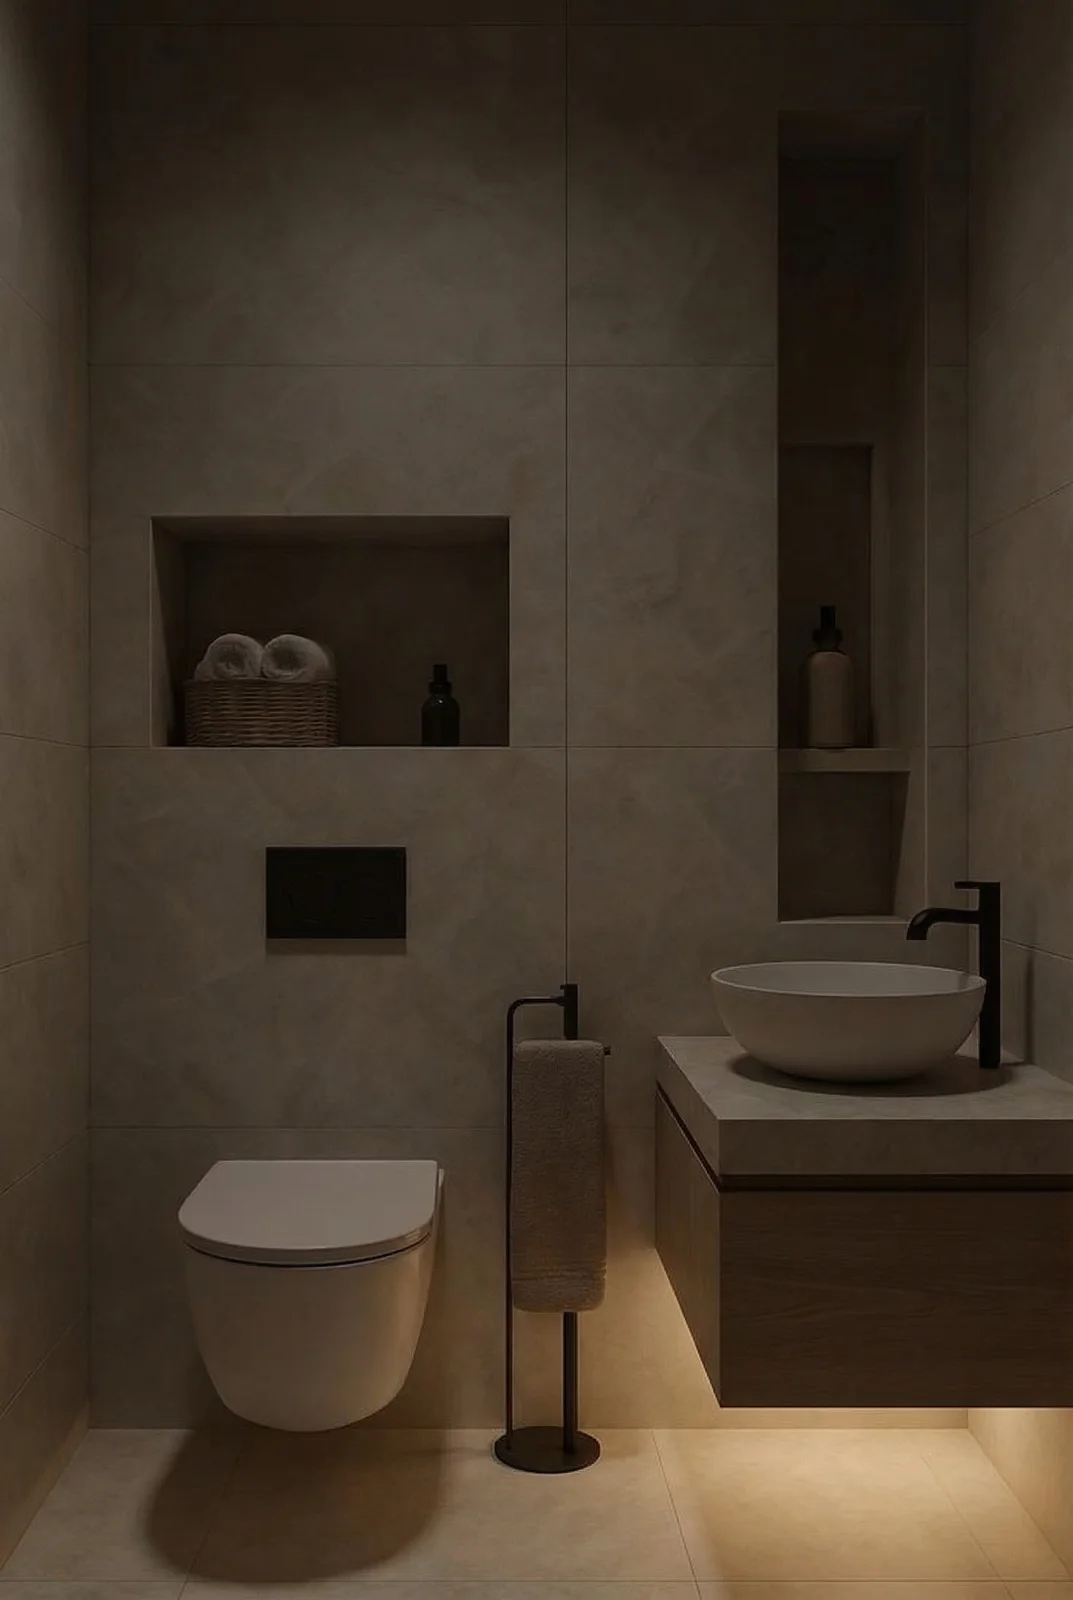
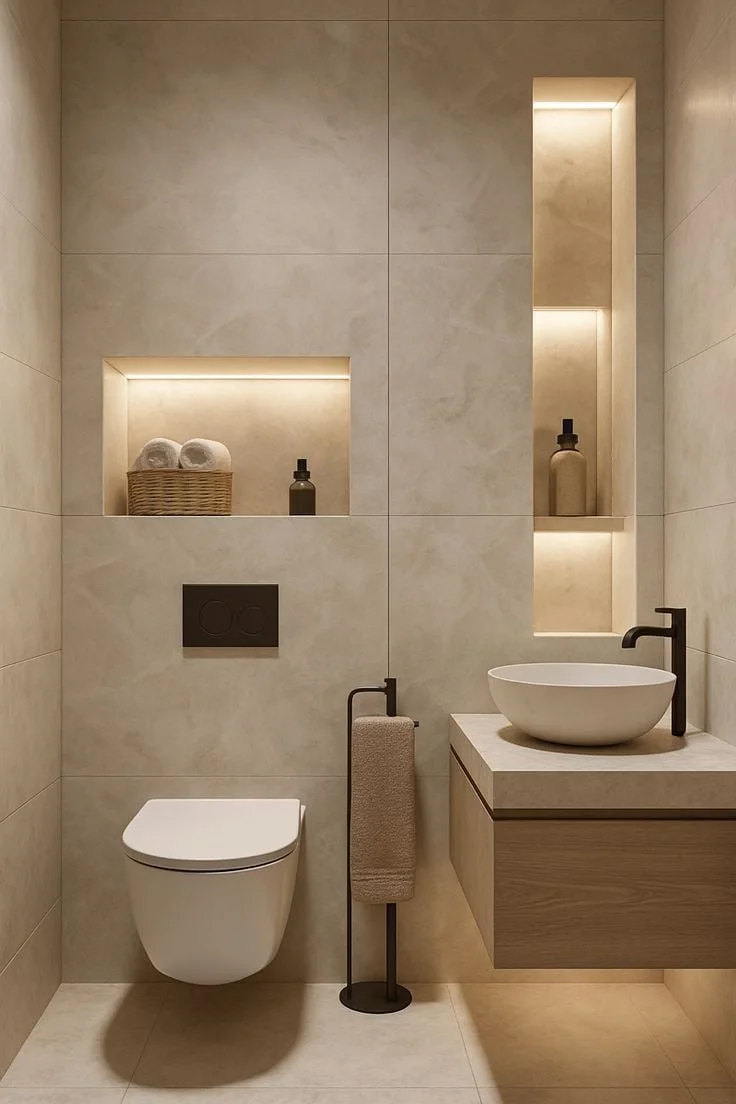
Add multiple layers of lighting to your room for depth and ambiance. This tool places ambient, task, and accent lighting with realistic effects.
 BeforeAfter
Drag to compare. Use arrow keys when focused.
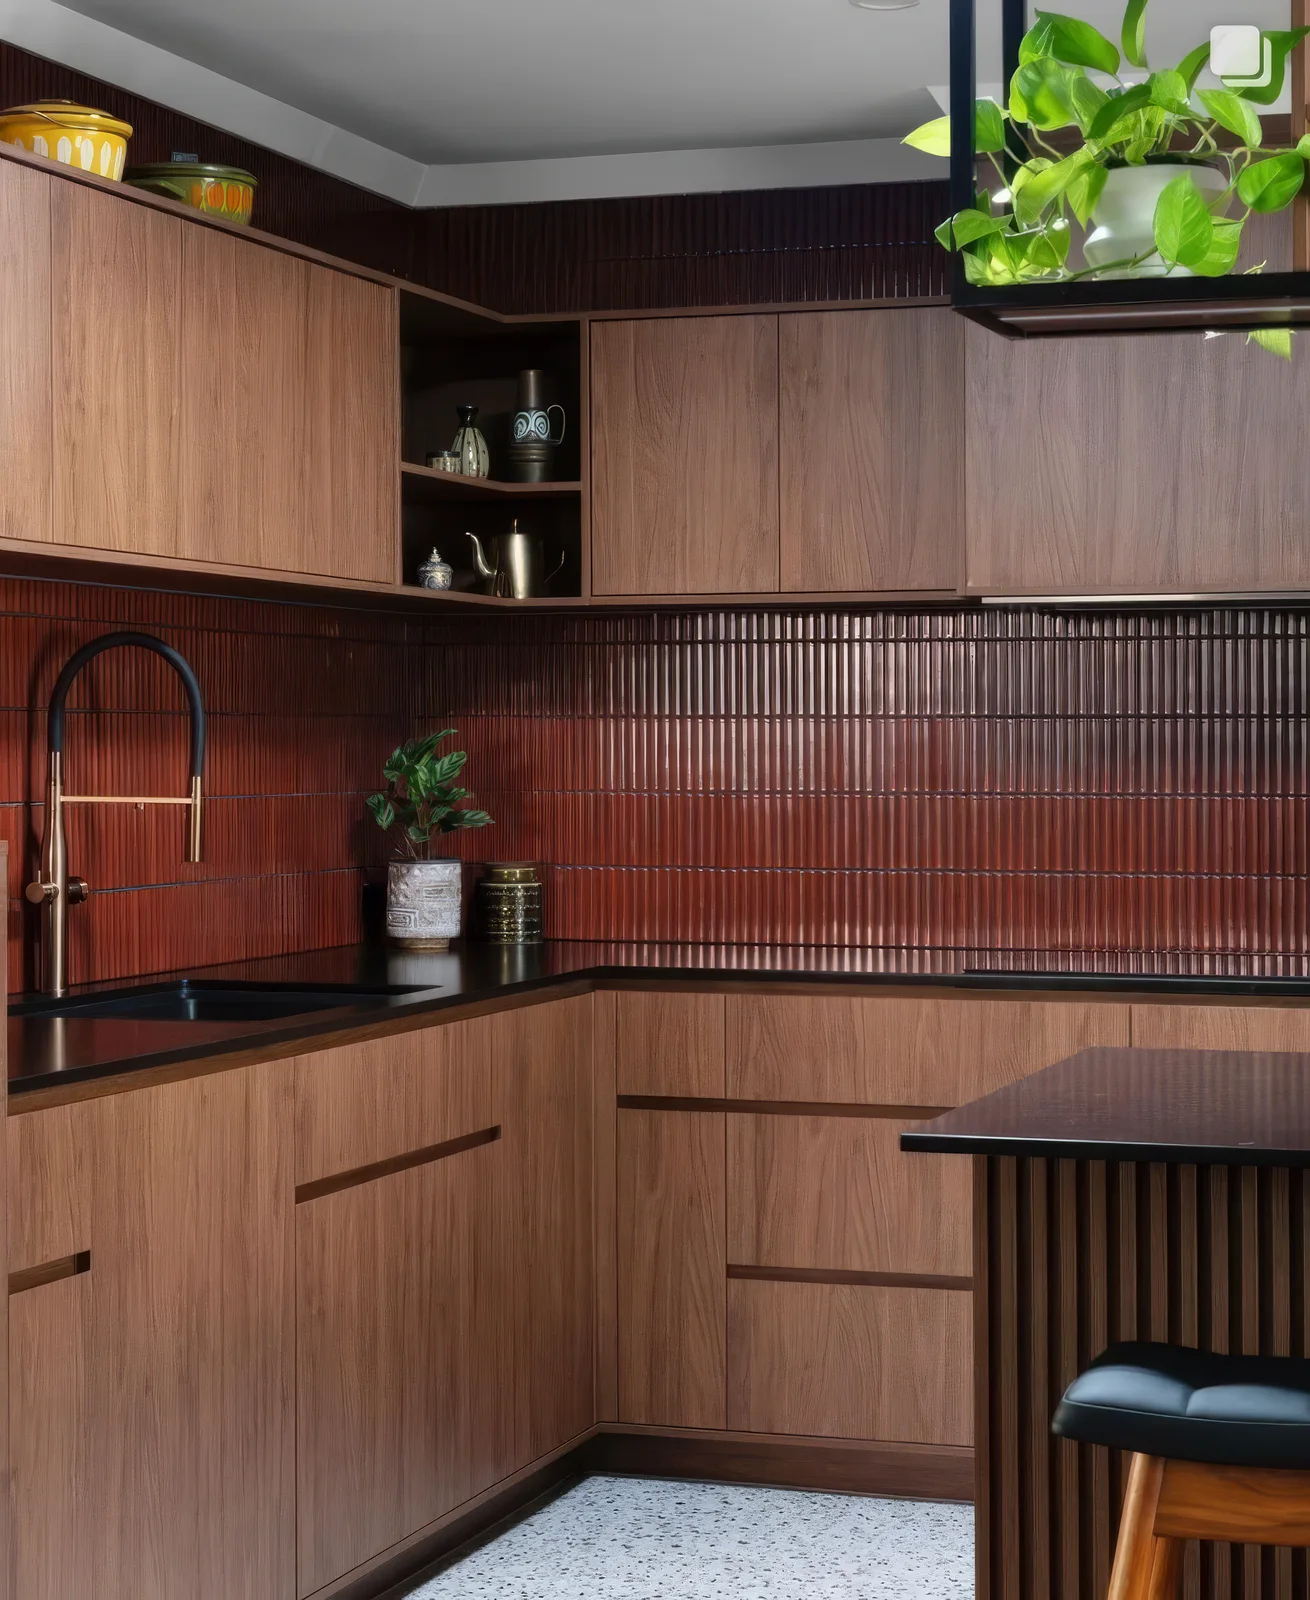
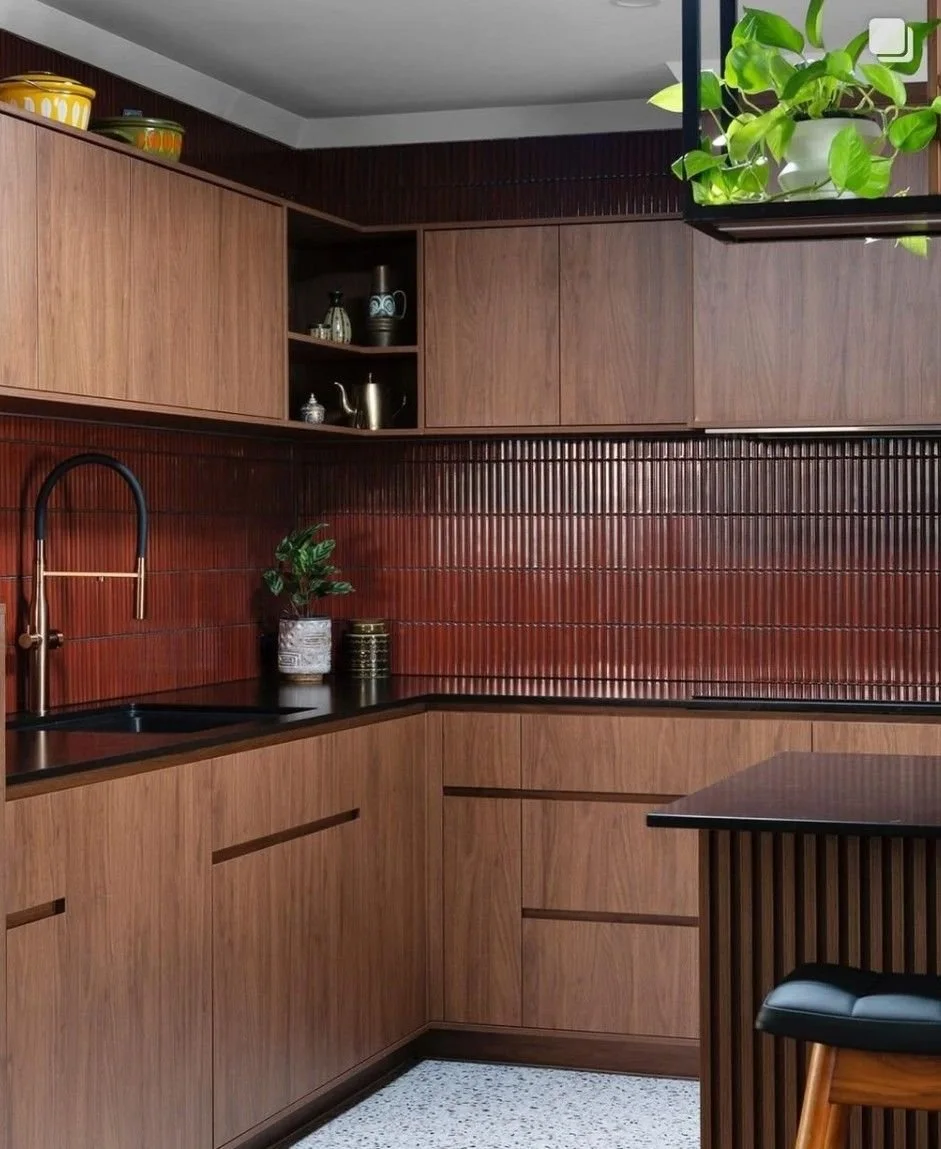
Upgrade the quality of an existing render. This tool enhances resolution, lighting accuracy, and material detail for a more photorealistic result.
 BeforeAfter
Drag to compare. Use arrow keys when focused.
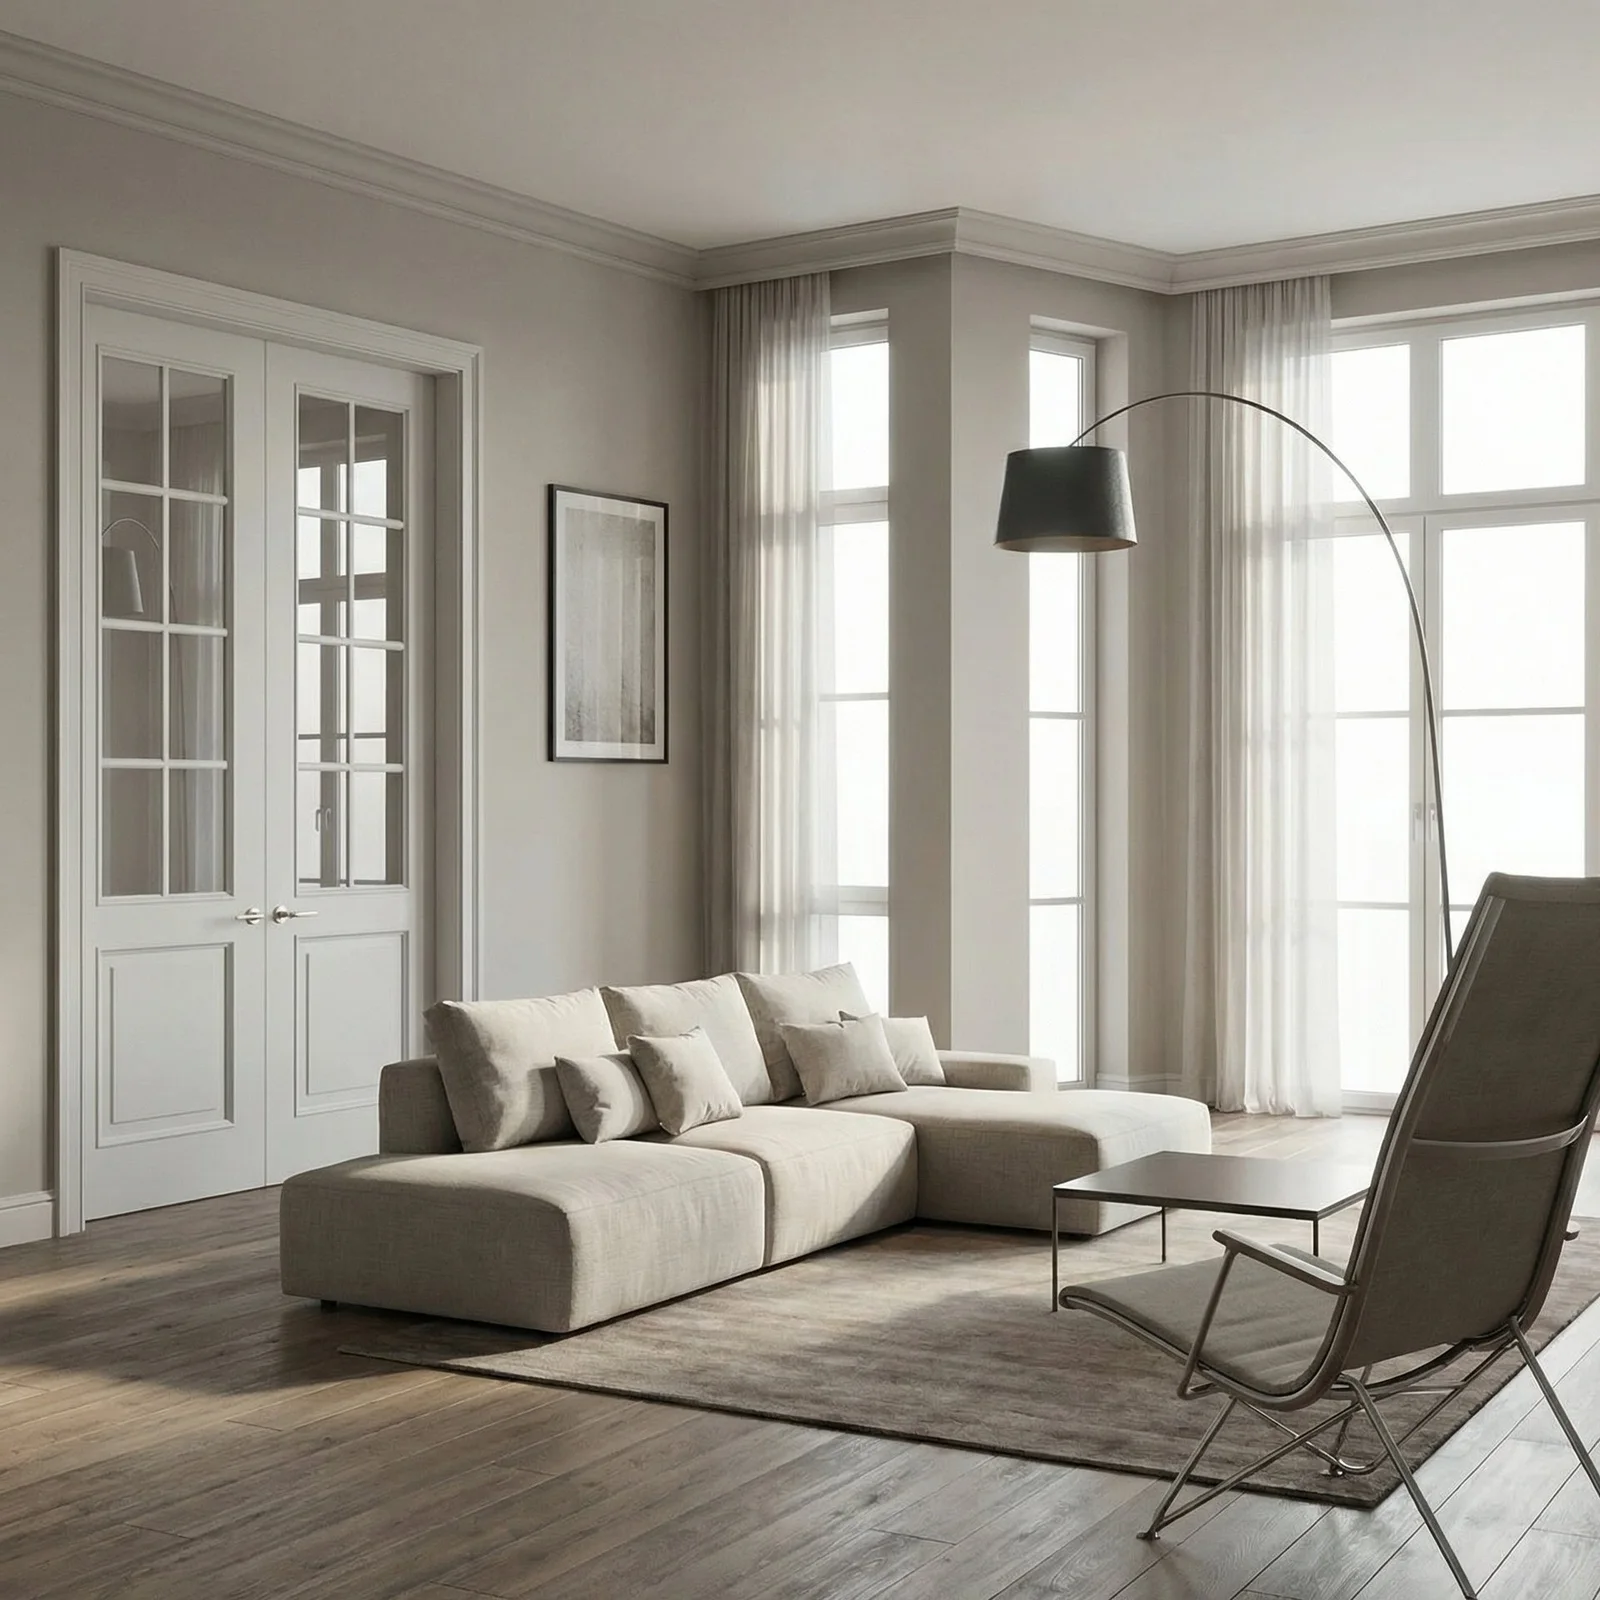
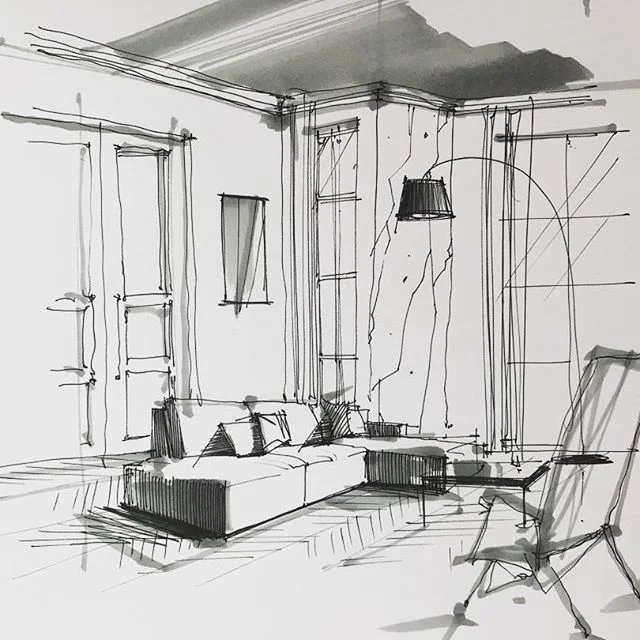
Convert a hand-drawn sketch into a photorealistic render. This tool interprets your sketch and generates a fully detailed interior visualisation.
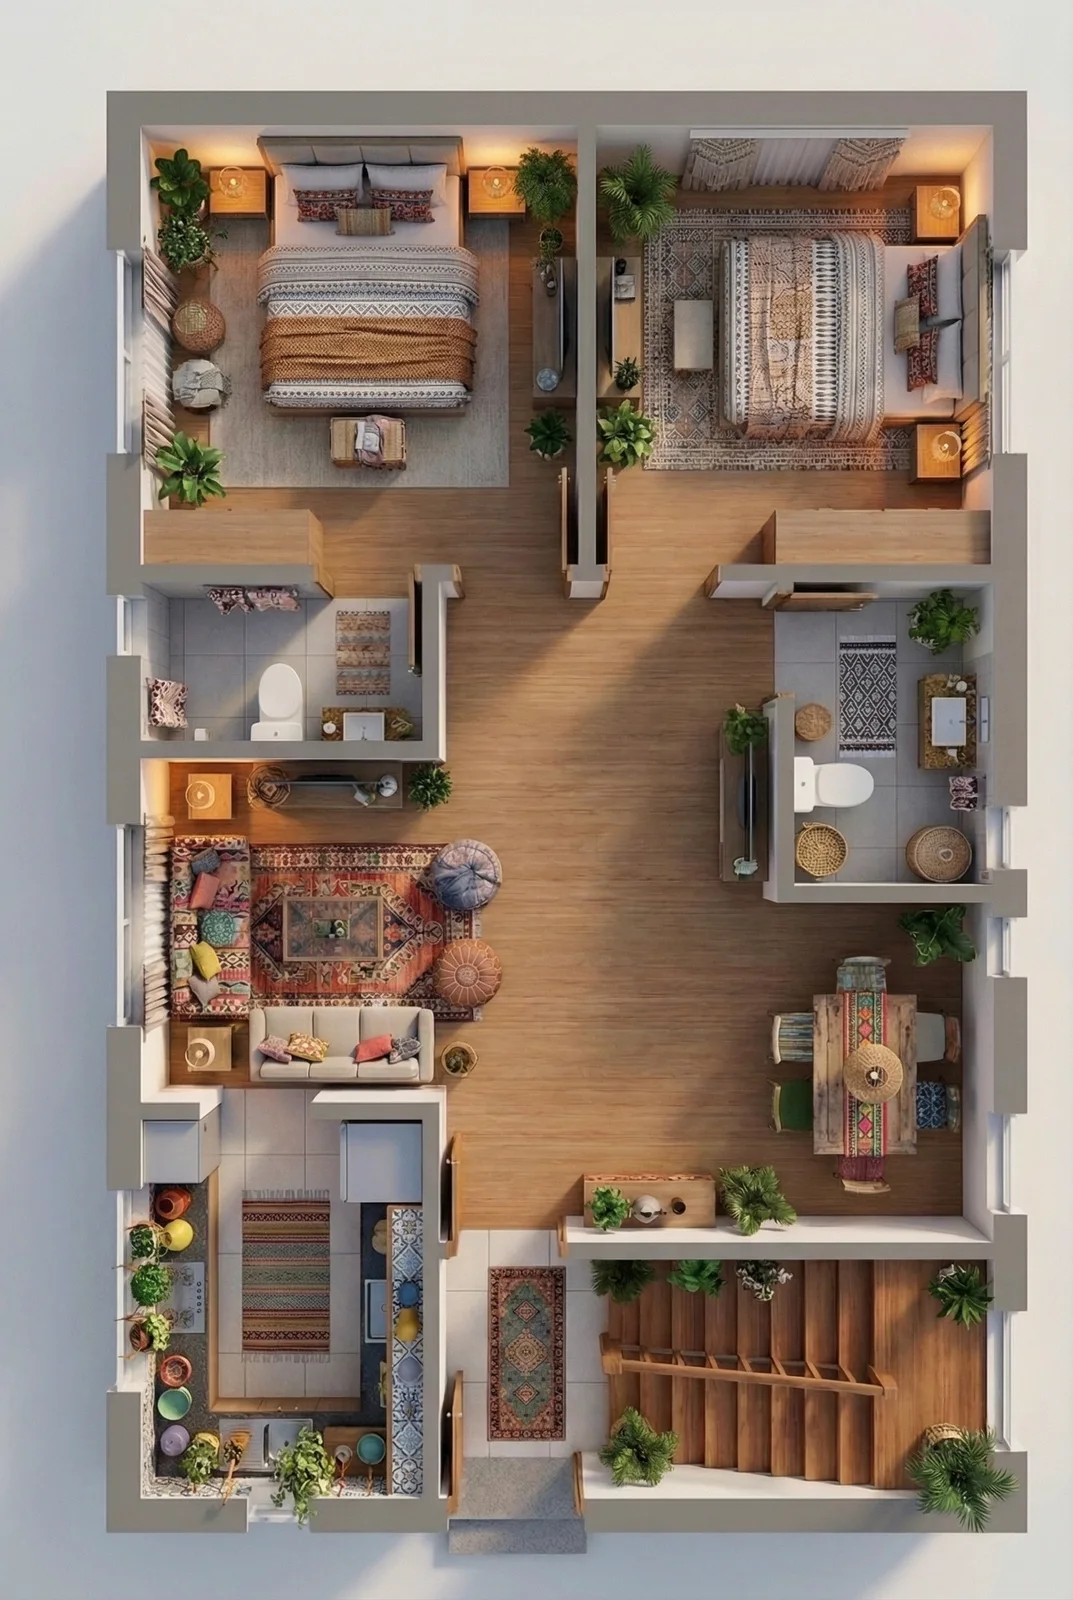
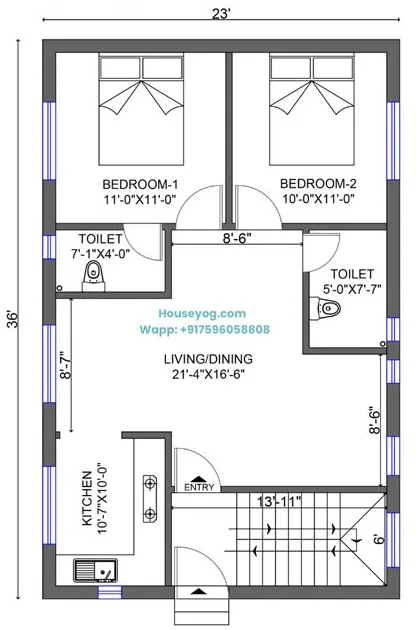 BeforeAfter
Drag to compare. Use arrow keys when focused.
Transform a 2D floor plan into a 3D photorealistic render. This tool builds the space from your layout with accurate proportions and design details.
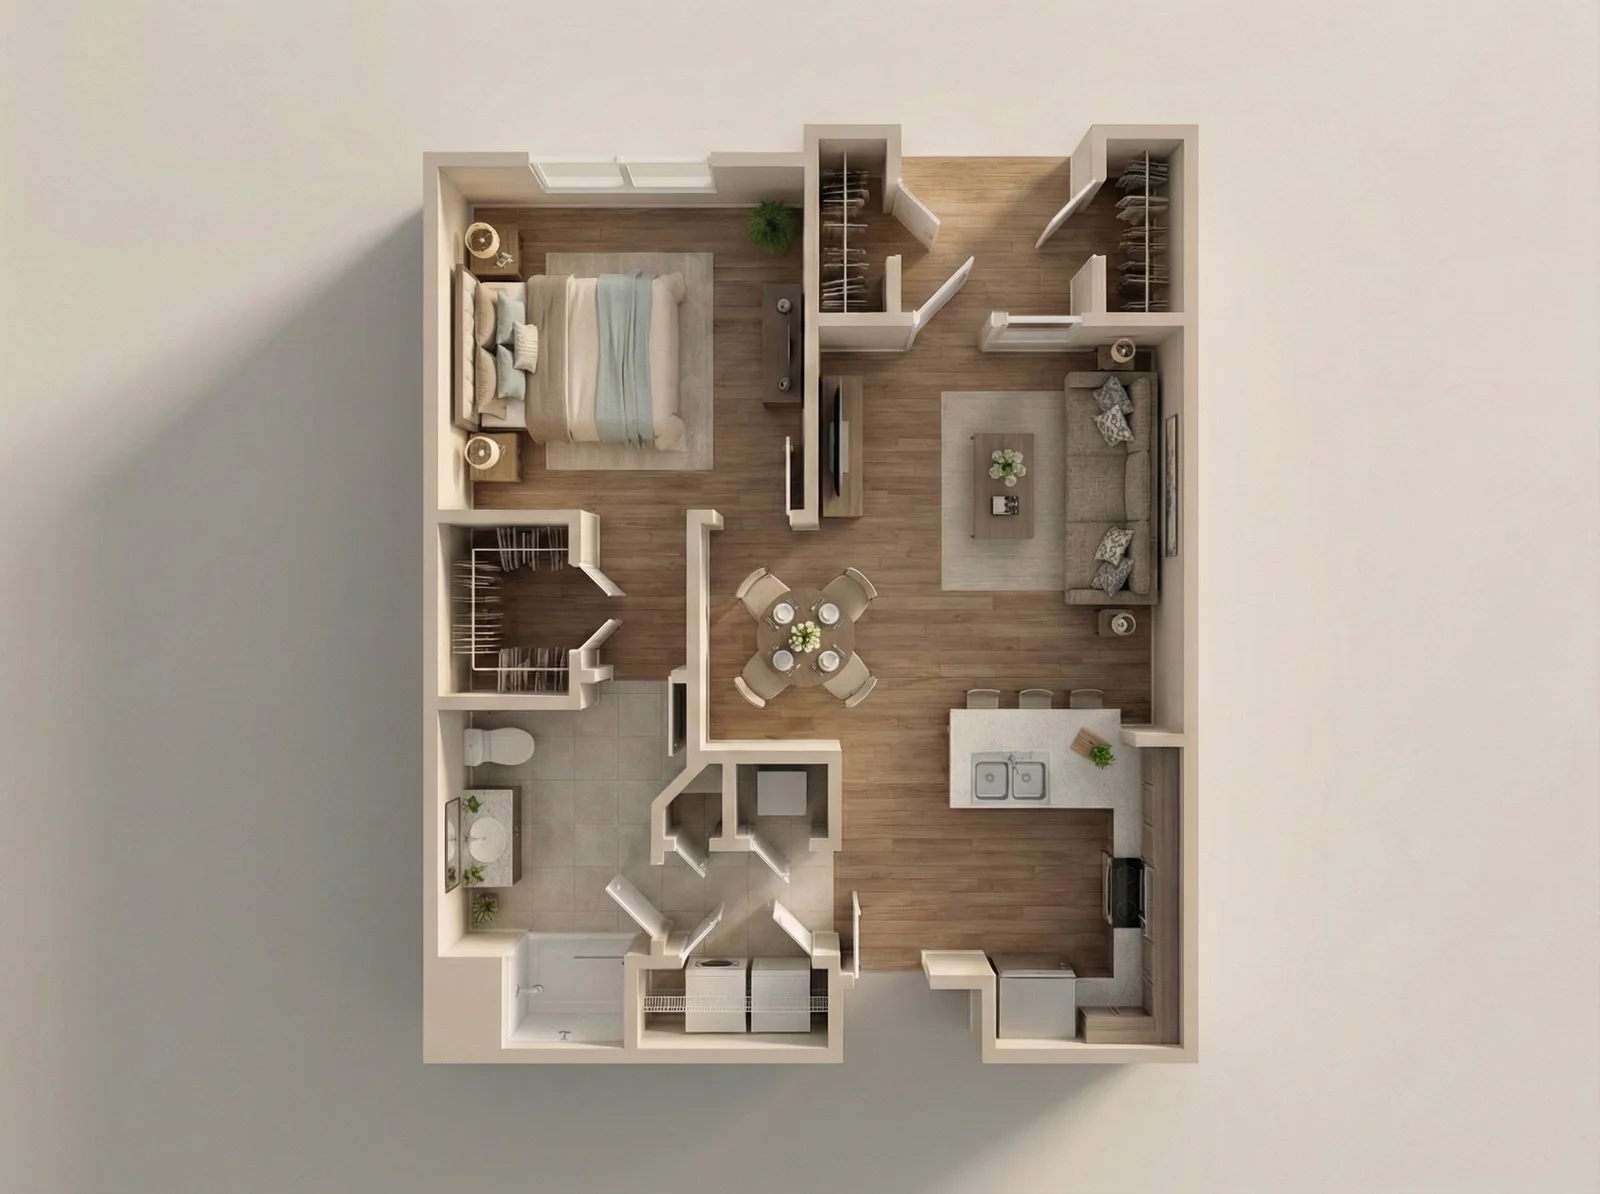
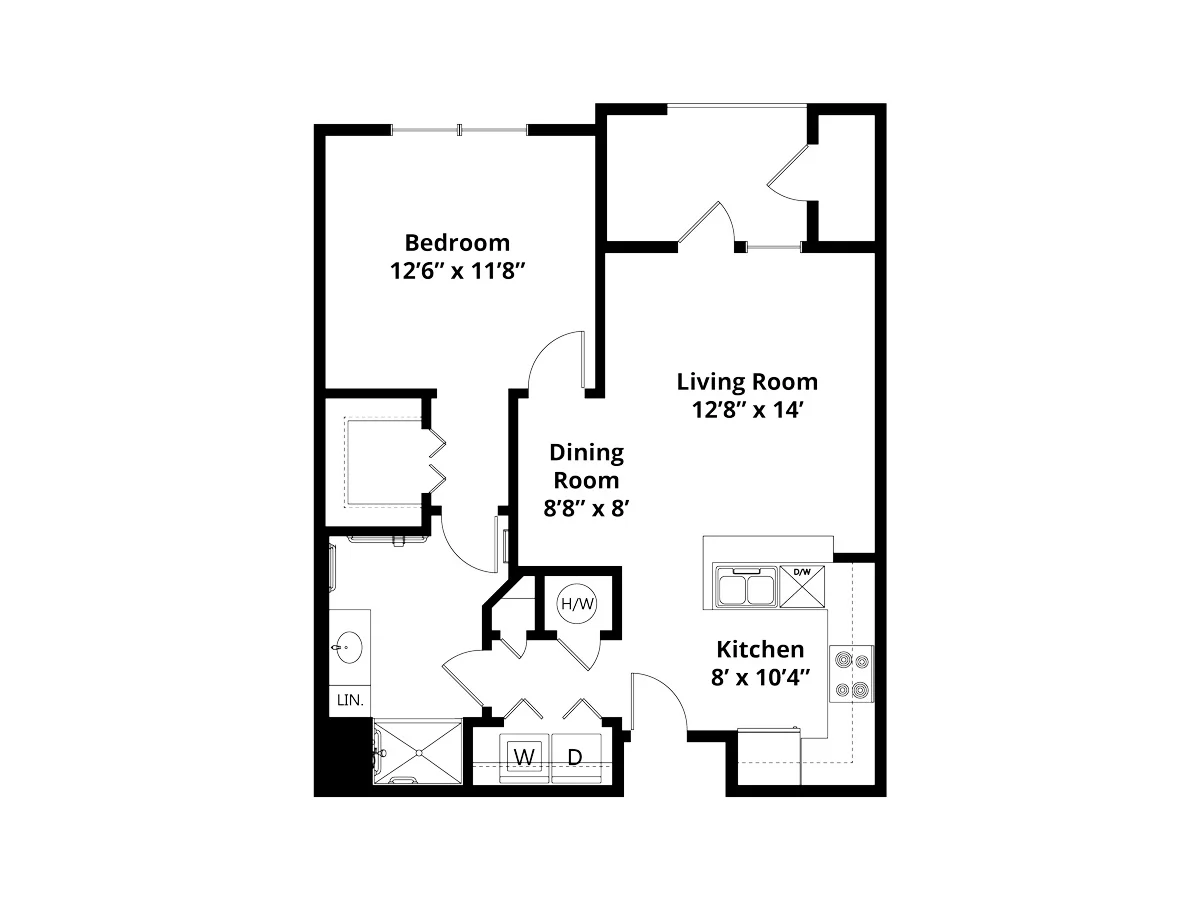 BeforeAfter
Drag to compare. Use arrow keys when focused.
Convert AutoCAD drawings into photorealistic renders. This tool respects your precise measurements and architectural intent while adding realistic materials and lighting.
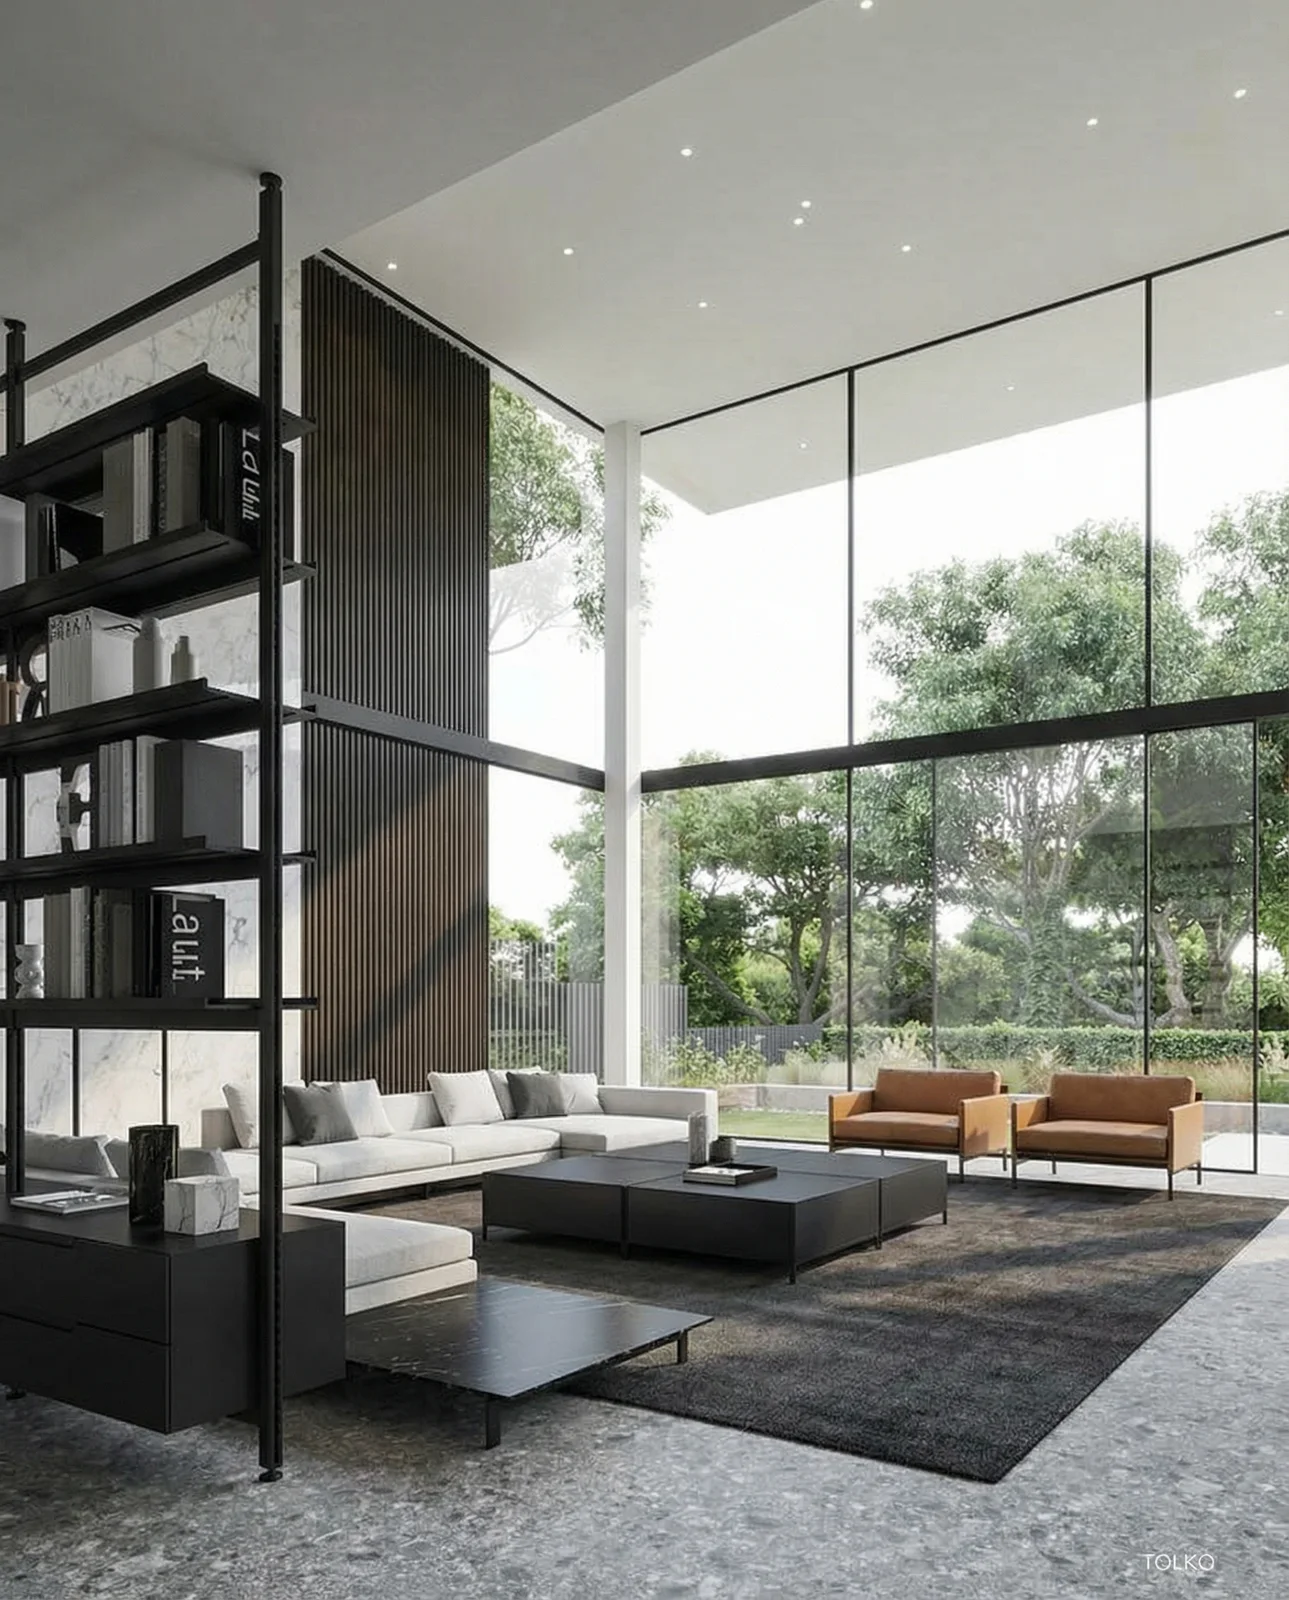
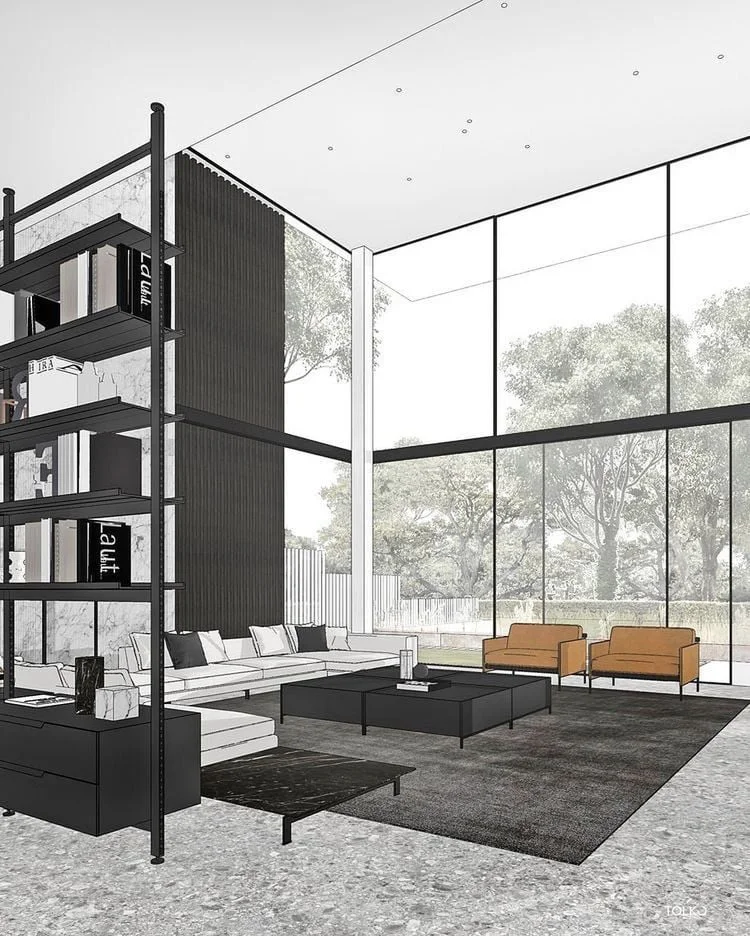 BeforeAfter
Drag to compare. Use arrow keys when focused.
Transform SketchUp models into photorealistic renders. This tool preserves your 3D geometry and spatial relationships while adding lifelike materials and lighting.
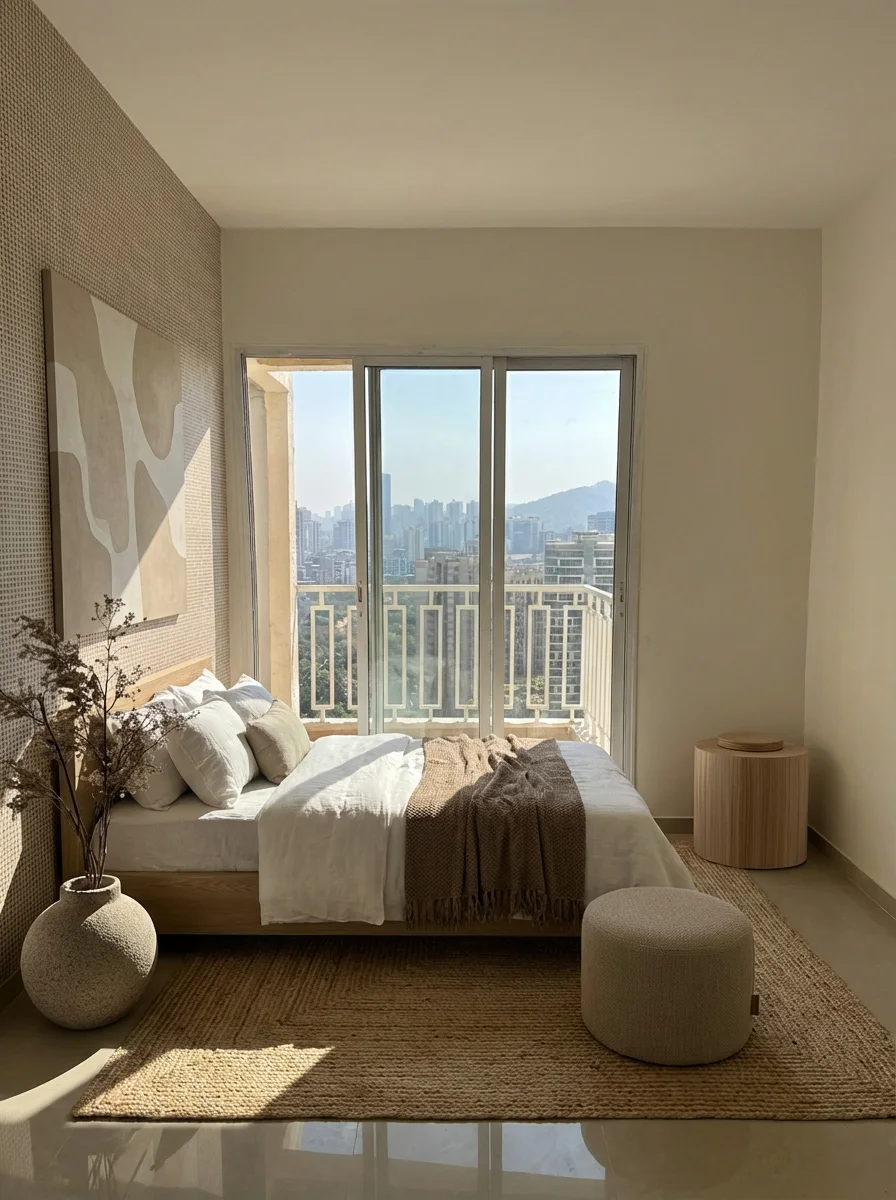
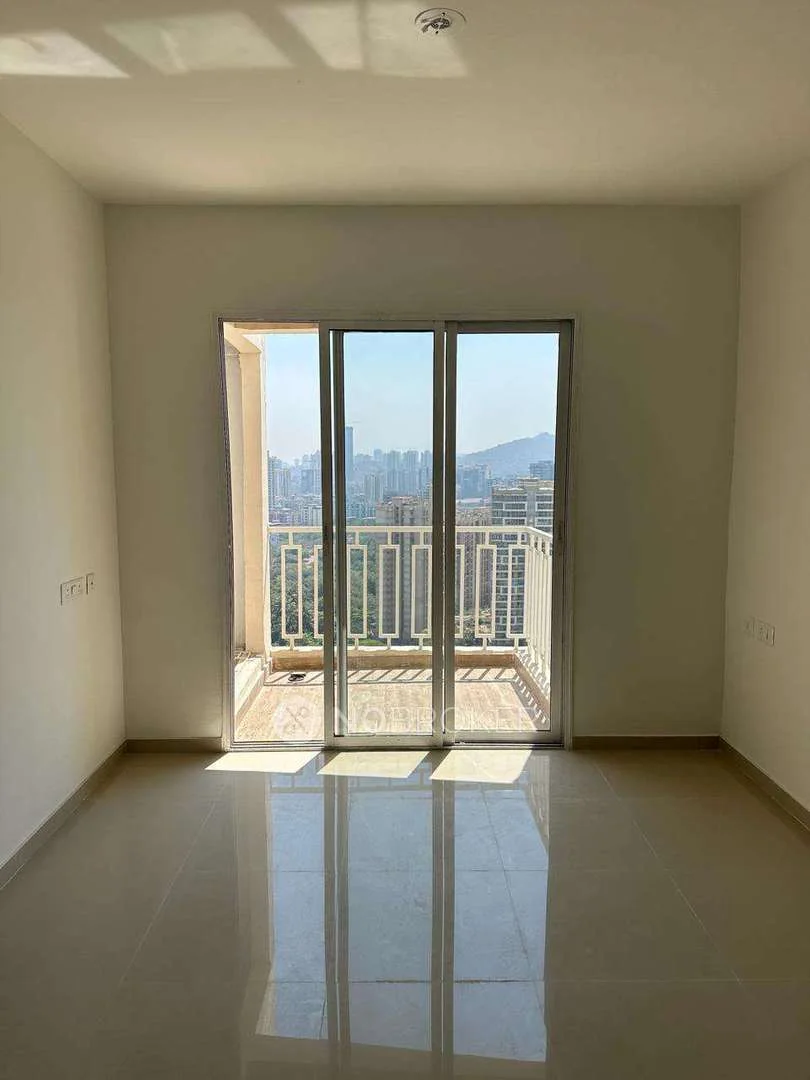 BeforeAfter
Drag to compare. Use arrow keys when focused.
Turn a moodboard into a fully realised interior render. This tool extracts style, colour, and material cues from your moodboard to generate a cohesive room design.
Be among the first studios to transform how you pitch, iterate and win.
Book a demo and we'll walk you through the engine — and show you exactly how it slots into your current workflow. SketchUp, CAD, hand sketches. Whatever you work with today, HomeAIdeas works with it too.
Book a demoFits into your workflow today. Faster concepts by tomorrow.